
Looking to update your room without breaking the bank? Do-it-yourself drifting racks are a fashionable and functional way to add storage, display space, and a modern touch to your area. These smooth shelves develop a tidy, minimalist appearance by hiding brackets and sustain, making them a favourite in both contemporary and rustic home decor.
Whether you want a space to display plants, books, or bedside essentials, this guide covers everything you need to know about creating DIY floating shelves for your bedroom, including the necessary tools, materials, design inspiration, and step-by-step installation tips.
What Are Floating Shelves?
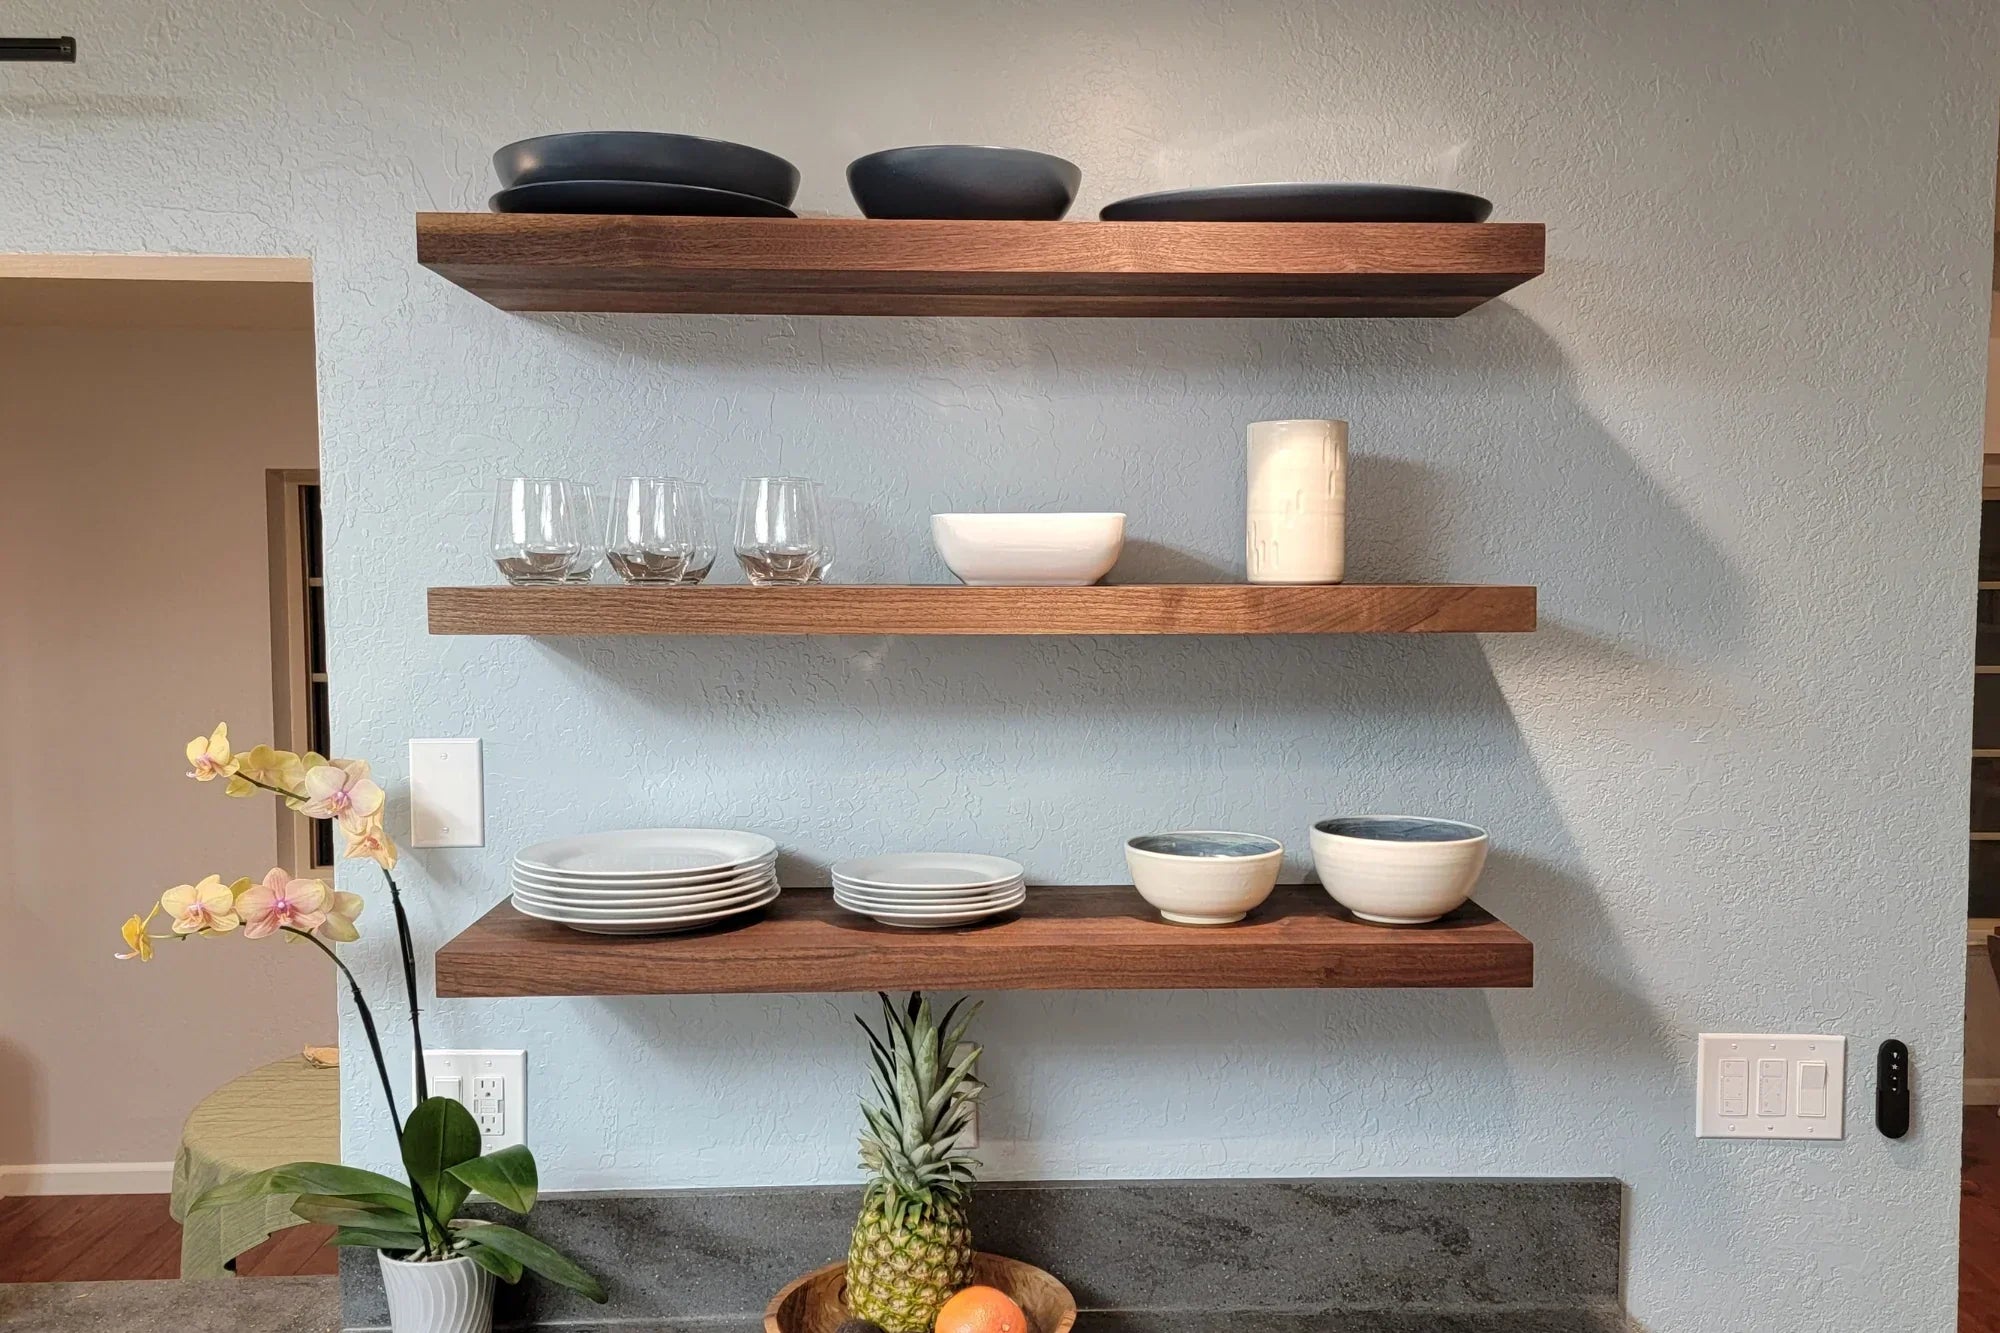
Floating shelves are wall-mounted shelves that have no visible support brackets. They “float” because the mounting hardware is concealed within the shelf itself or hidden behind it. The result is a seamless and clean appearance, ideal for:
- Bedrooms
- Living rooms
- Bathrooms
- Home offices
Read More: How to make old kitchen cabinets look new?
Why Choose Floating Shelves for Your Bedroom?
Minimalist Design
Perfect for modern, boho, or Scandinavian bedrooms, floating shelves offer a clutter-free look.
Read More: What are the options for replacing kitchen cabinets?
Space-Saving
Ideal for small bedrooms. They free up floor space and make walls more functional.
Read More: How do you calculate the costs for a kitchen remodel?
Versatile
Use them as:
- Nightstands
- Book displays
- Makeup stations
- Plant shelves
- Storage for personal items
Read More: How to redo kitchen cabinets?
Affordable DIY Project
Most floating shelf projects cost under $50, especially if you repurpose wood or use reclaimed materials.
Read More: What is the most affordable cabinet material for my kitchen?
Materials & Tools You’ll Need for DIY Bedroom Floating Shelves
Here’s what you need for a basic floating shelf project:
Materials:
- Wood board (common sizes: 1” x 8”, 2” x 10”)
- Wall anchors or toggle bolts
- Wood screws
- Wood glue (optional)
- Sandpaper or sanding block
- Wood stain or paint
- Polyurethane (optional for a protective finish)
- Mounting hardware/brackets (or make your internal support)
Read More: How difficult is it to build your kitchen cabinets?
Tools:
- Power drill
- Level
- Measuring tape
- Stud finder
- Screwdriver
- Saw (hand saw, circular, or miter saw)
- Paintbrush or cloth (for stain/paint)
Read More: What is the most affordable cabinet material for my kitchen?
7 Creative DIY Floating Shelf Ideas for the Bedroom

1. Minimalist Bedside Floating Shelf
- Replace bulky nightstands with a small, wall-mounted shelf.
- Size: 12”–18” wide, 6”–8” deep
- Add a small LED wall sconce above it for nighttime reading.
Best For: Small bedrooms, apartments
Read More: What can I do to plan for a kitchen remodel?
2. Floating Corner Shelves
- Install shelves where two walls meet.
- Great for holding books, plants, or decorative items.
- Use triangle or L-shaped boards.
Best For: Maximizing unused space
Read More: What are the best ways to build kitchen cabinets?
3. Above-the-Bed Statement Shelf
- Install a long floating shelf above the headboard.
- Display framed art, fairy lights, or personal mementos.
Best For: Creating a feature wall
Read More: How to plan a successful kitchen remodelling project?
4. Floating Vanity Shelf
- Mount a 3-foot shelf at waist height with a mirror above.
- Add a stool underneath for a functional makeup station.
Best For: Compact bedrooms without space for a full vanity
Read More: How to choose kitchen cabinets when remodelling?
5. Bookshelf Wall
- Install multiple floating shelves floor-to-ceiling.
- Maintain uniform spacing for a clean, modern library aesthetic.
Best For: Book lovers and collectors
Read More: How do you buy kitchen cabinets on a budget?
6. Floating Shelf Desk
- Use a deeper board (10”–12”) to create a small workspace.
- Add cable holes for electronics.
Best For: Bedrooms doubling as home offices
Read More: How to do DIY kitchen cabinetry and countertops cheaply?
7. Decorative Niche Shelves
- Install small floating cubes or rectangular shelves.
- Arrange them in a grid or asymmetrical layout.
Best For: Displaying collectibles and creating visual interest
Read More: How does interior remodelling enhance a home?
How to Build and Install DIY Floating Shelves (Step-by-Step)
Step 1: Measure and Mark the Wall
- Use a measuring tape to determine height and length.
- Mark lines using a level for accuracy.
Read More: What’s a Great Way to Improve a Room for Less Than $100?
Step 2: Find Wall Studs
- Use a stud finder to locate studs.
- Mark the locations where brackets or screws will be placed.
Read More: How to Make My Living Room More Cozy: The Ultimate Guide to a Warm and Inviting Space
Step 3: Cut the Wood
- Cut your wood board to the desired length for the shelf.
- Sand the edges for a smooth finish.
Read More: How Can Home Interior Design Transform Your Living Space?
Step 4: Paint or Stain the Wood
- Apply your choice of paint or wood stain.
- Let dry completely (at least 24 hours for stain).
- Optionally, seal with a clear polyurethane coat.
Read More: How to Remodel My Garage Into a Living Space: A Complete Homeowner’s Guide
Step 5: Attach Mounting Hardware
There are two common ways to install it:
A. With Floating Shelf Brackets:
- Drill into wall studs or use drywall anchors.
- Slide the shelf onto the rods or brackets.
Read More: What Should I Consider When Planning a Renovation? A Complete Guide for Homeowners
B. DIY Support Frame (Box Shelf Method):
- Build a small wooden cleat or bracket (frame) on the wall.
- Slide the hollow shelf box over the cleat.
- Secure it with screws underneath or inside.
Read More: The Easiest Way to Redesign a Small Living Room: Smart Tips for a Stylish Makeover
Step 6: Secure the Shelf
- Ensure everything is level.
- Check for wobbling.
- Tighten all screws and inspect for stability.
Read More: How Long Does It Take to Renovate a Living Room? A Complete Timeline and What to Expect
Styling Tips for Floating Shelves in Bedrooms
- Layer Items: Mix tall and short objects, such as vases, books, and picture frames.
- Use Lighting: Install LED strip lights under the shelf to create ambience.
- Stick to a Theme: Boho? Minimalist? Industrial? Choose complementary decor.
- Go Green: Small indoor plants, such as succulents or trailing ivy, look great on floating shelves.
Read More: 15 Easy DIY Projects for a New Apartment: Budget-Friendly Ideas to Make It Yours
Common Mistakes to Avoid
MistakeWhy It’s a Problem
Not securing to studs Can cause shelves to fall
Skipping the level check Leads to crooked shelves
Overloading the shelf Weakens mounts and increases the risk
Ignoring wall type (plaster/drywall) May require special anchors
Using unfinished or untreated wood Reduces durability and visual appeal
Read More: How to Extend a Living Space for Less Cost: Smart Budget-Friendly Ideas
Cost Breakdown (Estimated per Shelf)
ItemEstimated Cost
Wood board $10–$20
Screws/anchors $5
Stain or paint $5–$10
Mounting brackets $5–$15
Total per shelf $25–$50
You can lower costs further by using reclaimed wood or salvaged materials.
Read More: Basement Office Ideas – 11 Stylish Work From Home Spaces
Final Thoughts
DIY drifting shelves are among the most inexpensive, practical, and elegant ways to enhance your bedroom. Whether you’re aiming to maximize the use of small spaces, add individuality, or organize your belongings, these shelves make an ideal weekend project, even for beginners.
By following the steps and design ideas in this guide, you’ll have customized bedroom shelves that look high-end without spending a fortune.