
Drifting wall surface shelves is an elegant, space-saving method to update any area. Whether you want to display books, style, or plants, a floating rack provides a tidy, modern look without noticeable support. The most effective component? You can make one on your own —even if you’re a do-it-yourself novice!
In this guide, you’ll learn how to build a floating wall shelf from scratch, including the materials you’ll need, how to install it properly, and smart tips to ensure your shelf is safe, level, and stunning.
What is a Floating Wall Shelf?
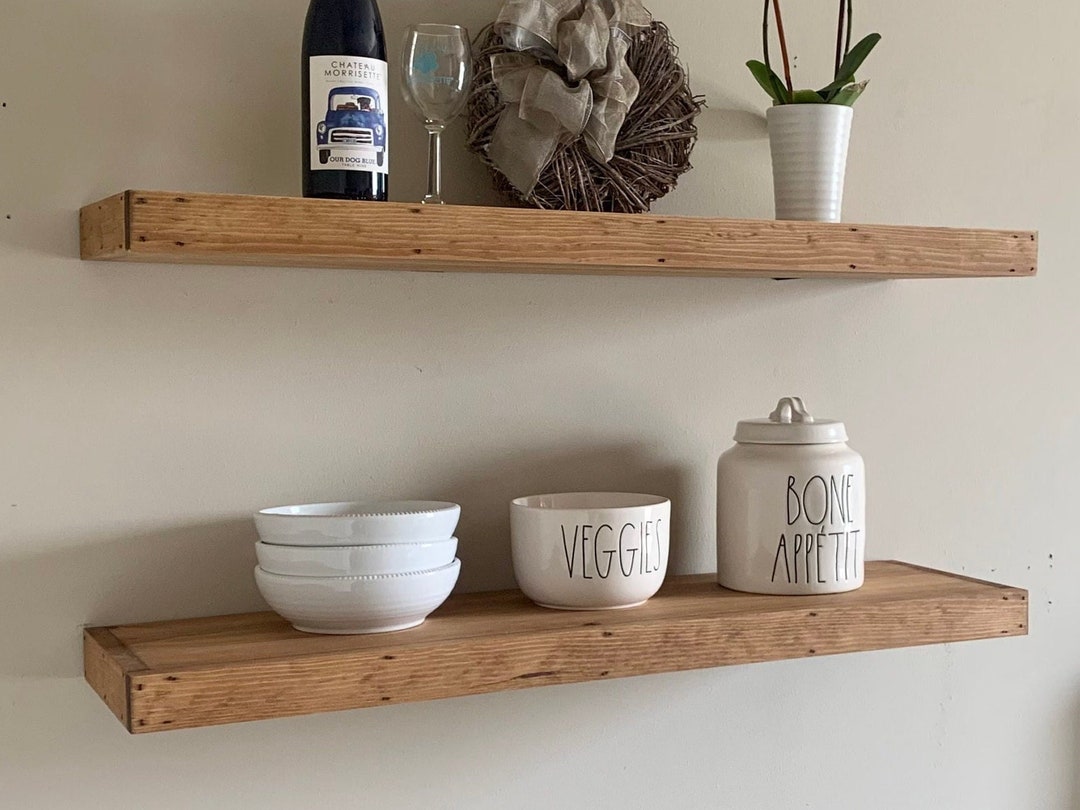
A floating wall shelf is a type of wall-mounted shelf that appears to “float” without visible support. Instead of being held up by traditional brackets, floating shelves use hidden mounting systems or hollow-box designs that conceal hardware inside the shelf itself.
This minimalist approach works great in:
- Bedrooms
- Living rooms
- Bathrooms
- Offices
- Kitchens
Read More: How Much Does Remodeling a Kitchen Cost? | Complete Cost Breakdown (2025 Guide)
Tools and Materials You’ll Need
Materials:
- 1×8 or 2×10 solid wood board (for the shelf face)
- 1×2 wood (for internal support frame)
- ½” or ¾” plywood (optional for top/bottom)
- Wood screws
- Wall anchors or toggle bolts (if not securing to studs)
- Wood glue (optional)
- Stain or paint
- Clear polyurethane (optional)
Read More: How to make old kitchen cabinets look new?
Tools:
- Drill
- Stud finder
- Screwdriver
- Measuring tape
- Level
- Saw (hand saw, circular, or miter saw)
- Sander or sandpaper
- Paintbrush or cloth (for finishing)
Read More: What are the options for replacing kitchen cabinets?
Step-by-Step: How to Build a Floating Wall Shelf
Step 1: Choose a Location
- Decide where you want to install your shelf.
- Mark the height and width of the wall using a pencil and level.
- Use a stud finder to locate wall studs for secure mounting.
Tip: Mounting to wall studs is stronger than using wall anchors alone.
Read More: How do you calculate the costs for a kitchen remodel?
Step 2: Cut the Wood to Size
Decide on your shelf size (e.g., 24″–36″ wide and 8″–10″ deep).
- Cut the front face of the shelf using a solid wood board.
- Cut two side panels to the shelf depth minus the thickness of the wood.
- Cut top and bottom panels if you’re making a full hollow box.
- Cut a cleat or internal frame from 1×2 wood for wall mounting.
Example shelf dimensions:
- Width: 30″
- Depth: 9″
- Height: 2.5″
Read More: How to redo kitchen cabinets?
Step 3: Build the Shelf Box
- Lay out your cut pieces.
- Assemble the hollow shelf box using wood glue and screws or nails.
- Attach the top, bottom, and sides to the front face.
- Leave the back open—this is where the cleat will slide in.
Optional: Sand the edges smooth before assembly for a cleaner finish.
Read More: What is the most affordable cabinet material for my kitchen?
Step 4: Build and Mount the Wall Cleat
- Create a support cleat by cutting a piece of 1×2 or 2×2 wood slightly smaller than the width of your shelf.
- Drill this directly into the wall studs at the marked location.
- Use a level to ensure the cleat is perfectly straight.
- If you’re not hitting studs, use heavy-duty drywall anchors or toggle bolts.
Important: The cleat must support the shelf’s full weight, so use high-quality fasteners.
Read More: How difficult is it to build your kitchen cabinets?
Step 5: Slide the Shelf Onto the Cleat
- Carefully slide the hollow box shelf onto the mounted cleat.
- The cleat should fit snugly inside.
- Secure the shelf by driving wood screws from the top or bottom into the cleat inside.
Pro Tip: Drill pilot holes to prevent the wood from splitting.
Read More: What is the most affordable cabinet material for my kitchen?
Step 6: Sand, Stain, or Paint
Once the shelf is mounted, finish it to match your room’s style.
- Sand the entire surface for a smooth feel.
- Apply wood stain with a cloth or paint with a brush.
- Let it dry, and then apply a clear polyurethane coat for added durability.
Read More: What can I do to plan for a kitchen remodel?
Maintenance & Weight Capacity Tips
- Dust weekly to prevent buildup.
- Limit heavy loads unless shelves are mounted directly to studs.
- Use anchors rated for 50 pounds or more if you’re unsure of stud placement.
- Retighten screws at least once a year for safety.
Read More: What are the best ways to build kitchen cabinets?
Design Variations
StyleDescription
Rustic: Use reclaimed wood and matte finishes
Modern Minimalist: Use sleek white or black lacquer paint
Industrial: Combine wood with pipe brackets (optional)
Live Edge: Leave one side with a natural, uncut wood edge
Corner Shelves Create L-shaped units for room corners
Read More: How to plan a successful kitchen remodelling project?
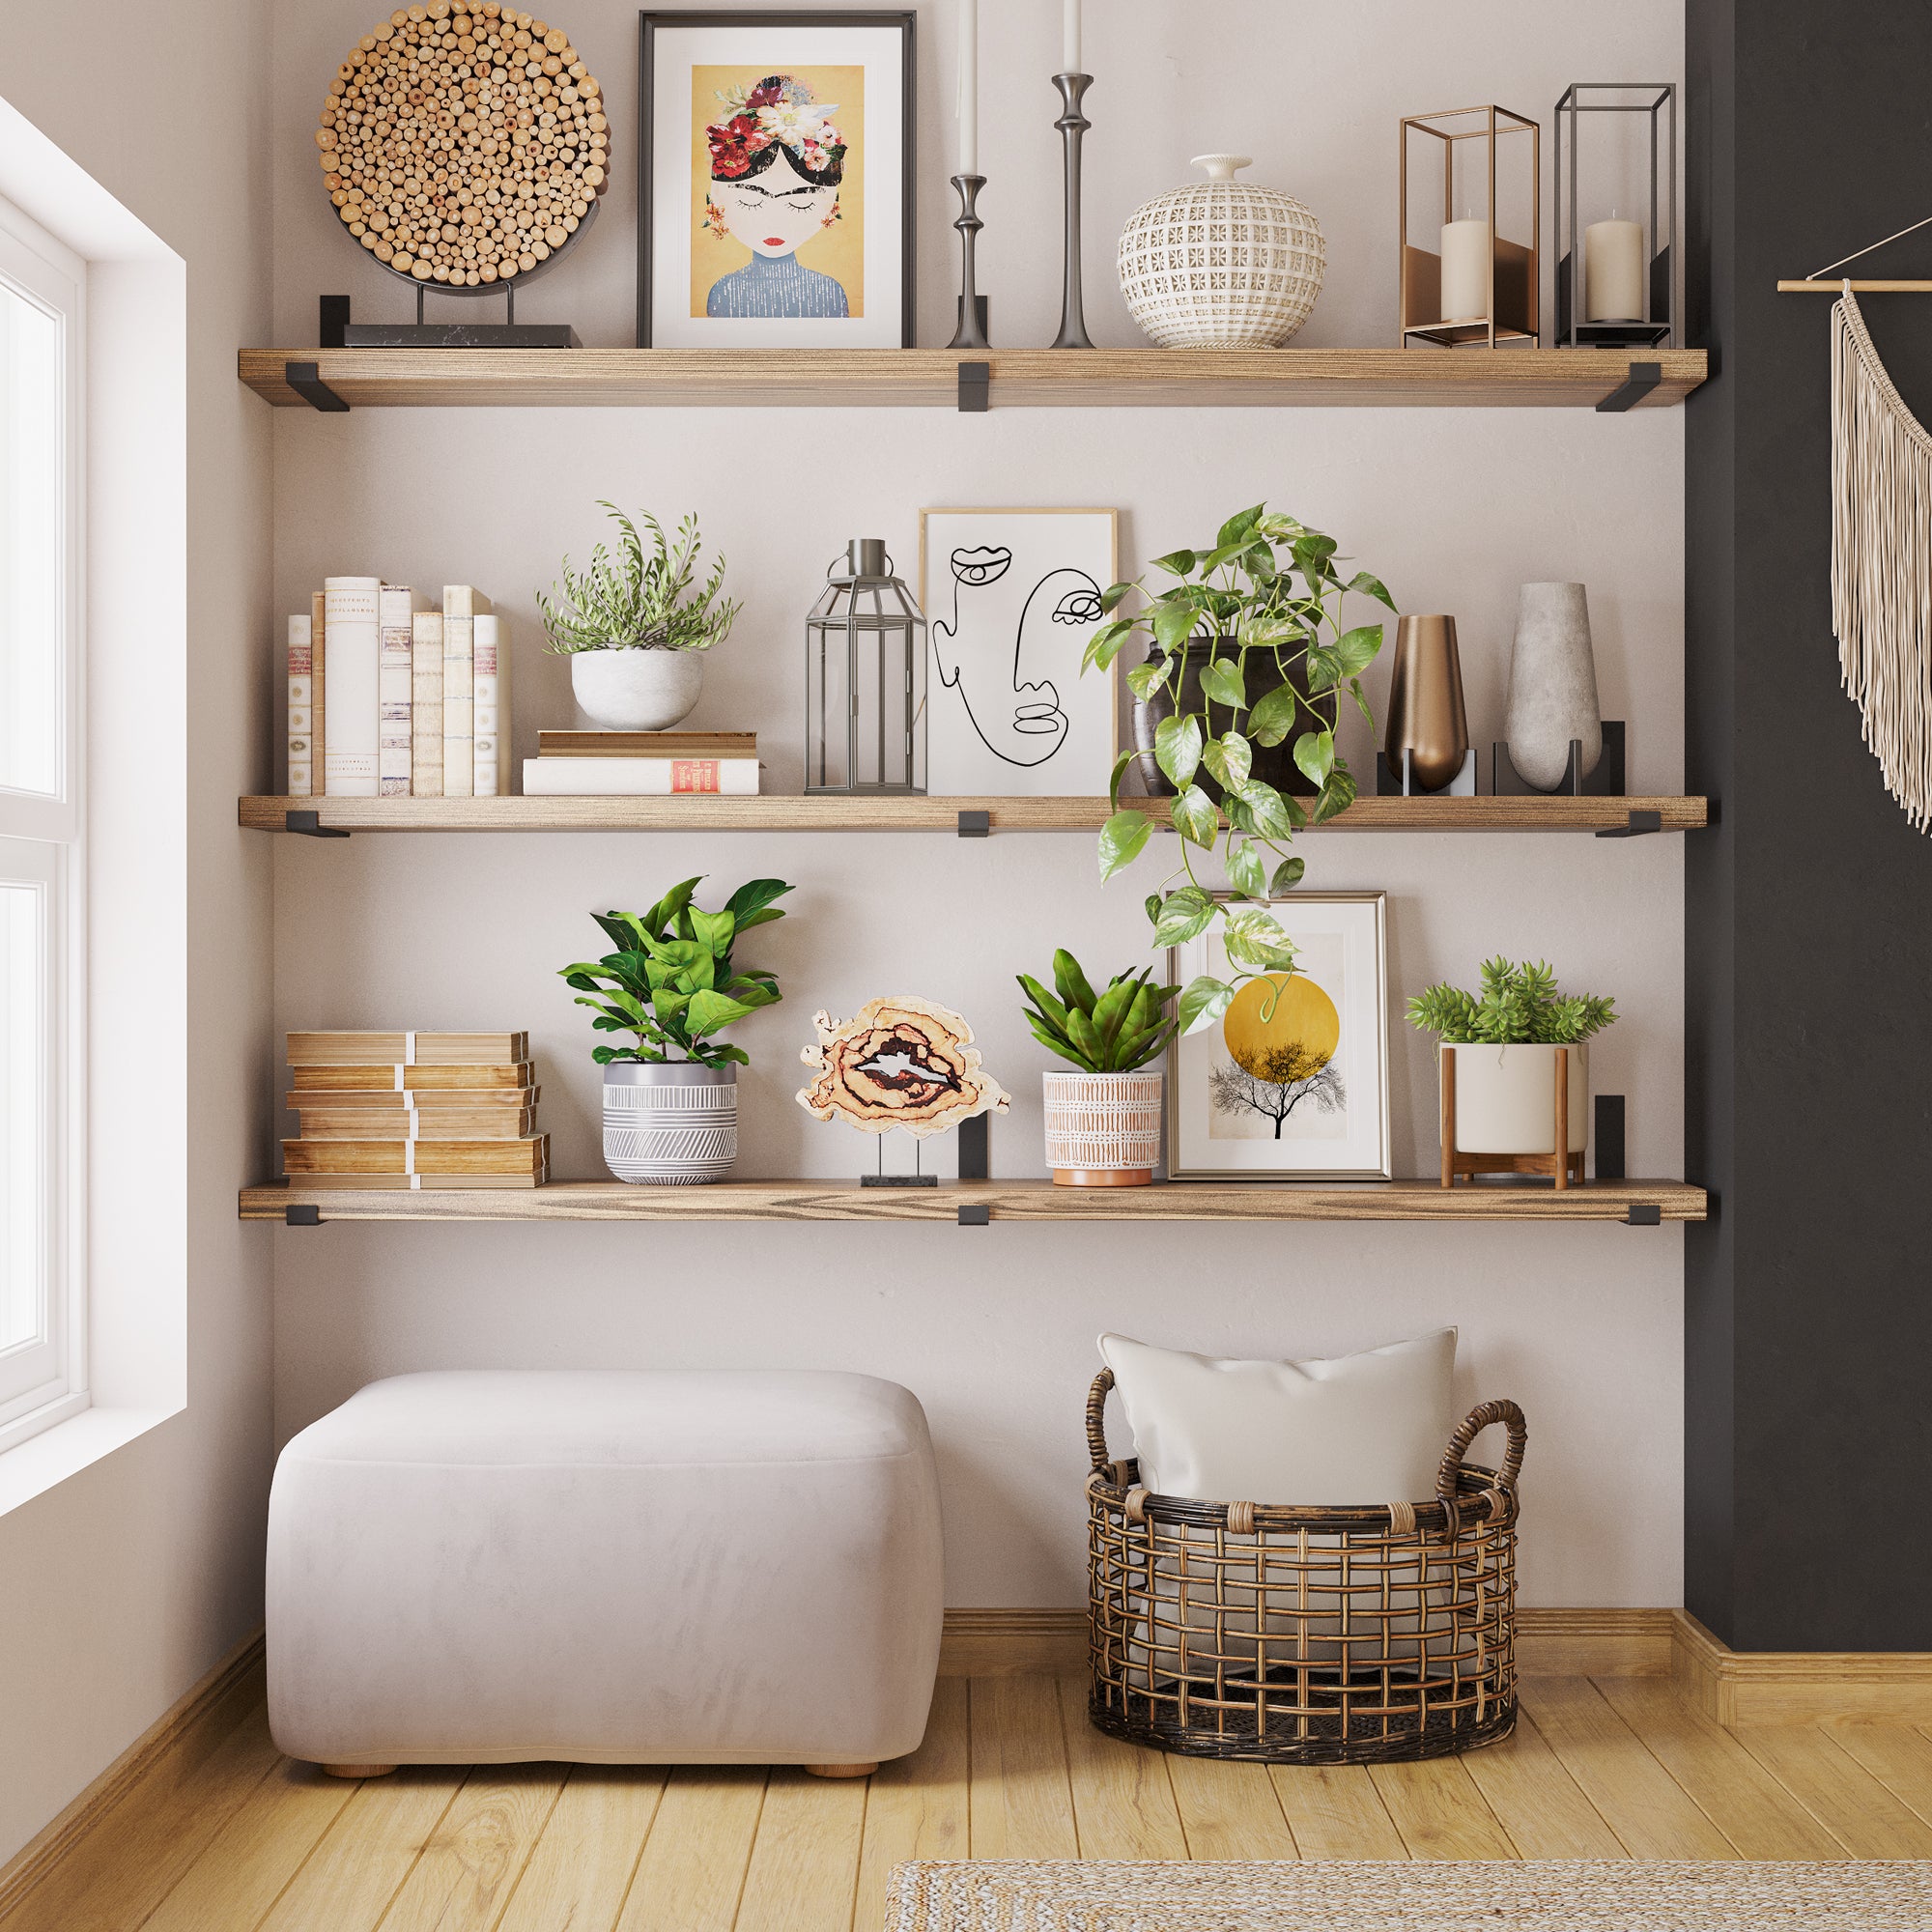
Best Places to Install Floating Wall Shelves
Bedroom:
- Above the headboard for decor
- As bedside tables
- To display plants and books
Read More: How to choose kitchen cabinets when remodelling?
Living Room:
- Around TVs for media storage
- Wall decor gallery
- Family photos or travel mementos
Read More: How do you buy kitchen cabinets on a budget?
Kitchen:
- Replace upper cabinets for an open look
- Store jars, cups, and small appliances
Read More: How to do DIY kitchen cabinetry and countertops cheaply?
Bathroom:
- Above toilet for towels and toiletries
- Near sink for everyday essentials
Read More: How does interior remodelling enhance a home?
Quick Floating Shelf Summary
StepKey Action
Choose a spot, Mark the location, find studs
Cut and build shelf Assemble box or solid shelf
Build and mount cleat Attach support to the wall
Install the shelf Slide onto the cleat, secure
Finish the surface Sand, paint or stain, and seal
Read More: What’s a Great Way to Improve a Room for Less Than $100?
Final Thoughts
Floating wall shelves are one of the easiest and most impactful DIY home upgrades. With just a few tools, some wood, and a weekend of work, you can build custom shelves that combine both style and function. Whether you’re aiming for a rustic farmhouse vibe or a sleek modern look, the floating shelf is a versatile canvas for creativity.
Want to help customise your shelf plan or to get a cut list and printable instructions? Just let me know—I’m happy to help!