
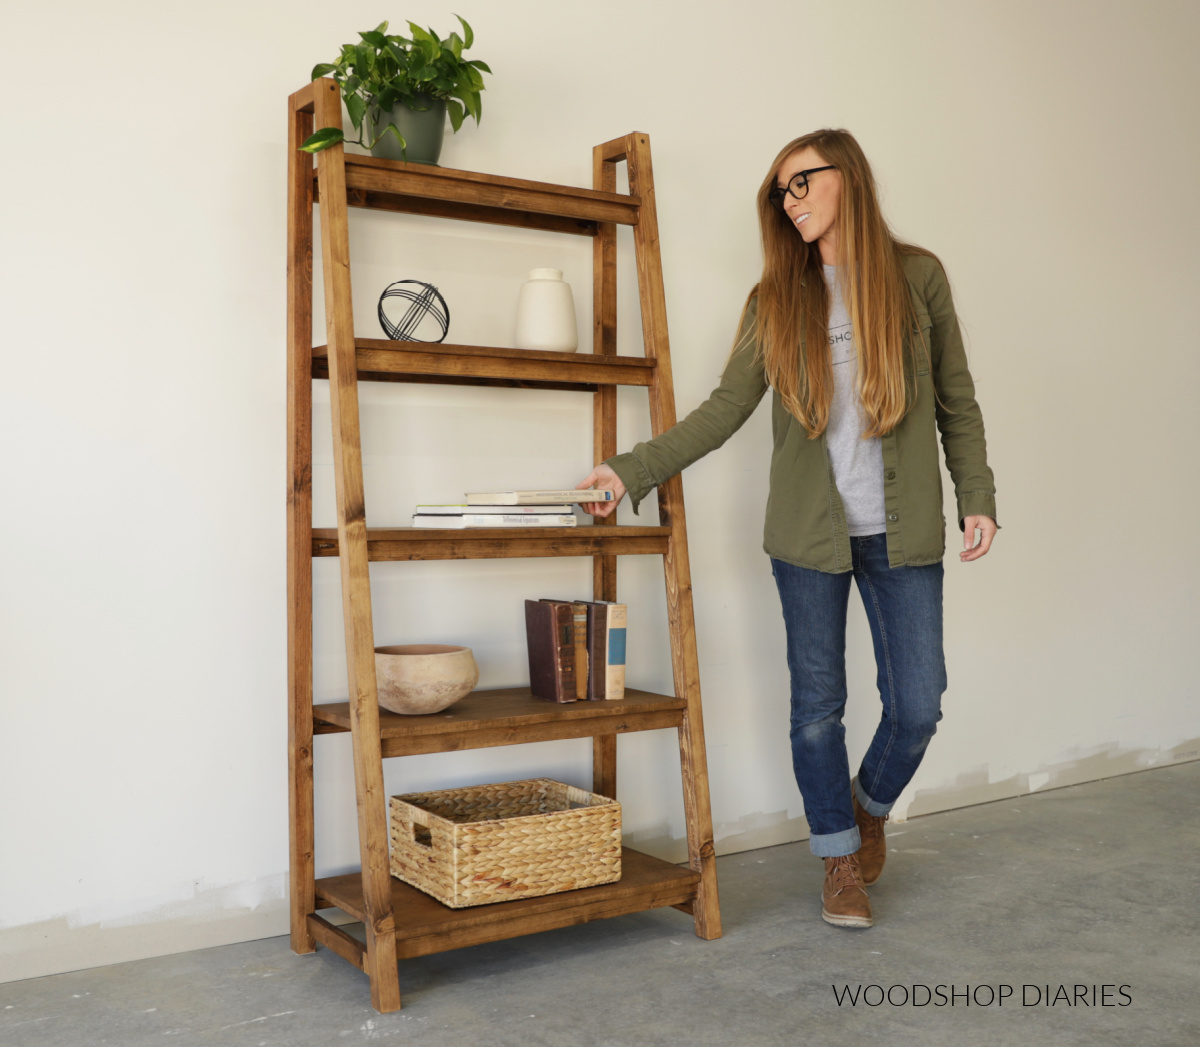
If you’re looking for a way to add storage or display space without mounting anything to the wall, free-standing shelves are a perfect solution. Whether it’s for a bedroom, bathroom, entryway, or home office, small shelving units can make any space more functional while also enhancing its style.
In this guide, you’ll learn how to build small free-standing shelves using simple materials, basic tools, and beginner-friendly techniques. This step-by-step tutorial is designed to help you build sturdy, stylish shelves—even if it’s your first DIY furniture project.
Why Build Free-Standing Shelves?
Free-standing shelves are:

- Portable – Move them anywhere, no installation is needed.
- Customizable – Choose your size, number of shelves, color, and finish.
- Budget-Friendly – Made from affordable materials like pine or plywood.
- Perfect for renters – No drilling or wall anchors required.
Whether you need a shoe rack, book storage, or decorative plant stand, this project gives you the freedom to design exactly what you need.
Read More: Where Can I Buy Cheap Kitchen Cabinets? | 2025 Budget-Friendly Guide
Tools and Materials You’ll Need
Basic Tools:
- Tape measure
- Drill/driver
- Circular saw or miter saw
- Level
- Speed square
- Clamps (optional but helpful)
- Sandpaper or orbital sander
- Wood glue
Read More: How Much Does Remodeling a Kitchen Cost? | Complete Cost Breakdown (2025 Guide)
Materials:
- Wood boards or plywood (dimensions depend on your design)
- Wood screws (1.25″ and 2″)
- Wood filler (for finishing)
- Paint, stain, or sealer
- Felt pads (to protect flooring)
Optional:
- Pocket hole jig (for concealed joinery)
- Angle brackets (for extra support)
Read More: How to make old kitchen cabinets look new?
Step-by-Step Guide: How to Build Small Free-Standing Shelves
Step 1: Plan Your Design
Before cutting anything, sketch a simple design. Decide:
- Shelf width (e.g., 24”–30”)
- Shelf depth (e.g., 8”–12”)
- Shelf height (e.g., 24”–36” total with 3 shelves)
- Shelf spacing (usually 10”–12” between shelves)
A popular beginner setup includes:
- 3 shelves
- 24” wide x 10” deep
- 30” tall total
Tip:
Measure the space where the shelf will go and match your design accordingly.
Read More: What are the options for replacing kitchen cabinets?
Step 2: Cut Your Wood Pieces
For a 3-shelf unit, you’ll need:
- (3) shelf boards (24” wide x 10” deep)
- (4) vertical legs (30” tall)
- (6) horizontal supports (10” long for front/back under each shelf)
Use a circular saw or miter saw for clean, straight cuts. Label each piece with a pencil so you know where it goes later.
Read More: How do you calculate the costs for a kitchen remodel?
Step 3: Sand the Pieces
Smooth all surfaces and edges using:
- 120-grit followed by 220-grit sandpaper
- An orbital sander for faster results
This step ensures your shelves look polished and are safe to handle (no splinters).
Read More: How to redo kitchen cabinets?
Step 4: Build the Shelf Frames (Optional for Extra Support)
For each shelf:
- Attach one 10” board under each end of the shelf using wood glue and 1.25” screws.
- These small rails give extra strength and help secure the shelf to the legs.
You can also use pocket holes if you want a cleaner, concealed screw look.
Read More: What is the most affordable cabinet material for my kitchen?
Step 5: Assemble the Sides
Stand two of the vertical legs on their sides.
- Attach one shelf frame near the bottom (2” up from the floor), another 10” higher, and the last 10” above that.
- Use wood glue and 2” screws to secure the rails to the legs.
- Repeat with the other two legs and remaining shelf frames.
Make sure each shelf is level and square before securing.
Read More: How difficult is it to build your kitchen cabinets?
Step 6: Attach the Shelf Boards
Place the shelf boards on top of each frame. Use screws and wood glue to secure them from the top into the frame supports.
Pro Tip: Clamp the boards in place while screwing to avoid shifting.
Read More: What is the most affordable cabinet material for my kitchen?
Step 7: Add Back Bracing (Optional)
To prevent wobbling, screw a piece of 1×2 or plywood diagonally across the back of the unit or use metal corner braces. This will keep the shelf frame from leaning or collapsing.
Read More: What can I do to plan for a kitchen remodel?
Step 8: Finish and Protect
Once assembled:
- Fill screw holes with wood filler if desired.
- Sand again for smoothness.
- Apply your choice of paint, wood stain, or clear polyurethane.
Paint for a clean, modern look. Stain for a warm, rustic finish.
Read More: What are the best ways to build kitchen cabinets?
Let it dry completely before placing items on the shelves.
Shelf Build Summary
StepTaskTools Needed
1 Plan dimensions Pencil, paper
2 Cut wood Saw, tape measure
3 Sand wood Sander or sandpaper
4 Build shelf frames Drill, screws
5 Assemble legs and frames Level, clamps
6 Add shelf boards Drill, glue
7 Optional bracing Screws, 1×2 board
8 Paint or stain Paintbrush, cloth
Read More: How to plan a successful kitchen remodeling project?
Design Tips and Variations
Here are some ideas to personalize your small shelving unit:
- Rustic style: Use reclaimed wood and stain it dark walnut.
- Modern vibe: Use straight cuts, bright paint, and clean lines.
- Industrial look: Combine wood shelves with metal pipes as legs.
- Kids’ room version: Use colorful paint and rounded corners for safety.
Read More: How to choose kitchen cabinets when remodeling?
Frequently Asked Questions
Can I build shelves without power tools?
Yes, but it’s harder. A handsaw, screwdriver, and sandpaper will work—but a power drill and circular saw will save you a lot of time and effort.
Read More: How do you buy kitchen cabinets on a budget?
What’s the best wood to use for small shelving?
- Pine – Easy to find and affordable
- Plywood – Lightweight and budget-friendly
- Poplar or oak – Durable and smooth (but more expensive)
Read More: How to do DIY kitchen cabinetry and countertops cheaply?
How much weight can the shelves hold?
If built properly with wood screws and support rails, small free-standing shelves can hold 25–50 lbs per shelf, depending on the wood and construction.
Read More: How does interior remodeling enhance a home?
How do I prevent the shelf from wobbling?
- Make sure your legs are cut exactly the same length.
- Add back bracing for stability.
- Place felt pads under the legs on hard floors to keep the unit level.
Read More: What’s a Great Way to Improve a Room for Less Than $100?
Final Thoughts
Building your small free-standing shelves is a practical, affordable, and satisfying DIY project. Whether you’re organizing books, showcasing decor, or adding extra storage, this project can be customized to fit any room or need.
With just a few tools, some affordable lumber, and a weekend afternoon, you can build something both useful and beautiful—plus, you’ll gain valuable woodworking experience for your next project!