
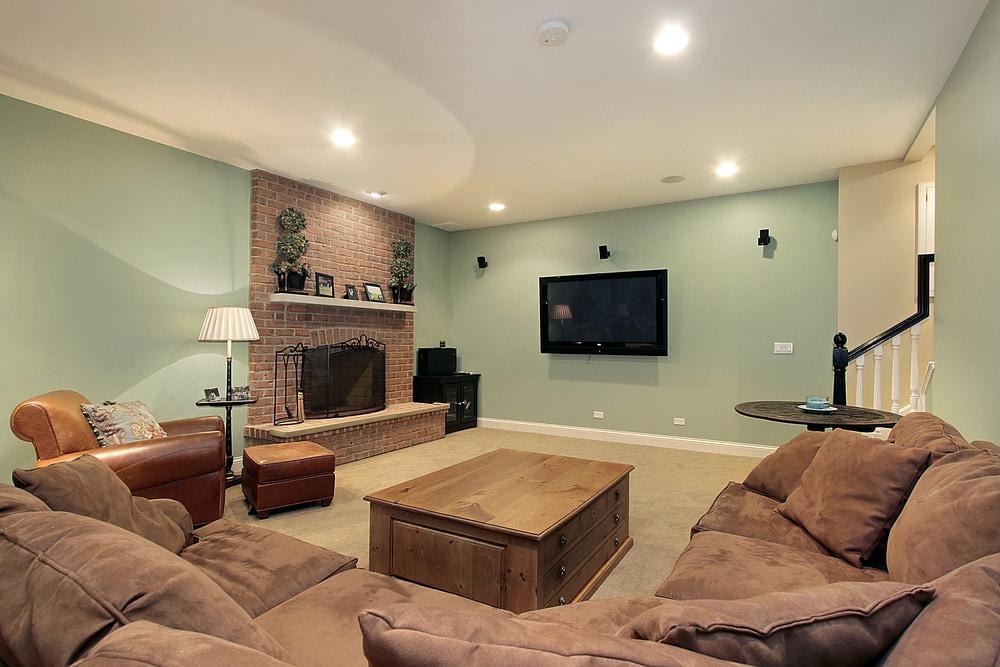
Painting basement walls can dramatically transform a dark, dreary space into a fresh, welcoming area in your home. Whether you’re finishing the basement for added living space, storage, or just giving it a much-needed upgrade, a proper paint job is one of the most effective improvements you can make. However, basements come with unique challenges such as moisture, uneven surfaces, and poor lighting.
This step-by-step guide will walk you through how to paint basement walls like a pro, ensuring a smooth, long-lasting, and professional finish.
Why Painting Basement Walls is Different
Before we dive into the process, it’s important to understand why basement walls are not like other walls in your home:
- Higher moisture levels
- Concrete or cinder block surfaces
- Possibility of mildew or mold
- Temperature fluctuations
- Less natural light
Because of these factors, proper preparation and choosing the right materials is essential to ensure your paint doesn’t peel, bubble, or trap moisture.
Read More: Finishing Out Basement Walls: A Step-by-Step DIY Guide to a Warm, Dry, and Beautiful Space
What You’ll Need
Tools & Supplies
- Wire brush or stiff bristle brush
- TSP cleaner or mild detergent
- Concrete patch or hydraulic cement (for cracks)
- Caulk and caulking gun
- Painter’s tape
- Drop cloths or plastic sheeting
- Roller and brushes
- Extension pole for roller
- Paint tray
- Moisture-resistant primer
- Masonry or waterproofing paint
- Dehumidifier or fan
Optional: Paint sprayer (for large or uneven areas)
Read More: Cozy Cinder Block Basement Walls Renovation Ideas: Turn Cold Into Comfort
Step-by-Step Guide to Painting Basement Walls
Step 1: Inspect for Moisture or Damage
Moisture is the biggest challenge when painting a basement. Before painting, check for:
- Visible cracks or holes
- Efflorescence (white powdery residue)
- Damp spots
- Mold or mildew
If your basement walls feel damp or show signs of water leakage, fix the moisture issue before painting. Use a moisture meter to confirm levels are safe for painting (ideally below 15%).
Tip: Tape a piece of plastic to the wall for 24–48 hours. If condensation appears underneath, you’ll need to address moisture issues first.
Read More: Basement Block Wall Ideas: Stylish & Functional Finishing Options for Concrete Walls
Step 2: Clean the Walls Thoroughly
Cleanliness is key for paint adhesion.
- Use a wire brush to scrub away dirt, mold, or loose paint.
- Mix TSP (or mild detergent) with water and clean the walls with a sponge or brush.
- Rinse with clean water and let dry completely.
Pro Tip: If there’s mold, use a mold-killing cleaner like Concrobium or a bleach solution (1:3 bleach to water).
Read More: DIY Basement Remodeling with Concrete Block Walls: A Complete Homeowner’s Guide
Step 3: Repair Cracks and Seal Gaps
Patch any imperfections to create a smooth painting surface.
- Use concrete patch or hydraulic cement to seal cracks.
- Fill gaps around pipes or windows with paintable caulk.
- Allow all repairs to cure per manufacturer instructions before proceeding.
Read More: How to Finish a Basement Wall: DIY Guide for Homeowners
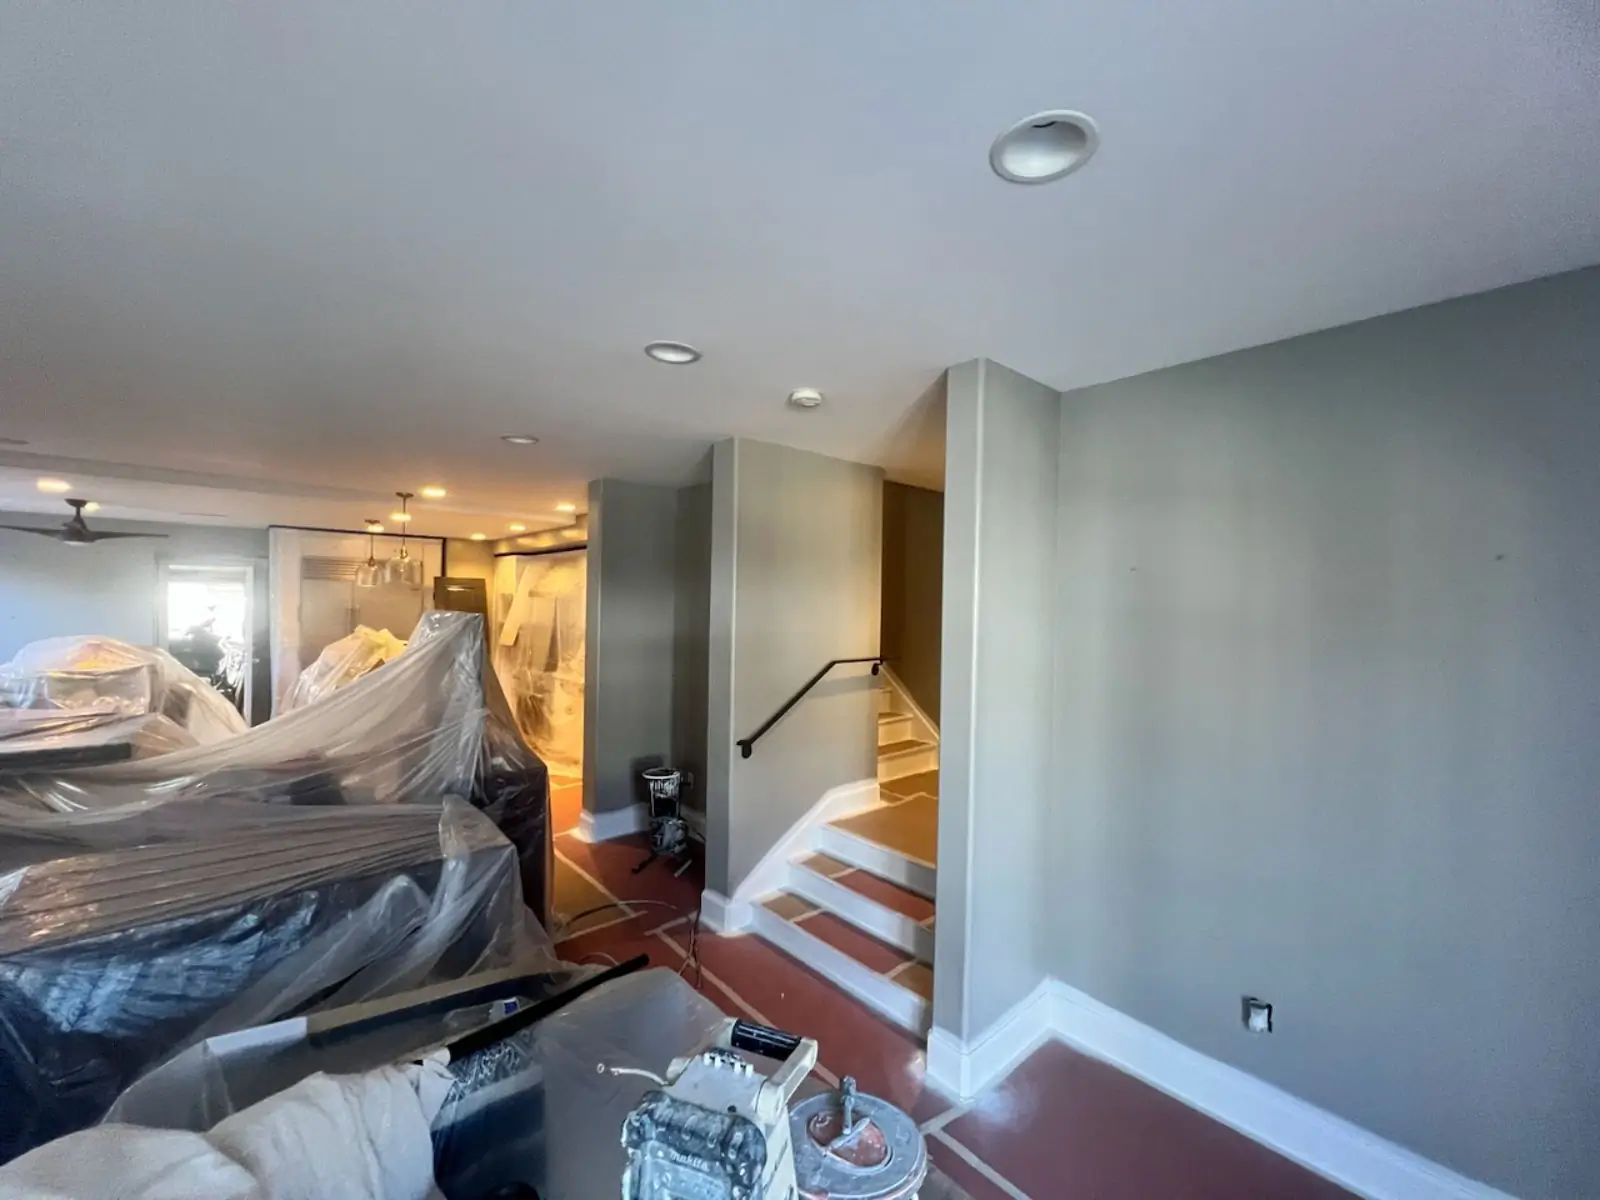
Step 4: Protect Floors and Fixtures
- Lay down drop cloths to protect your basement floor.
- Use painter’s tape around windows, outlets, and ceilings for clean lines.
- Remove outlet covers or cover them with tape/plastic.
Expert Hack: Label the covers with their location so you can easily reinstall them later.
Read More: How to Finish a Basement Wall (DIY): A Complete Step-by-Step Guide
Step 5: Apply a Masonry or Moisture-Resistant Primer
Priming is crucial in basements to block moisture and stains.
Choose the right primer:
- Masonry primer for concrete or block walls
- Stain-blocking primer if previous damage or mold was present
- Waterproofing primer if you expect moisture exposure
Apply primer with a roller, using a brush for corners and edges. Let dry as recommended (typically 4–8 hours).
Read More: How to Build Finished Walls in a Basement: A Step-by-Step DIY Guide
Step 6: Paint Your Basement Walls
Once primed, it’s time to paint! Choose the right paint for your needs:
Best Paint Types for Basements
- Masonry paint (like Behr Basement & Masonry Waterproofer)
- Waterproofing paint (like Drylok)
- Acrylic latex paint with mildew-resistant properties for finished walls
Read More: How to Make an Unfinished Basement Usable: Budget-Friendly Ideas for Every Home
How to Paint:
- Start with edges using a brush around windows, ceilings, and outlets.
- Use a roller on large flat areas. Work in small sections and use overlapping strokes.
- Apply at least two coats for even coverage and durability.
Pro Tip: Use a paint sprayer for uneven surfaces or textured concrete blocks—it’ll save time and create a smoother finish.
Read More: 130 Best Unfinished Basement Ideas to Transform Your Space
Drying and Curing Time
- Allow 6–8 hours between coats (depending on humidity).
- Keep the space well-ventilated with fans or a dehumidifier.
- Wait at least 24–48 hours before placing anything against the walls.
Read More: How to Add Support to Basement Ceiling Joists: A Complete DIY Guide
Pro Tips for a Flawless Basement Paint Job
- Don’t skip primer: It’s tempting to save time, but skipping primer can lead to peeling and bubbling.
- Use a light color: Light tones brighten dark basement areas.
- Buy quality paint: Cheap paint won’t last in damp areas.
- Seal the floor: If you’re painting floors too, use a basement-specific epoxy paint after doing walls.
- Consider moisture barriers: On extremely damp walls, use a vapor barrier paint or add a physical moisture barrier before painting.
Read More: 68 Best Exposed Basement Ceiling Ideas for a Stylish and Functional Space
Frequently Asked Questions
Q: Can I paint over old concrete paint in the basement?
Yes, but clean and sand the surface lightly before applying new paint. Always use a primer compatible with the old paint type.
Read More: Need Advice for How to Finish Basement Ceiling? Here’s What You Should Know
Q: How do I prevent mold from returning?
Use a mold-killing primer, ensure walls are dry before painting, and use a dehumidifier in the space.
Read More: DIY Basement Ceiling Ideas and Renovation Tips
Q: What paint is best for a concrete basement wall?
Use masonry paint or waterproofing paint specifically formulated for concrete or block surfaces.
Read More: Transforming Our Unfinished Basement Ceiling: A Complete DIY Guide
Final Thoughts
Painting your basement walls is an affordable way to boost your home’s appearance, functionality, and value. With proper prep, the right materials, and these easy-to-follow steps, you can achieve a smooth, long-lasting finish just like a pro.
Whether you’re painting a finished basement or refreshing an unfinished one, remember: a successful paint job starts with proper prep and the right products.
Want help picking out the best paint color for your basement? Or looking to paint the ceiling and floors next? Let me know and I’ll guide you step-by-step!