
Do you dream of a cinematic experience without leaving your house? Your basement might be the perfect space to create a stylish home theater. With the right planning, design, and upgrades, you can convert your unused or unfinished basement into a comfortable, immersive entertainment zone that adds value to your home.
In this in-depth guide, we’ll walk you through everything you need to know to transform your basement into a home theater—from soundproofing and layout to lighting, furniture, and tech setup.
Why the Basement is Perfect for a Home Theater
Your basement offers unique benefits for a home cinema setup:
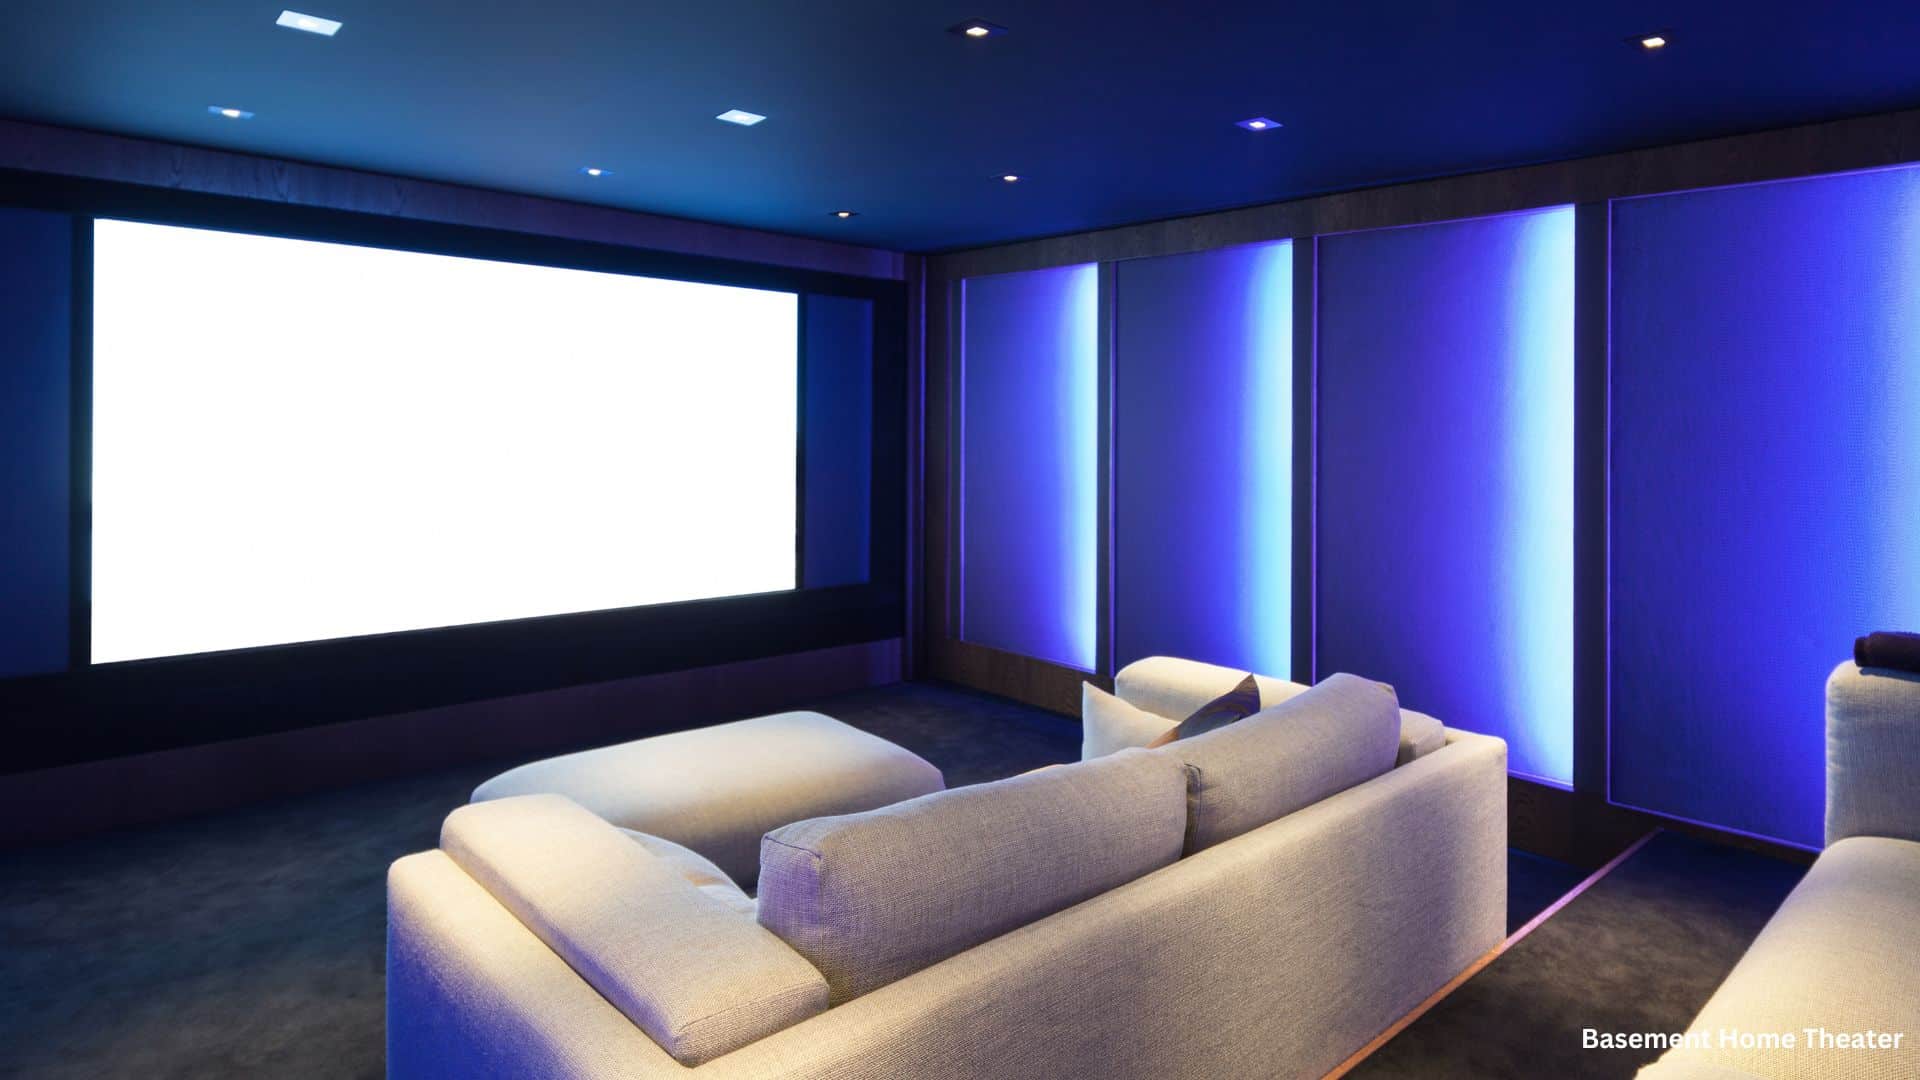
- Natural sound insulation thanks to concrete walls.
- Low light levels that enhance picture quality.
- Dedicated space away from daily household noise.
- Versatility to design a completely custom experience.
Read More: Basement Renovations & Remodeling in the Chicago Area: A 2024 Homeowner’s Guide
Step 1: Plan Your Basement Home Theater Layout
Consider the Space
Start by evaluating your basement’s size and shape. Ask:
- How much square footage is available?
- Is the ceiling high enough for comfortable seating and projector use?
- Do you want a single-purpose theater or a multifunctional media room?
Ideal dimensions: A rectangular room (e.g., 12×20 ft) is great for acoustics and screen viewing.
Read More: Basement Remodeling & Finishing in Chicago: A Complete Guide for 2024
Determine Seating Capacity
Plan for:
- Two rows of theater-style seating if space permits.
- Recliners or tiered platforms to enhance viewing angles.
- Beanbags or sectionals for a cozy family-friendly setup.
Read More: DIY Basement Renovation: The Ultimate 2024 Guide to Transform Your Space
Step 2: Insulate and Soundproof Your Theater
Insulation
Insulate the walls and ceiling with:
- Fiberglass batts: Basic and affordable.
- Rockwool insulation: Better for soundproofing.
Read More: Basement Framing: Top Guide to Master DIY in 2024
Soundproofing Tips
- Add resilient channels behind drywall to absorb vibrations.
- Use acoustic panels or sound-absorbing fabrics on walls.
- Install solid-core doors and seal gaps with weather stripping.
- Carpet the floors or use large area rugs with padding.
Read More: DIY Tips for Low-Impact Basement Remodeling: Upgrade Without Breaking the Bank
Step 3: Lighting Design for the Perfect Mood
Lighting is crucial for ambiance and viewing quality.
Types of Lighting
- Recessed LED lights with dimmers for ceiling use.
- Wall sconces for indirect lighting.
- LED strip lights under seats or stairs for a theater vibe.
Pro Tip: Use smart lighting with programmable scenes like “Movie Time” or “Intermission.”
Read More: 96 Best DIY Basement Ideas to Transform Your Space
Step 4: Choose the Right Display Setup
Projector vs. Large Screen TV
| Feature | Projector | Large Screen TV |
|---|---|---|
| Screen size | 100–150+ inches | 65–85 inches |
| Picture quality | Great in dark rooms | Better in bright settings |
| Cost | More affordable for large size | Higher cost for big screens |
| Setup complexity | Requires screen + mount | Simple installation |
Recommendation: A 4K projector with a fixed-frame screen is perfect for true theater feel.
Read More: How to Build Basement Storage Ceiling Shelves: Maximize Overhead Space
Step 5: Set Up Surround Sound System
A good sound system makes or breaks the home theater experience.
Standard Configurations
- 5.1 system: 5 speakers + 1 subwoofer (ideal for small rooms)
- 7.1 system: 7 speakers + 1 subwoofer (for larger rooms)
Read More: DIY Basement Storage Shelves: A Complete Guide to Maximizing Space
Speaker Placement
- Front left/right: At ear level beside the screen.
- Center speaker: Below or above the screen for dialogue.
- Surround speakers: On side/rear walls.
- Subwoofer: Corner or front wall (move around for best bass).
For the ultimate experience, consider Dolby Atmos systems with ceiling-mounted speakers.
Read More: How to Install Shelves on a Concrete Basement Wall (DIY Guide)
Step 6: Wiring and Power Management
Pre-Wire Everything
- Run speaker wires, HDMI cables, and Ethernet during construction.
- Use conduits for easy upgrades later.
- Include power outlets for projectors, amps, consoles, and lighting.
Read More: How to Build Shelves for Your Basement: A Complete DIY Guide
Equipment Rack
Designate a cabinet or rack to hold:
- AV receiver
- Game consoles
- Blu-ray players
- Streaming devices (Apple TV, Roku, etc.)
Install a cooling fan to prevent overheating.
Read More: 100 Best Basement Storage Ideas to Maximize Space and Organization
Step 7: Interior Design & Finishes
Wall and Ceiling Colors
Use dark matte colors to avoid light reflection:
- Deep gray
- Charcoal
- Navy blue
- Dark burgundy
Read More: DIY Basement Shelving: Maximize Storage with These Smart Ideas
Ceiling Ideas
- Acoustic drop ceiling tiles
- Painted exposed beams for industrial charm
- Black drywall ceiling for professional theater style
Read More: Painting Your Finished Basement Right: A Complete DIY Guide
Wall Treatments
- Acoustic panels
- Sound-absorbing curtains
- Movie posters or themed decor
Read More: Easy Steps To Paint Basement Walls Like A Pro
Flooring
- Carpet is ideal for sound and comfort.
- Use moisture barriers if your basement is prone to dampness.
Read More: Paint Prep for a Basement Remodel: Trick to a Great Paint Job
Step 8: Choose Theater Furniture
Options include:
- Reclining theater chairs with cup holders
- Sofas or loveseats with built-in USB ports
- Platform risers for tiered seating
Don’t forget side tables, blankets, and storage for remotes and snacks.
Read More: Painting the Basement from Top to Bottom: A Complete DIY Guide
Step 9: Add Theater Extras
Make your basement home theater unforgettable with:
- Popcorn machine
- Mini fridge or bar
- Smart home automation (voice-activated lights, screens, audio)
- Blackout shades or curtains over basement windows
Read More: Painting the Basement: DIY Tips and Tricks for a Flawless Finish
Budget Breakdown
| Component | Estimated Cost |
|---|---|
| Insulation & drywall | $2,000 – $5,000 |
| Projector or TV setup | $1,500 – $5,000+ |
| Sound system | $1,000 – $4,000 |
| Lighting installation | $500 – $1,500 |
| Furniture & seating | $1,000 – $4,000+ |
| Decor and extras | $500 – $2,000 |
| Total | $6,500 – $20,000+ |
You can keep costs lower with DIY work and budget-friendly equipment bundles.
Read More: Finishing Out Basement Walls: A Step-by-Step DIY Guide to a Warm, Dry, and Beautiful Space
Final Thoughts
Transforming your basement into a stylish home theater doesn’t require a Hollywood budget. With the right layout, materials, and tech, you can build a space where family movie nights, gaming marathons, and weekend binge sessions come to life. Whether you’re looking for a cozy DIY project or a high-end luxury theater, your basement holds incredible potential.
Need a customized layout, shopping list, or floor plan sketch? Let me know — I’d love to help bring your home theater vision to life!