
Remodeling a basement is one of the smartest ways to expand your home’s usable space and increase property value. However, if your basement has concrete block walls, the process comes with unique challenges and opportunities. With the right strategies, materials, and know-how, you can transform those bare blocks into a clean, dry, and beautiful living space — all by yourself.
This DIY guide walks you through everything you need to know about remodeling a basement with concrete block walls—from prepping and waterproofing to framing, finishing, and decorating
Why Focus on Concrete Block Walls?
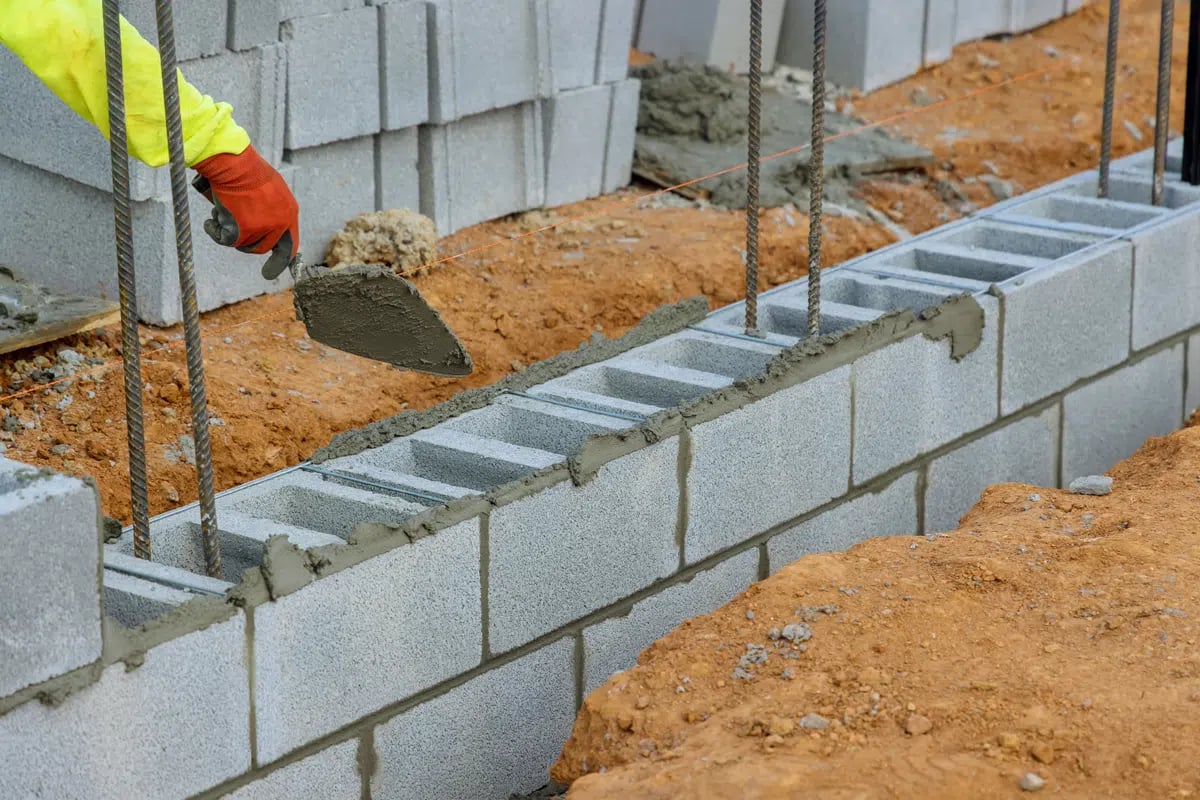
Concrete block (CMU) walls are common in many older and newer homes. They’re strong, cost-effective, and great for foundations, but they aren’t aesthetically pleasing or comfortable in their raw state.
Key challenges:
- Porous and moisture-prone
- Poor insulation value
- Cold and uninviting
- Difficult to finish without proper planning
Opportunities:
- Structurally sound
- Can be sealed, framed, and finished in many creative ways
- Ideal for long-term basement upgrades
Read More: How to Add Support to Basement Ceiling Joists: A Complete DIY Guide
Tools & Materials You’ll Need
Tools:
- Hammer drill with masonry bits
- Tape measure
- Chalk line
- Framing nailer or screw gun
- Saw (circular or miter)
- Utility knife
- Trowel, mud pan, and sanding block
- Stud finder
- Safety glasses and gloves
Read More: 68 Best Exposed Basement Ceiling Ideas for a Stylish and Functional Space
Materials:
- Masonry sealant
- Rigid foam board or spray foam
- Pressure-treated and standard 2×4 lumber
- Vapor barrier (if needed)
- Concrete anchors (Tapcon screws)
- Drywall sheets
- Drywall mud, tape, and screws
- Insulated wall panels (optional)
- Paint, primer, trim
Read More: Need Advice for How to Finish Basement Ceiling? Here’s What You Should Know
Step-by-Step: How to Remodel a Basement with Concrete Block Walls
Step 1: Inspect and Address Moisture Issues
Concrete blocks are porous. Before you finish the walls:
- Look for signs of water infiltration or efflorescence (white powdery residue).
- Seal cracks using hydraulic cement or concrete patch.
- Apply a waterproof masonry sealant like Drylok to the interior walls.
Tip: Run a dehumidifier consistently to keep humidity below 50%.
Read More: DIY Basement Ceiling Ideas and Renovation Tips
Step 2: Choose an Insulation Method
Insulating block walls is essential for comfort and energy efficiency.
Option A: Rigid Foam Board
- Attach 1–2” foam panels directly to block walls using construction adhesive.
- Seal joints with foil tape and foam spray.
- Frame walls in front of insulation.
Read More: Transforming Our Unfinished Basement Ceiling: A Complete DIY Guide
Option B: Spray Foam Insulation
- Professional-grade solution that offers excellent R-value and air sealing.
- More expensive but efficient and moisture-resistant.
Read More: Basement Finish Timeline: How Long Does It Really Take to Finish a Basement?
Option C: Insulated Wall Systems (e.g., Dricore SMARTWALL®)
- All-in-one insulated, pre-finished panels.
- Ideal for DIYers wanting faster installation.
Read More: Refinishing Your Basement: A Comprehensive Guide
Step 3: Frame the Walls
- Build 2×4 walls using pressure-treated bottom plates (to prevent moisture damage).
- Frame with studs spaced 16” on center.
- Anchor the bottom plate to the floor with masonry screws.
- Leave a 1” air gap between framing and wall if you didn’t insulate directly.
Use shims to ensure your wall is level and plumb.
Read More: Basement Made Beautiful: Part 4 – Final Touches & The Grand Reveal
Step 4: Add Vapor Barrier (If Needed)
Depending on your insulation method and local codes:
- Staple 6-mil plastic sheeting over insulation.
- Overlap and seal seams with construction tape.
- Ensure a complete seal from floor to ceiling.
Some modern building codes recommend skipping interior vapor barriers when using foam board insulation, as it can trap moisture. Always check your local requirements.
Read More: Pro Tips for Basement Finishing: Transform Your Space Like a Pro
Step 5: Electrical & Utilities

Install any electrical wiring, plumbing, or cable runs before drywalling:
- Run wires through drilled holes in studs.
- Install electrical boxes flush with drywall thickness.
- Consult a licensed electrician if unsure about codes or load requirements.
Read More: Understanding Basement Remodel Costs: What You Need to Know Before You Renovate
Step 6: Install Drywall
- Hang drywall sheets horizontally or vertically based on your wall height.
- Use drywall screws every 12–16 inches into the studs.
- Tape and mud seams, sand between coats, and apply 2–3 layers of joint compound.
- Prime and paint with mildew-resistant paint.
Read More: How to Install Recessed Lighting in a Basement: A Complete Step-by-Step Guide
Step 7: Finishing Touches
- Add baseboards and trim.
- Paint walls in light, warm tones to brighten the space.
- Add moisture-resistant flooring (vinyl planks, carpet tiles, epoxy, or stained concrete).
- Install recessed lighting or LED panels to compensate for low ceilings.
Read More: Recommended Basement Recessed Lights: The Ultimate Guide for Homeowners
Budget Breakdown
| Item | Cost Range |
|---|---|
| Waterproofing materials | $100 – $300 |
| Foam board insulation | $200 – $500 |
| Framing materials | $300 – $600 |
| Drywall and finish | $400 – $900 |
| Electrical upgrades | $200 – $800 (optional) |
| Paint and trim | $100 – $300 |
| Total DIY Estimate | $1,300 – $3,400 |
Note: Costs vary by size of basement, material quality, and local pricing.
Read More: Recessed Lighting in Finished Basement: A Complete Homeowner’s Guide
Design Ideas for Concrete Block Basement Remodels
- Industrial Vibe – Leave some sealed block walls exposed, pair with black accents and pendant lights.
- Modern Minimalism – Use foam board + drywall and paint in white or gray.
- Rustic Retreat – Add wood paneling or shiplap over framing for a cozy feel.
- Studio Space – Soundproof your finished walls for music, podcasting, or content creation.
- Home Gym – Install mirrors and rubber flooring on top of your finished block-wall remodel.
Read More: Need Paint Color Ideas for Basement? Here’s Your Ultimate Guide
Final Thoughts
Remodeling a basement with concrete block walls doesn’t have to be overwhelming. With proper preparation, smart insulation, and the right finishing techniques, you can turn your cold, gray basement into a warm, beautiful, and functional space — all while saving money with DIY labor.