
Basements are the hidden gems of home storage. Whether finished or unfinished, they offer an abundance of space—if you know how to organize them properly. One of the most practical and budget-friendly solutions for transforming a cluttered basement into a functional storage area is DIY basement shelving.
This guide walks you through everything you need to know to design, build, and install durable and efficient shelving in your basement. Whether you’re a seasoned DIYer or just starting out, this article will help you create shelves that stand the test of time.
Why Build DIY Shelving in Your Basement?
Purchasing pre-made storage units can be convenient, but they often come with limitations in size, strength, and flexibility. DIY shelving offers several advantages:
- Custom fit for your space
- Stronger and more durable
- Cheaper than commercial alternatives
- Tailored to your specific storage needs
- Adds resale value to your home with improved organization
Read More: Painting the Basement: DIY Tips and Tricks for a Flawless Finish
Planning Your DIY Basement Shelving Project
1. Assess the Space
Start by evaluating the layout and condition of your basement:
- Finished or unfinished?
- Concrete walls or framed drywall?
- Humidity levels or potential for water intrusion?
Avoid placing wood shelving directly on concrete floors or near moisture-prone areas unless properly treated or sealed.
Read More: Finishing Out Basement Walls: A Step-by-Step DIY Guide to a Warm, Dry, and Beautiful Space
2. Determine Shelf Usage
Knowing what you plan to store helps determine:
- Depth: 12″-18″ for bins, 24″ for bulk items
- Height: Adjustable or fixed depending on use
- Weight: Consider support for heavy tools, canned goods, or seasonal décor
Read More: Cozy Cinder Block Basement Walls Renovation Ideas: Turn Cold Into Comfort
3. Select Materials
The most common and affordable materials include:
- 2x4s for framing
- Plywood or MDF for shelves
- Metal brackets or L-angles for added support
- Deck screws or wood screws for assembly
Optional:
- Pressure-treated wood for moisture-prone basements
- Concrete anchors if attaching to masonry walls
Read More: Basement Block Wall Ideas: Stylish & Functional Finishing Options for Concrete Walls
Tools You’ll Need
Here’s a list of tools you’ll need for your DIY shelving project:
- Power drill or impact driver
- Circular saw or table saw
- Tape measure
- Carpenter’s square
- Stud finder
- Level
- Pencil or chalk line
- Safety gear (gloves, goggles, dust mask)
Read More: DIY Basement Remodeling with Concrete Block Walls: A Complete Homeowner’s Guide
Step-by-Step Guide: Building Basement Shelving
Step 1: Measure and Mark
Use a measuring tape to:
- Mark where the vertical supports will go
- Determine spacing for each shelf
- Mark stud positions on walls if attaching shelving
Pro Tip: Standard shelf spacing is about 16-18 inches apart vertically. Make sure to leave extra height for taller bins or appliances.
Read More: How to Finish a Basement Wall: DIY Guide for Homeowners
Step 2: Build the Frame
For Free-Standing Shelving:
- Cut four 2x4s to the height of your shelf unit.
- Cut horizontal pieces (2x4s) to the width and depth you want.
- Assemble rectangular shelf frames using screws and a square.
- Screw the shelf boards (plywood or MDF) onto each frame.
Read More: How to Finish a Basement Wall (DIY): A Complete Step-by-Step Guide
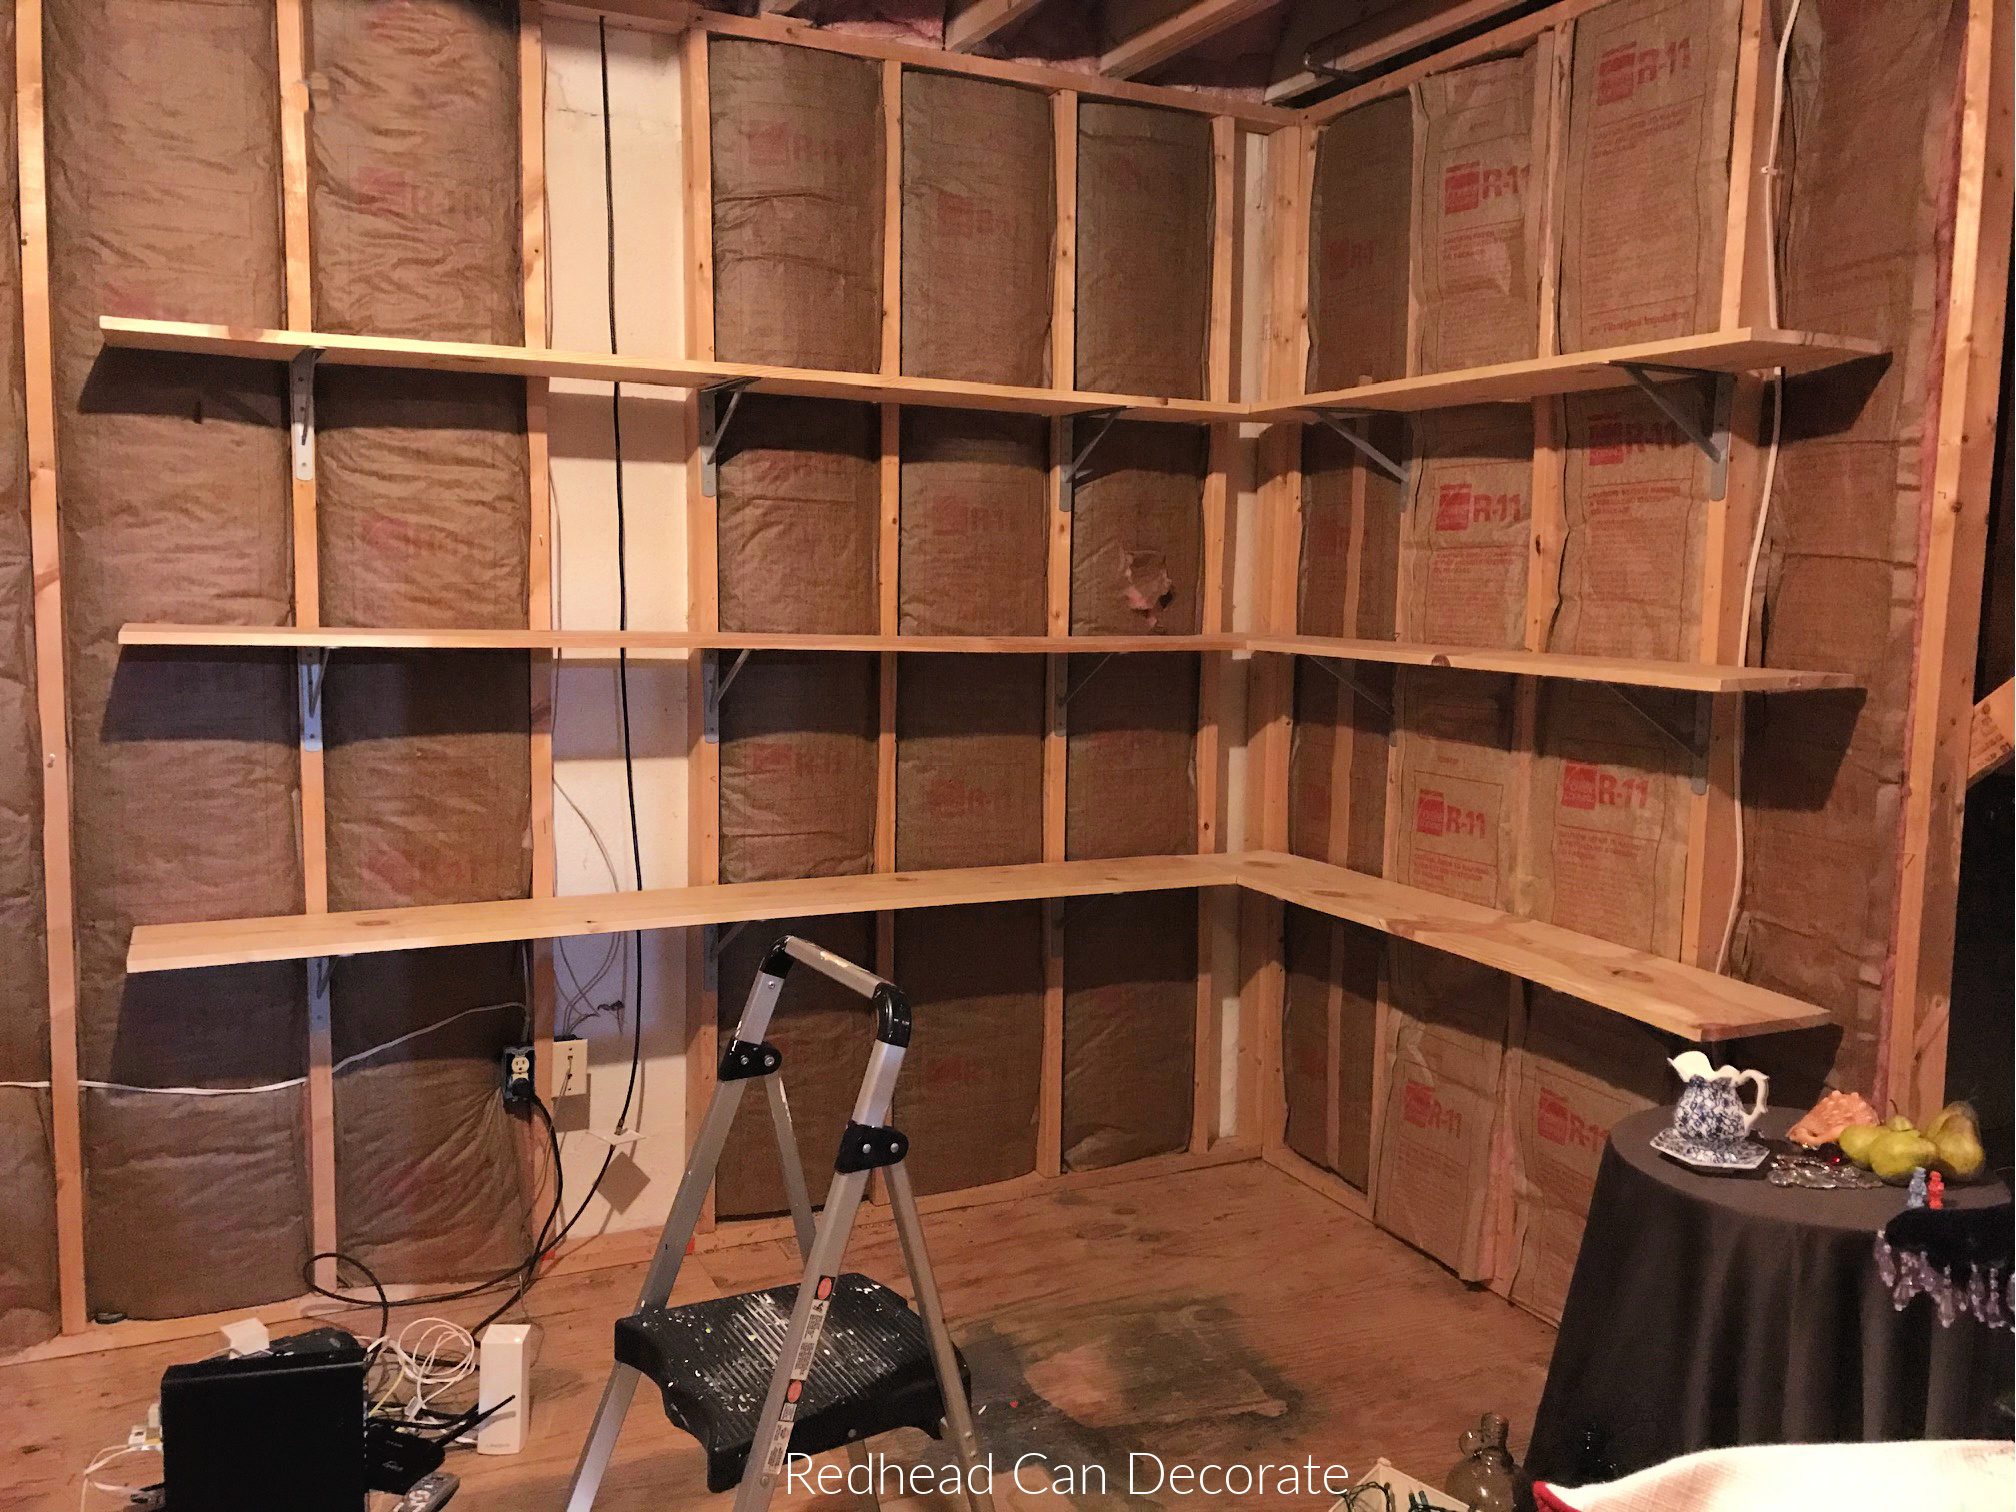
For Wall-Mounted Shelving:
- Locate wall studs and mark them.
- Screw horizontal 2×4 cleats into studs.
- Use shelf brackets or L-brackets to support each shelf.
- Lay and fasten plywood on top of brackets.
Read More: How to Build Finished Walls in a Basement: A Step-by-Step DIY Guide
Step 3: Assemble the Structure
For free-standing shelves:
- Attach the frames to the vertical supports (legs) using screws.
- Start from the bottom and work your way up.
- Make sure each shelf is level before securing.
For wall-mounted shelves:
- Secure all brackets and cleats properly.
- Ensure each shelf is level and properly supported.
Read More: How to Make an Unfinished Basement Usable: Budget-Friendly Ideas for Every Home
Step 4: Secure to Wall (Optional but Recommended)
For added safety, especially in homes with children or in earthquake-prone areas, anchor your shelving unit to the wall using:
- Metal straps
- L-brackets
- Concrete anchors (for masonry walls)
Read More: 130 Best Unfinished Basement Ideas to Transform Your Space
Step 5: Finish and Protect
- Sand any rough edges to prevent splinters.
- Optionally, paint or seal your wood shelves for added durability.
- In humid basements, consider using a mold-resistant primer and latex paint.
Read More: How to Add Support to Basement Ceiling Joists: A Complete DIY Guide
Bonus: Modular & Adjustable Shelving
Want more flexibility? Design a system that allows you to adjust the height of the shelves using:
- Shelf pin holes
- Track and bracket systems
- Slotted angle iron
This is ideal if your storage needs vary throughout the year.
Read More: Need Advice for How to Finish Basement Ceiling? Here’s What You Should Know
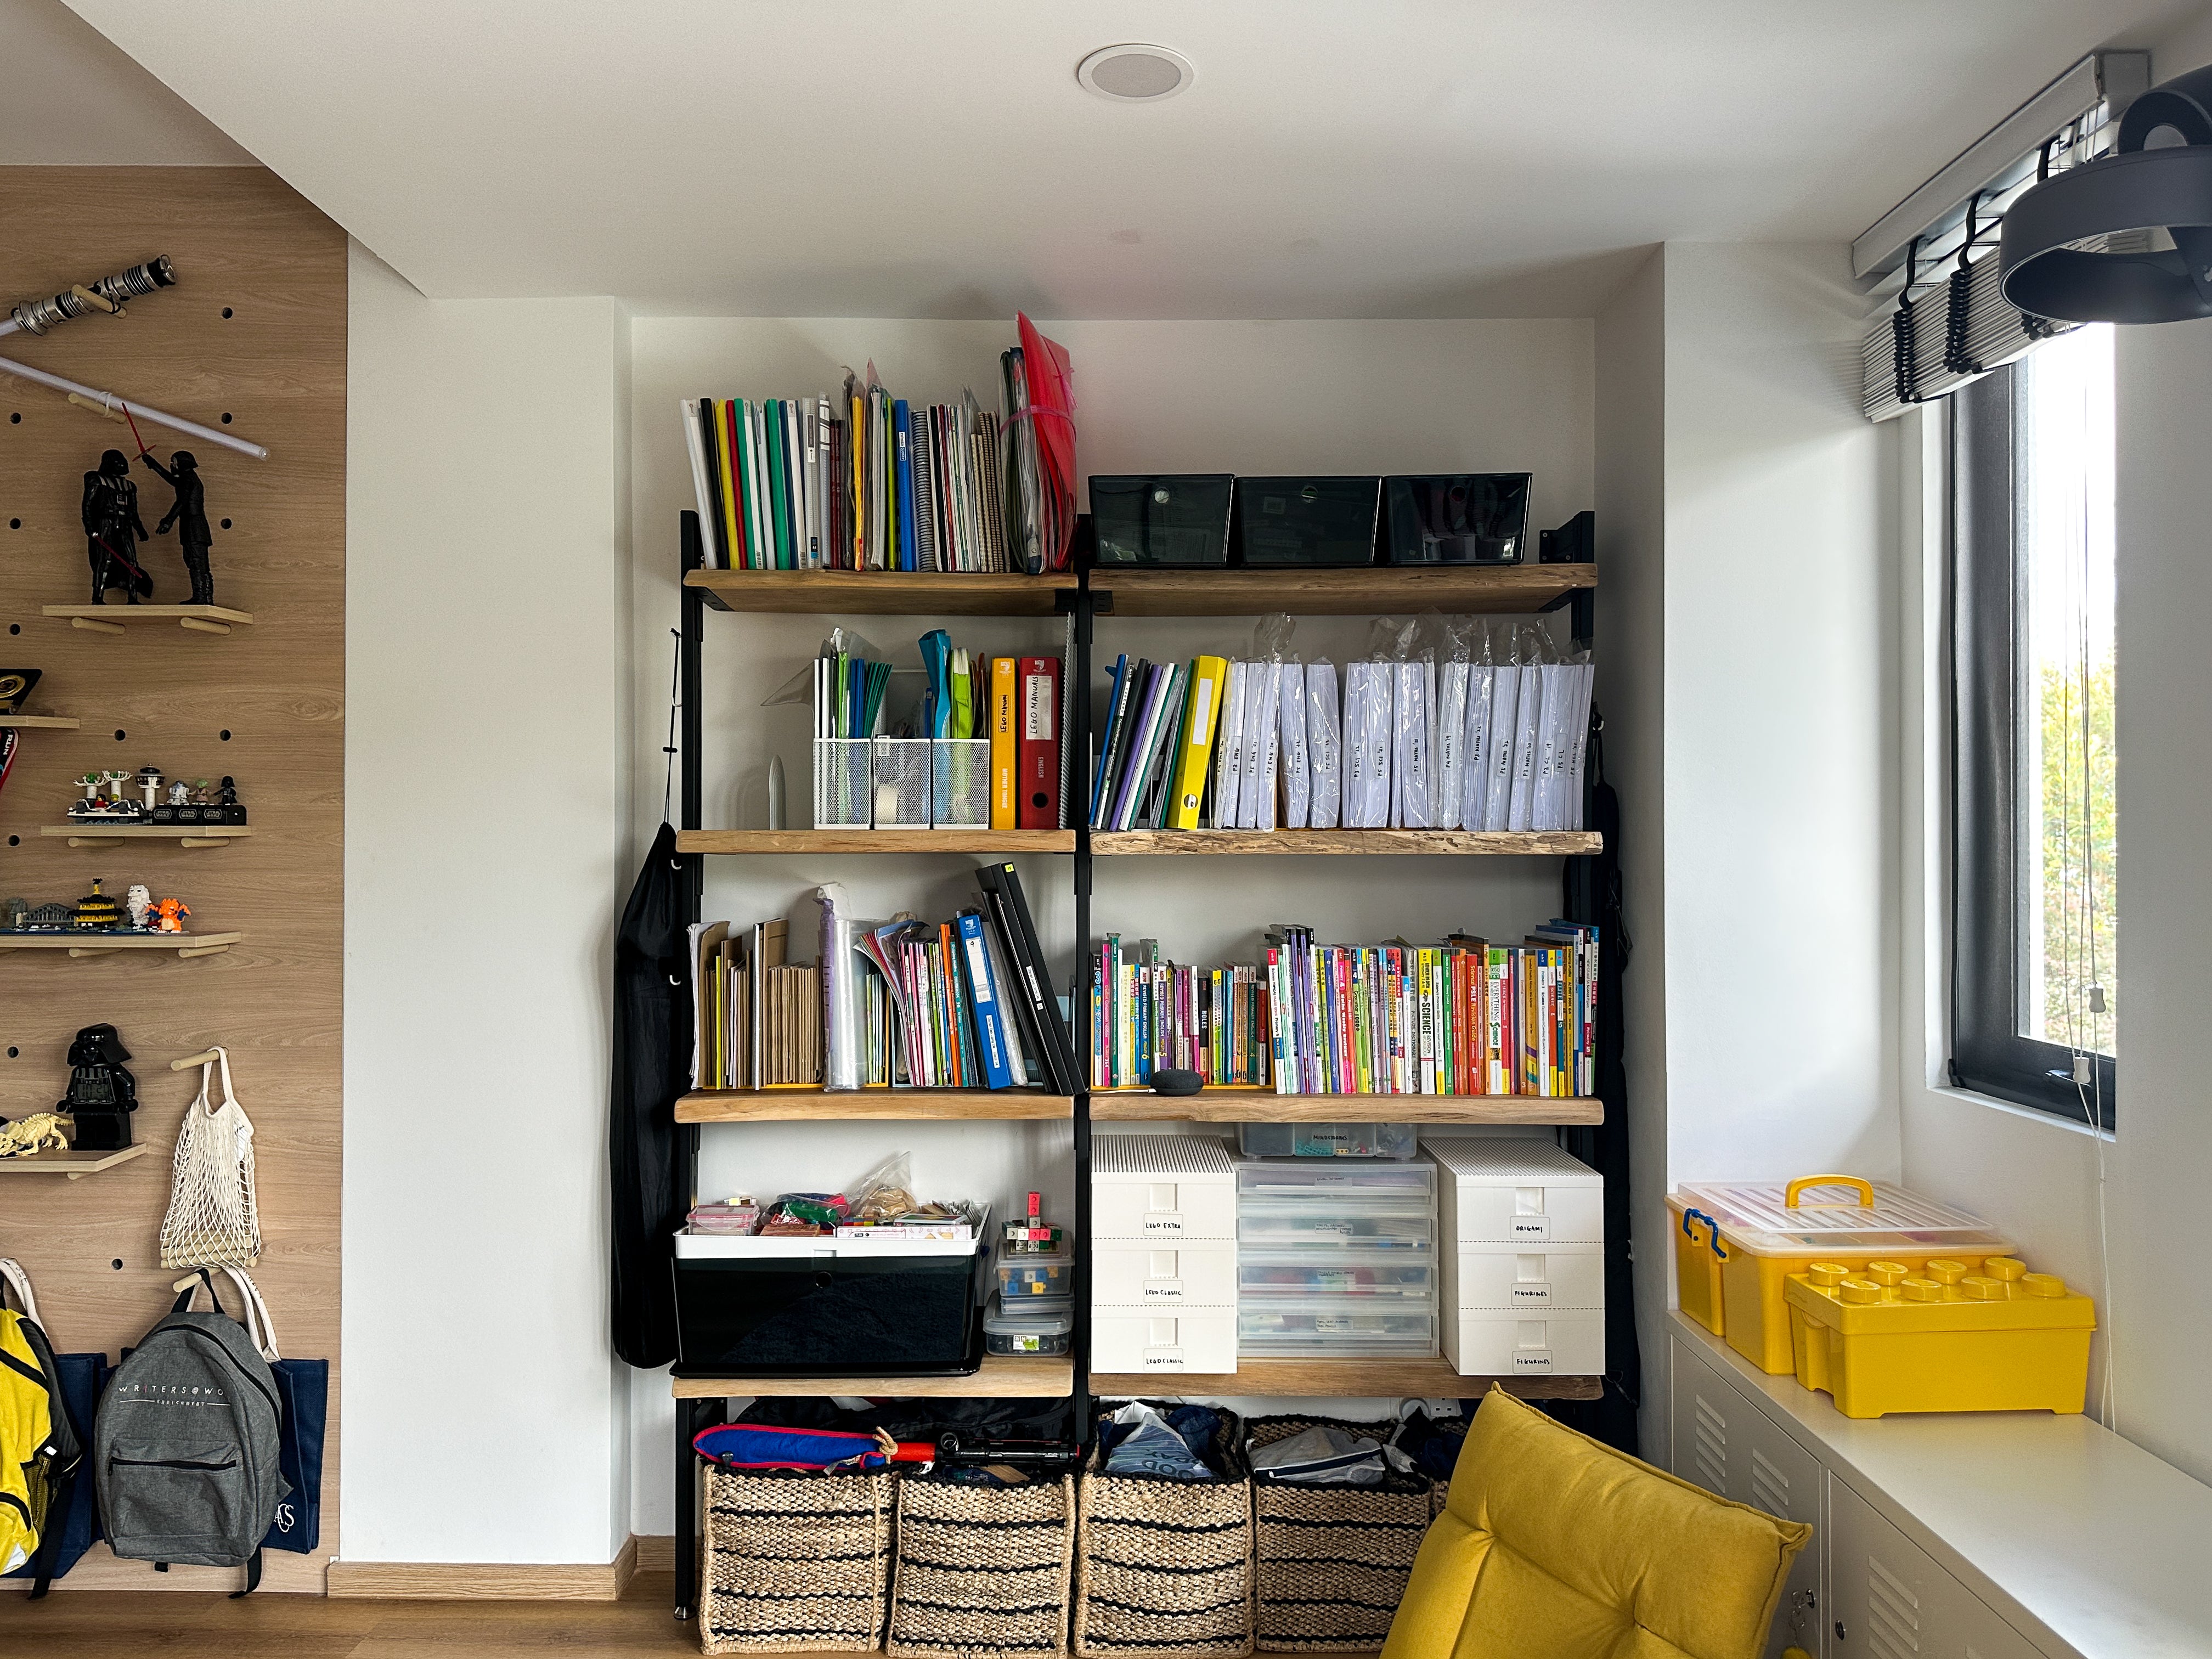
5 Creative Basement Shelving Ideas
- Overhead Storage Racks: Great for storing seasonal items in plastic totes.
- Corner Shelves: Maximize underused space in tight basement corners.
- Floating Wall Shelves: Clean and modern look, ideal for finished basements.
- Built-In Bookcases or Cabinets: Perfect for turning your basement into a study or library.
- Heavy-Duty Utility Racks: Use pressure-treated wood for tools, paint cans, or sports equipment.
Read More: DIY Basement Ceiling Ideas and Renovation Tips
Common Mistakes to Avoid
- Skipping wall attachment (can lead to tipping)
- Not using level (crooked shelves ruin the look and function)
- Using untreated wood in damp basements
- Not spacing shelves for your actual storage bins
- Ignoring lighting — dark corners make shelves hard to use
Read More: Transforming Our Unfinished Basement Ceiling: A Complete DIY Guide
Final Thoughts
DIY basement shelving is one of the most cost-effective ways to organize your home, increase usable storage, and add real value to your property. With the right tools, materials, and a bit of planning, you can create custom shelving that fits your space and your life.
Whether you’re storing tools, holiday décor, pantry supplies, or hobby gear, a DIY shelving system helps transform your basement from cluttered to clean and functional.
Need a step-by-step printable plan or cut list? Let me know — I can provide customized shelf layouts and material estimates!