
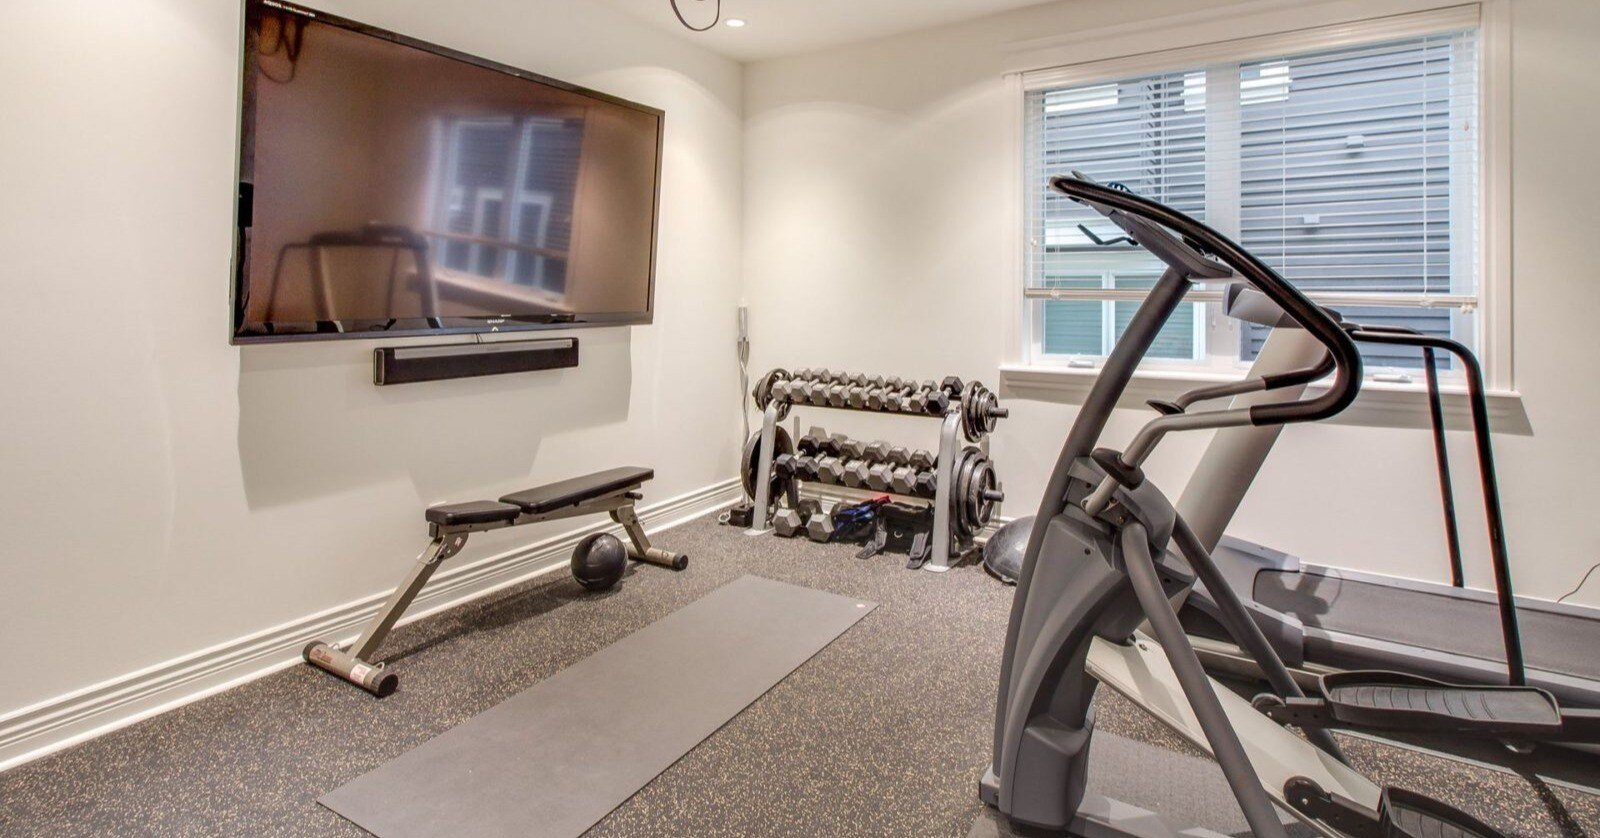
From Cluttered Storage to Personal Fitness Sanctuary
Are you tired of paying monthly gym fees, waiting for equipment, or commuting just to get a workout in? If you have an underutilized or cluttered basement, you’re sitting on an opportunity. With some creativity, planning, and elbow grease, you can turn that unused square footage into a fully functional DIY home gym. This article is Part 1 of a complete guide, taking you step-by-step through the transformation of a basement into a gym—without hiring a contractor.
Whether you’re a beginner or a seasoned DIYer, this first phase of the process will help you clear, plan, and prepare your basement for gym construction.
Why Build a Home Gym in Your Basement?
Before we dive into demolition or design, let’s understand why the basement is the perfect gym location:
Space Efficiency
Basements usually offer a large footprint free of furniture or foot traffic. That’s valuable real estate for weightlifting, cardio, or stretching.
Read More: Basement Finishing on a Budget: How to Transform Your Space Affordably
Year-Round Access
Your gym won’t close due to bad weather or holidays. It’s open 24/7.
Read More: Top 5 Budget Basement Flooring Ideas: Affordable Options That Don’t Sacrifice Style
Privacy and Focus
Working out at home lets you concentrate on your fitness goals without distractions or judgment.
Read More: Smart Ideas for Your Basement Flooring: Durable, Stylish, and Budget-Friendly Options
Long-Term Savings
Though there’s an upfront investment, building a home gym pays for itself by eliminating recurring gym membership costs.
Read More: How to Remodel a Basement on a Budget: Smart, Affordable Tips
Step 1: Evaluate Your Basement Space
Start by assessing the current condition of your basement. You’ll need to ensure the space is safe, dry, and structurally sound.
Key Considerations:
- Ceiling Height: You’ll want at least 7 feet of clearance for overhead exercises.
- Moisture Issues: Check for mold, mildew, or signs of past flooding.
- Cracks or Damage: Look for structural cracks in the walls or floors.
- Ventilation: Ensure there’s a way to circulate air and control humidity.
- Electrical Access: Are there outlets for lighting, fans, or equipment?
If there are major issues, address them before proceeding. This might mean sealing cracks, adding a dehumidifier, or calling in a specialist.
Read More: Affordable Basement Remodel: Budget-Friendly Tips to Transform Your Space
Step 2: Declutter and Clean
Most basements become a catch-all storage space over the years. To start your transformation, clear everything out.
Decluttering Tips:
- Create three piles: Keep, Donate, Trash.
- Use plastic bins with lids to store items you’re keeping.
- Move storage shelves or boxes to one section of the basement if you can’t remove them entirely.
- Clean surfaces thoroughly: sweep, mop, and sanitize to prepare the area for renovation.
This part can be tedious, but it’s essential for creating a blank canvas.
Read More: 7 Basement Renovation Ideas on a Budget
Step 3: Draft a DIY Floor Plan
Once your space is clean, sketch a basic floor plan for your home gym. Consider how much space each workout type requires.
Simple Layout Ideas:
| Zone | Equipment | Size Needed |
|---|---|---|
| Strength Area | Dumbbells, barbell, squat rack | 8′ x 8′ |
| Cardio Zone | Treadmill or spin bike | 6′ x 4′ |
| Stretch/Yoga | Mat, foam roller, open space | 6′ x 6′ |
| Storage Corner | Racks, shelves, bins | Variable |
Use masking tape on the floor to map out where each zone will go. This will help you visualize traffic flow and spacing.
Read More: 37 Small Unfinished Basement Makeover Ideas on a Budget
Step 4: Choose Flooring Wisely
The right flooring is crucial for safety, sound absorption, and comfort.
Basement Gym Flooring Options:
- Rubber Mats or Tiles: Best overall. Absorb impact, protect the floor, and are easy to clean.
- Foam Tiles: Comfortable for yoga or stretching but less durable for heavy lifting.
- Horse Stall Mats: Affordable and excellent for heavy-duty use.
- Vinyl Planks: Water-resistant and visually appealing but less cushioned.
Pro Tip: Lay down a plastic vapor barrier beneath your flooring to protect against moisture.
Read More: 55 Partially Finished Basement Ideas: Budget-Friendly and Stylish Solutions
Step 5: Address Lighting and Atmosphere
Basements often suffer from poor lighting, which can make them feel gloomy or uninviting.
Lighting Tips:
- Use LED panel lights or shop lights to brighten the room efficiently.
- Add mirrors to reflect light and make the room feel larger.
- Choose light-colored paint (gray, white, or pale blue) to make the space feel airy and clean.
If your basement has windows, use sheer curtains to allow natural light while maintaining privacy.
Read More: 14 Basement Finishing Ideas to Maximize Space and Style
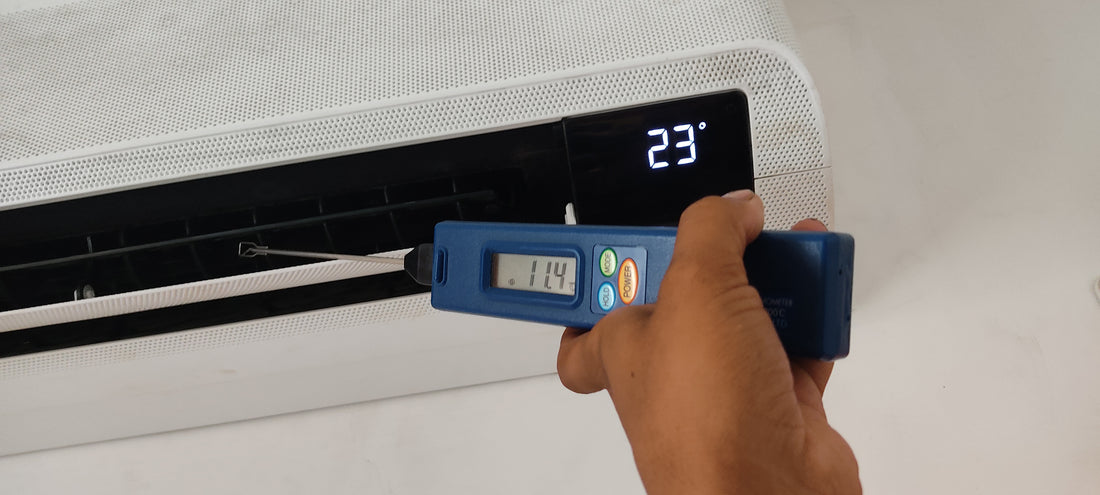
Step 6: Manage Temperature and Airflow
A poorly ventilated gym leads to stuffiness and discomfort. You’ll need to improve the heating, cooling, and airflow.
DIY Air Solutions:
- Portable fans or tower fans to increase circulation.
- Space heater (with safety shutoff) for cold months.
- Dehumidifier to control moisture and reduce odor.
- Air purifier to improve air quality during workouts.
If your budget allows, a ductless mini-split system can both heat and cool your gym space efficiently.
Read More: 76 Best Finished Basement Ideas to Try at Home
Step 7: Prep the Walls and Ceiling
You don’t have to completely finish the basement to make it gym-worthy. Here are some budget-friendly options:
Wall Ideas:
- Paint concrete walls with mold-resistant paint.
- Install pegboards or wall panels for gear storage.
- Hang motivational posters or decals for visual appeal.
Read More: 2023 Basement Remodeling Costs Unveiled: What Homeowners Really Paid
Ceiling Options:
- Keep exposed ceilings but paint them black or white for a clean industrial look.
- Add soundproofing panels if noise is an issue upstairs.
Read More: 84 Best Basement Family Rooms Ideas in 2025: Transform Your Basement into a Cozy Retreat
Tools & Materials You’ll Likely Need
Before you begin physical work, gather essential tools:
DIY Tools List:
- Utility knife or box cutter (for flooring)
- Measuring tape
- Level
- Rubber mallet (for tile floors)
- Power drill and bits
- Extension cords or surge protectors
- Paint rollers and drop cloths
Buying tools upfront may cost a bit, but you’ll use them throughout your DIY journey.
Read More: Our Dramatic Basement Family Room Makeover: From Dreary to Dreamy
Part 1 Recap: Foundation of Your Basement Gym
You’ve completed the essential preparation steps for building your DIY home gym:
Evaluated your basement space
Cleared out clutter and cleaned thoroughly
Planned a functional floor layout
Chosen the right flooring materials
Addressed lighting and air circulation
Prepped the walls and ceiling
Gathered tools and materials
You’re now ready to move on to Part 2, where we’ll cover:
- Equipment selection
- Installation and space optimization
- Budget-friendly hacks
- Decor and finishing touches
Read More: 3 Ways to Do Low-Cost Basement Waterproofing: Budget-Friendly Solutions for a Dry Home
Final Thoughts
Transforming your basement into a gym may seem daunting, but breaking it into steps makes the process manageable and rewarding. This DIY project doesn’t just give you a workout space—it creates a health-focused lifestyle upgrade within your own home.
Stay tuned for Part 2 of this guide, where we’ll walk through assembling equipment, organizing your gym, and finalizing the transformation.