
Finishing your basement is one of the best ways to increase your home’s living space and value. Whether you’re turning it into a home office, gym, guest suite, or entertainment hub, learning how to build finished walls in a basement is a crucial step toward a comfortable, livable space.
This guide will walk you through everything you need to know — from prepping your space and choosing materials, to framing, insulating, and drywalling — all while keeping moisture protection top of mind.
Why Finish Basement Walls?

- Adds livable square footage
- Improves insulation and comfort
- Helps with noise control and privacy
- Boosts resale value
- Offers better aesthetic appeal than exposed concrete
Read More: Refinishing Your Basement: A Comprehensive Guide
Tools & Materials You’ll Need
Tools:
- Tape measure
- Level
- Chalk line
- Hammer or nail gun
- Drill/driver
- Circular or miter saw
- Utility knife
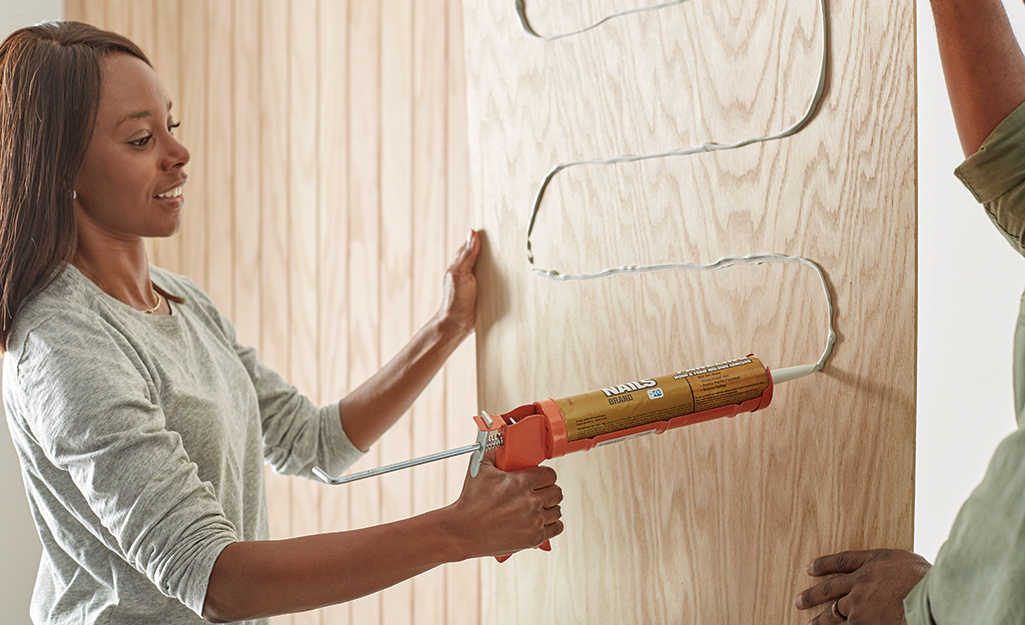
- Caulk gun
- Safety goggles and gloves
Read More: Basement Made Beautiful: Part 4 – Final Touches & The Grand Reveal
Materials:
- Pressure-treated bottom plates (2×4)
- Regular SPF 2×4 studs
- Insulation (foam board or fiberglass)
- Vapor barrier (if needed)
- Drywall sheets
- Drywall screws
- Construction adhesive
- Shims and spacers
- Framing nails or screws
- Corner bead and joint compound
Read More: Pro Tips for Basement Finishing: Transform Your Space Like a Pro
Step-by-Step: How to Build Finished Basement Walls
Step 1: Assess Moisture Issues and Waterproof
Before you build anything:
- Check for water seepage or cracks in walls/floors
- Apply a waterproofing sealant to foundation walls
- Install a dehumidifier if needed
- Ensure the basement has proper drainage or a sump pump system
Pro Tip: Fix all moisture issues before framing or insulating — this is critical for durability.
Read More: Understanding Basement Remodel Costs: What You Need to Know Before You Renovate
Step 2: Plan Your Layout
Use a chalk line or laser level to:
- Mark the wall locations on the floor
- Mark door and window placements
- Allow space for utilities or service panels
- Maintain 1″–1.5″ gap between new wall and concrete wall for airflow
Read More: How to Install Recessed Lighting in a Basement: A Complete Step-by-Step Guide
Step 3: Frame the Walls
- Build the Frame:
- Use 2×4 lumber to create wall frames (top and bottom plates with vertical studs every 16″ on center).
- Bottom plate should be pressure-treated wood for moisture resistance.
- Cut studs to match ceiling height minus ¼” for wiggle room.
- Install the Frame:
- Position wall frames where marked.
- Anchor the bottom plate to the concrete using masonry screws or a powder-actuated nailer.
- Secure the top plate to ceiling joists.
Pro Tip: Use a plumb bob or laser to ensure wall alignment between top and bottom plates.
Read More: Recommended Basement Recessed Lights: The Ultimate Guide for Homeowners
Step 4: Insulate the Wall
Choose one of the following options:
Option 1: Foam Board Insulation
- Install rigid foam boards directly to the foundation wall.
- Tape the seams and seal the edges with spray foam or caulk.
- Then build your frame in front of it.
Read More: Recessed Lighting in Finished Basement: A Complete Homeowner’s Guide
Option 2: Fiberglass Batt Insulation
- Install after framing between studs.
- Use faced batts with vapor retarder facing the warm side (interior).
Avoid using fiberglass directly against concrete – it can trap moisture and mold.
Read More: Need Paint Color Ideas for Basement? Here’s Your Ultimate Guide
Step 5: Install Vapor Barrier (If Needed)
In humid climates, a vapor barrier may be necessary:
- Staple plastic sheeting (6 mil polyethylene) to the warm side of the wall (interior).
- Overlap seams by 6 inches and tape.
Check local building codes — some regions discourage vapor barriers due to trapped moisture concerns.
Read More: Basement Updates – Choosing a Paint Color That Transforms Your Space
Step 6: Run Electrical and Plumbing
Before closing up the walls:
- Have a licensed electrician rough in outlets, lights, and switches.
- Use electrical boxes rated for residential framing.
- If plumbing is needed, run PEX or PVC through pre-drilled stud holes.
Read More: 20 Basement Paint Color Ideas to Brighten and Transform Your Space
Step 7: Install Drywall
- Cut drywall sheets to size using a utility knife or drywall saw.
- Screw drywall to studs using drywall screws every 12–16 inches.
- Use drywall tape and joint compound to cover seams and screws.
- Apply corner bead to corners, then mud and sand.
Wipe down dust before painting for better paint adhesion.
Read More: Concrete Basement Makeover: Transforming Cold Floors into Warm Living Spaces
Step 8: Prime and Paint
- Prime drywall with a basement-friendly primer.
- Use mold-resistant, low-VOC interior paint.
- Choose light colors to brighten up the space.
Read More: Stained Concrete Basement Floor Ideas for a Stylish & Durable Upgrade
Additional Tips for Success
- Leave a ½-inch gap at the bottom of the drywall to prevent moisture wicking.
- Use green board drywall or mold-resistant types in moisture-prone areas.
- Add baseboards and corner trim for a polished look.
- Install wall access panels for shutoff valves or junction boxes.
Read More: Transporting Drywall Down the Basement Stairs: A Complete DIY Guide
Finished Basement Wall Options (Beyond Drywall)
If you want to explore alternatives to drywall:
- DRICORE SMARTWALL® Panels
- Wood paneling or shiplap
- Vinyl wall panels (moisture resistant)
- Painted concrete + framed half walls
- Fabric-covered insulation panels (DIY acoustic walls)
Read More: DRICORE SMARTWALL Panels | Finishing Basement Walls Made Easy
Final Thoughts
Building finished walls in your basement doesn’t have to be intimidating. With careful planning, proper moisture control, and some basic tools, you can transform a cold, bare basement into a warm, livable space for years to come.