
When it comes to basement remodeling, painting is one of the most transformative and cost-effective upgrades you can make. But before you crack open a paint can and start rolling away, there’s a critical step that can make or break the final result: paint prep. The secret to a flawless basement paint job isn’t just in the brush strokes—it’s in the prep work.
In this guide, we’ll cover everything you need to know about preparing your basement for painting—whether you’re working with drywall, concrete, or a mix of both. From moisture management to priming techniques, this guide gives you pro-level insight and practical steps to make your paint job last and look amazing.
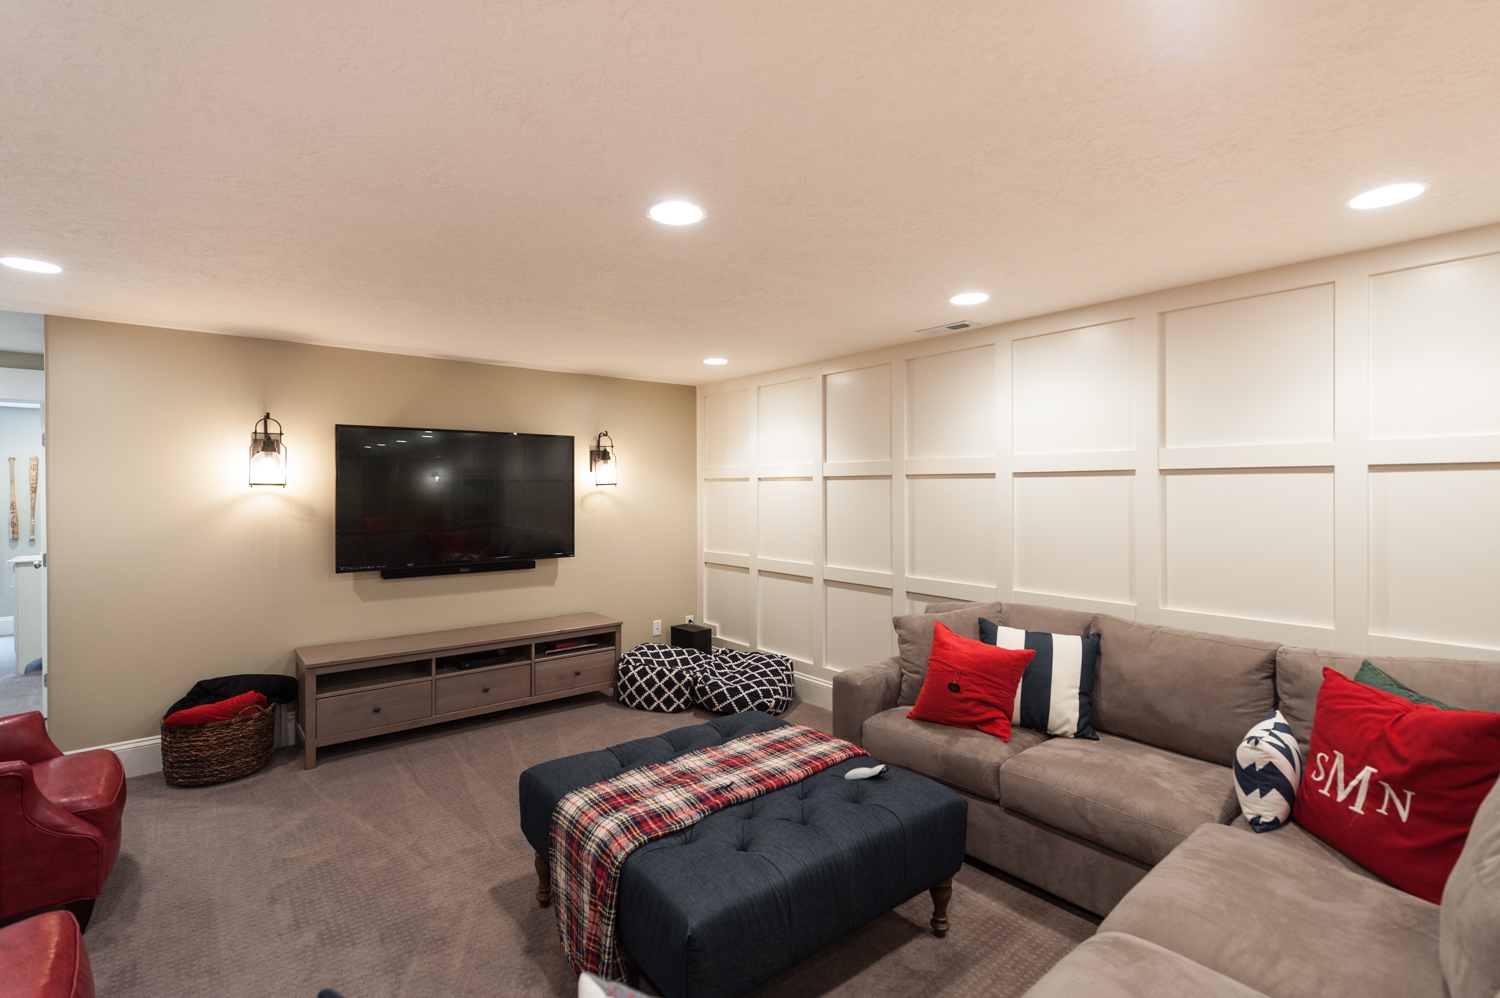
Why Basement Paint Prep Is Different (and Important)
Basements are different from other rooms in your home. They’re more likely to be damp, have poor ventilation, and contain unfinished surfaces like concrete or exposed pipes. These conditions can lead to:
- Mold and mildew growth
- Peeling paint
- Poor adhesion
- Uneven finishes
Proper paint prep helps combat these issues while ensuring the paint adheres well, lasts longer, and looks clean and professional.
Read More: Finishing Out Basement Walls: A Step-by-Step DIY Guide to a Warm, Dry, and Beautiful Space
Tools and Supplies for Basement Paint Prep
Before you start, gather the right supplies:
- Scrub brush or sponge
- Mild detergent or TSP (trisodium phosphate)
- Shop vacuum or broom
- Mold and mildew cleaner
- Putty knife
- Concrete crack filler or spackling compound
- Painter’s tape and plastic sheeting
- Sandpaper (medium to fine grit)
- Caulk and caulking gun
- Moisture meter
- Primer (mold-resistant or masonry-specific)
Read More: Cozy Cinder Block Basement Walls Renovation Ideas: Turn Cold Into Comfort
Step-by-Step Guide to Basement Paint Prep
Let’s break down the steps for prepping your basement for painting—whether you’re painting walls, ceilings, or floors.
Step 1: Inspect and Fix Moisture Problems
Moisture is your #1 enemy in basement painting. Before you paint, ensure your basement is dry.
- Check for leaks: Look around windows, floor cracks, and pipe penetrations.
- Use a moisture meter to test drywall or concrete. Readings over 16% suggest excessive moisture.
- Tape a plastic sheet (2 ft x 2 ft) to the concrete wall or floor. After 24 hours, if condensation forms on the underside, moisture is present.
Fixes:
- Use waterproofing paint like Drylok for damp walls.
- Install a dehumidifier or sump pump if necessary.
- Seal cracks with hydraulic cement or epoxy filler.
Read More: Basement Block Wall Ideas: Stylish & Functional Finishing Options for Concrete Walls
Step 2: Clean the Surfaces Thoroughly
Dust, dirt, and grime prevent paint from adhering properly.
- Drywall and finished walls: Use a damp cloth or sponge with mild detergent.
- Concrete and masonry: Use a stiff brush and TSP cleaner to remove efflorescence or mildew.
- Remove cobwebs and dust from ceiling joists and corners using a shop vacuum or broom.
Pro Tip: For mold-prone areas, use a mold-killing cleaner (like Concrobium) to treat before priming.
Read More: DIY Basement Remodeling with Concrete Block Walls: A Complete Homeowner’s Guide
Step 3: Patch and Repair
Now that the walls are clean and dry, it’s time to make surface repairs.
- Drywall: Fill nail holes and minor damage with spackle or joint compound. Sand smooth once dry.
- Concrete: Fill cracks with concrete patch or hydraulic cement. Let it cure fully.
Use a putty knife to remove old caulk or paint drips. Recaulk around windows and baseboards as needed.
Read More: How to Finish a Basement Wall: DIY Guide for Homeowners
Step 4: Sand and Smooth Surfaces
Even if walls look fine, light sanding ensures better paint adhesion.
- Use 120–150 grit sandpaper to smooth drywall patches and high spots.
- For glossy paint, lightly sand to create a scuffed surface that the new paint can grip.
Vacuum up all dust or use a tack cloth to wipe down the area.
Read More: How to Finish a Basement Wall (DIY): A Complete Step-by-Step Guide
Step 5: Tape and Protect
Proper taping and masking save you time and headaches during painting.
- Use painter’s tape along baseboards, trim, and ceilings.
- Use plastic sheeting or drop cloths to protect the floor.
- Remove or cover light fixtures, outlet covers, and vents.
Expert Hack: Slightly press down tape edges with a putty knife to prevent paint bleed.
Read More: How to Build Finished Walls in a Basement: A Step-by-Step DIY Guide
Step 6: Choose the Right Primer
Primer is critical—especially in basements—because it helps block stains, improves paint adhesion, and resists moisture.
Best Primers for Basements:
- Mold-resistant primer for drywall (e.g., Zinsser Mold Killing Primer)
- Masonry primer for concrete walls or block
- Bonding primer for previously painted glossy surfaces
- Epoxy primer for concrete floors before epoxy paint
Apply the primer with a brush or roller according to the product instructions. Let it dry fully before painting.
Read More: How to Make an Unfinished Basement Usable: Budget-Friendly Ideas for Every Home
Bonus Tips: Pro-Level Paint Prep Tricks

1. Don’t Skip Dehumidification
Run a dehumidifier for at least 24–48 hours before painting. This ensures all surfaces are dry and prevents future mildew growth.
Read More: 130 Best Unfinished Basement Ideas to Transform Your Space
2. Test Your Paint on a Small Area
Different surfaces absorb paint differently—especially old concrete. Do a test patch first to check adhesion and finish.
Read More: How to Add Support to Basement Ceiling Joists: A Complete DIY Guide
3. Use a Vacuum Sander
If you’re sanding a large area, attach your sander to a shop vacuum to reduce dust.
Read More: 68 Best Exposed Basement Ceiling Ideas for a Stylish and Functional Space
4. Seal Exposed Pipes and Ducts
Painting exposed pipes? Clean them well and apply a rust-inhibiting metal primer first.
Read More: Need Advice for How to Finish Basement Ceiling? Here’s What You Should Know
Paint Prep for Different Basement Surfaces
| Surface | Prep Needed | Best Primer |
|---|---|---|
| Drywall | Clean, sand, patch holes | Mold-resistant latex primer |
| Concrete Block Walls | Clean, remove efflorescence, fill cracks | Masonry waterproofing primer |
| Concrete Floor | Clean, degrease, etch with concrete etcher | Epoxy or floor primer |
| Wood Trim | Sand, fill holes, clean | Stain-blocking primer (oil or latex) |
| Metal Pipes/Ducts | Degrease, sand, clean rust | Rust-inhibiting metal primer |
Read More: DIY Basement Ceiling Ideas and Renovation Tips
Common Basement Paint Prep FAQs
Q: Can I paint over old basement paint?
Yes, but you should clean and sand the surface lightly to improve adhesion. Use a bonding primer if the old paint is glossy or oil-based.
Read More: Transforming Our Unfinished Basement Ceiling: A Complete DIY Guide
Q: How long should I wait after cleaning before painting?
Let all surfaces dry for at least 24 hours—longer if humidity is high. Use a moisture meter to be sure.
Read More: Basement Finish Timeline: How Long Does It Really Take to Finish a Basement?
Q: Should I prime even if I’m using paint-and-primer-in-one?
In basements, yes. A dedicated primer does a better job at sealing stains, resisting mildew, and adhering to difficult surfaces.
Read More: Refinishing Your Basement: A Comprehensive Guide
Final Thoughts: Prep Like a Pro
The trick to a great basement paint job is not just in the painting—it’s in the prep. Taking the time to properly clean, repair, and prime your surfaces will save you time, money, and frustration in the long run.
Whether you’re finishing a space for a family room, office, or workout area, paint prep ensures the color goes on smoothly and stays beautiful for years to come. With these steps, you’ll be ready to tackle your basement remodel like a seasoned pro.