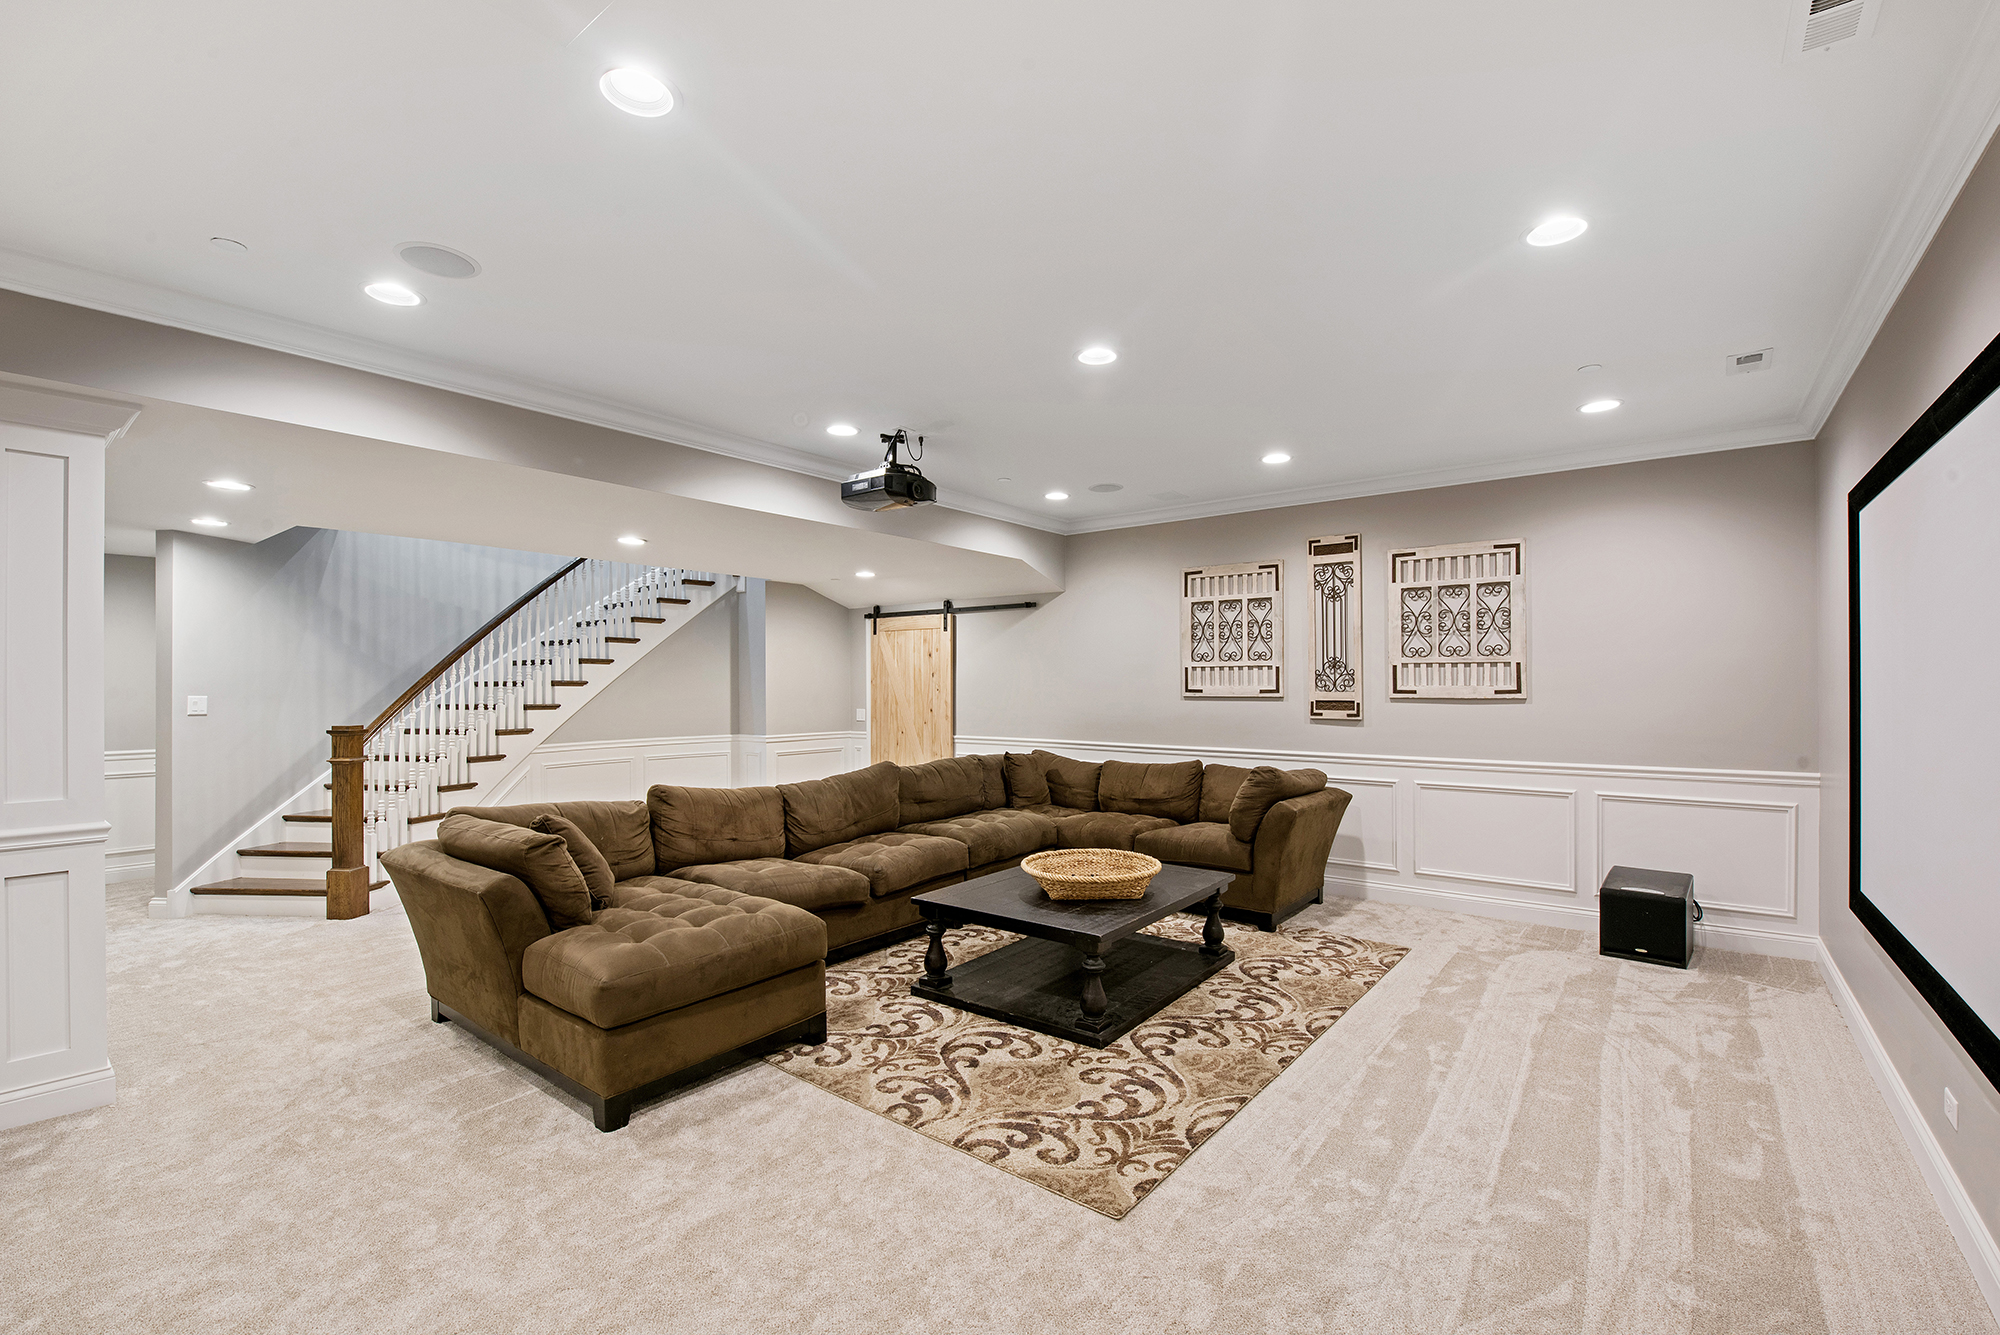
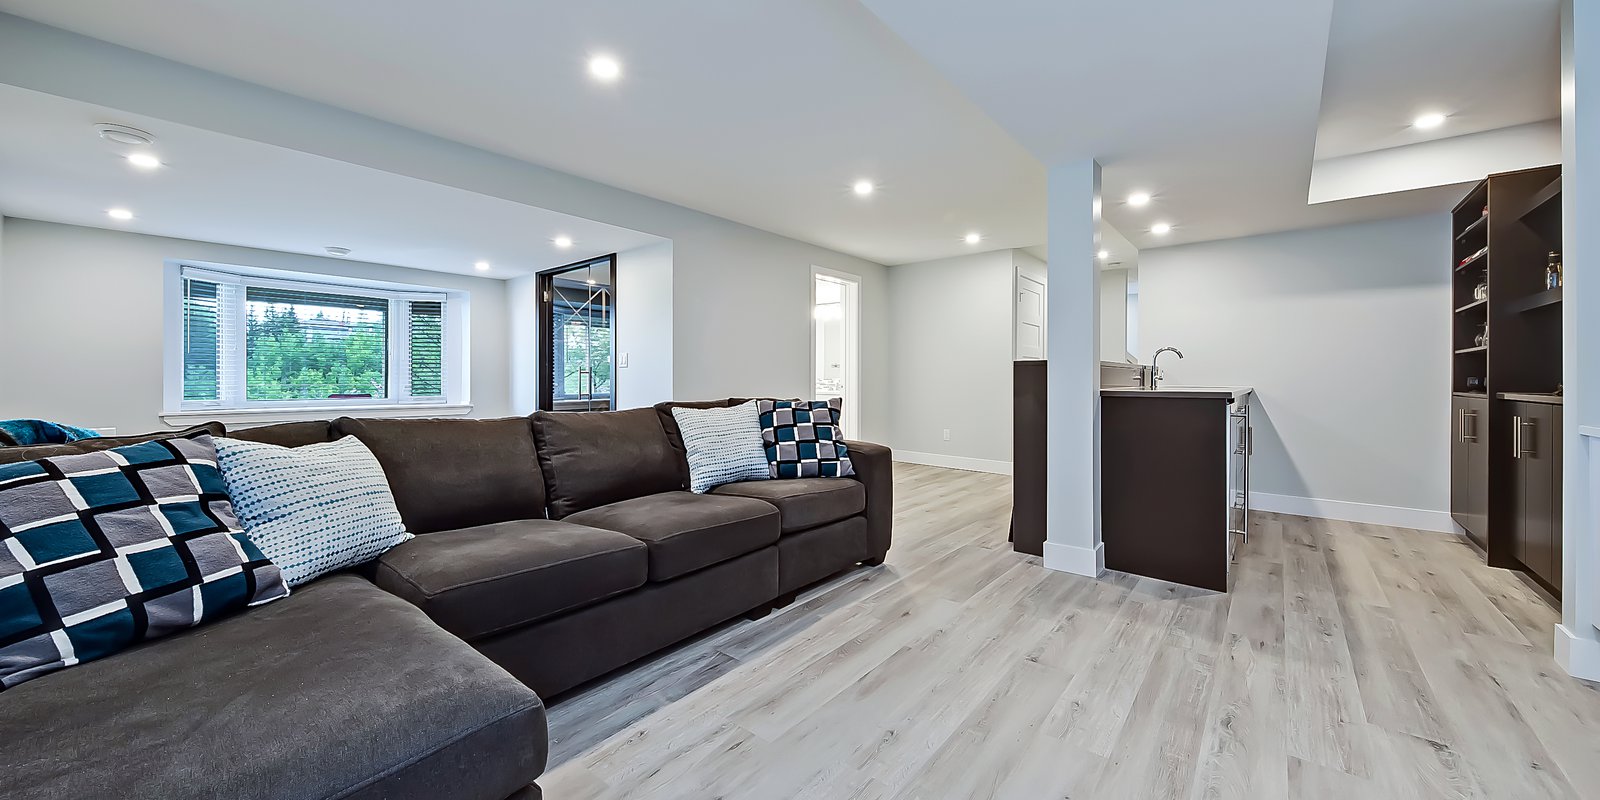
Transforming your basement with a fresh coat of paint is one of the most affordable and impactful ways to upgrade the space. Whether you’re refreshing a finished basement or giving life to bare concrete walls, painting the basement can add brightness, warmth, and personality to an otherwise neglected area.
In this comprehensive guide, we’ll walk you through DIY tips, tricks, and techniques to make painting your basement walls, ceilings, and floors a smooth and successful project. This article is designed to help homeowners get professional-level results while avoiding common pitfalls.
Why Painting Your Basement Matters
Before picking up a roller, it’s important to understand how painting contributes to your basement’s appearance and function.

Benefits of Painting a Basement:
- Enhances Light: Light-colored paint helps brighten dim or windowless basements.
- Protects Surfaces: Paint seals porous concrete, helping prevent moisture penetration and mildew.
- Improves Aesthetics: A well-painted basement feels cozy and welcoming.
- Adds Value: A finished and polished basement increases your home’s resale potential.
Read More: Finishing Out Basement Walls: A Step-by-Step DIY Guide to a Warm, Dry, and Beautiful Space
Tools and Materials Needed
To ensure a successful basement painting project, gather the right tools and materials beforehand.
Essential Tools:
- Paint rollers & brushes (angled brush for trim)
- Paint trays & liners
- Extension pole for ceiling/walls
- Painter’s tape
- Drop cloths or plastic sheeting
- Wire brush or scraper
- Sandpaper or sanding block
- Cleaning sponge or shop vac
Read More: Cozy Cinder Block Basement Walls Renovation Ideas: Turn Cold Into Comfort
Materials:
- Mold- and mildew-resistant primer
- Masonry paint (for concrete)
- Latex or acrylic wall paint
- Ceiling paint (flat white or tinted)
- Concrete floor paint or epoxy (if painting floors)
- Caulk (for sealing gaps or cracks)
Read More: Basement Block Wall Ideas: Stylish & Functional Finishing Options for Concrete Walls
Step-by-Step: How to Paint Your Basement
1. Inspect and Prep the Space
Basements are prone to moisture and mildew. Begin by addressing any issues.
- Check for moisture: Use a moisture meter or tape a plastic sheet to the wall for 24-48 hours. If water droplets form behind the plastic, resolve water issues before painting.
- Seal cracks: Use concrete patch or hydraulic cement to fill holes or cracks.
- Clean thoroughly: Remove dirt, cobwebs, and efflorescence (white powder on concrete) with a stiff brush, sponge, and mild detergent.
Pro Tip: Use a shop vac to clean debris from baseboards and corners before taping.
Read More: DIY Basement Remodeling with Concrete Block Walls: A Complete Homeowner’s Guide
2. Choose the Right Paint Type
Different surfaces require different paints. Here’s a quick breakdown:
| Surface | Recommended Paint |
|---|---|
| Concrete Walls | Masonry paint or elastomeric waterproof paint |
| Drywall | Latex or acrylic interior wall paint |
| Ceiling (exposed) | Flat latex or black ceiling paint |
| Concrete Floor | Epoxy floor paint or concrete stain/sealer |
Avoid standard wall paint on raw concrete, as it may peel or bubble due to moisture.
Read More: How to Finish a Basement Wall: DIY Guide for Homeowners
3. Apply Primer
Priming is crucial—especially in damp or porous basements.
- Use mold-resistant primer for drywall and masonry primer for concrete surfaces.
- Apply primer using a roller for large areas and a brush for edges and corners.
- Let primer dry fully (follow manufacturer guidelines) before applying paint.
Read More: How to Finish a Basement Wall (DIY): A Complete Step-by-Step Guide
4. Tape and Protect
Use painter’s tape to protect:
- Baseboards
- Windows
- Trim
- Electrical boxes
Lay down drop cloths or plastic sheeting to protect floors.
Read More: How to Build Finished Walls in a Basement: A Step-by-Step DIY Guide
5. Paint the Walls
- Start with a brush around the edges (called “cutting in”).
- Use a roller for the main wall sections, applying in a “W” pattern to prevent streaks.
- Apply at least two coats, letting each dry completely before the next.
Tip: Use a satin or eggshell finish for walls—it’s more durable and easier to clean.
Read More: How to Make an Unfinished Basement Usable: Budget-Friendly Ideas for Every Home
6. Paint the Ceiling
Depending on your ceiling type:
- Drywall ceiling: Use flat white ceiling paint for an airy feel.
- Exposed beams/joists: Paint black for a modern industrial look, or white to brighten.
- Use an extension pole and high-nap roller for texture.
Pro Tip: If pipes and ductwork are visible, consider spraying for full coverage.
Read More: 130 Best Unfinished Basement Ideas to Transform Your Space
7. Painting the Basement Floor (Optional)
For concrete floors:

- Clean and etch the surface with a concrete etching solution.
- Apply epoxy floor coating or concrete paint with a long-handled roller.
- Add anti-slip additives for safety.
- Let cure as directed—usually 3–7 days.
Read More: How to Add Support to Basement Ceiling Joists: A Complete DIY Guide
Expert DIY Tips and Tricks
- Choose Light Colors: They reflect light and make basements feel more spacious.
- Don’t Skip Primer: It improves adhesion and coverage.
- Ventilate Properly: Use fans or open windows to improve airflow and dry time.
- Test a Patch First: Especially for concrete floors or walls.
- Seal Basement Windows: Caulk around them to prevent drafts and moisture intrusion.
Read More: 68 Best Exposed Basement Ceiling Ideas for a Stylish and Functional Space
Budget Breakdown
| Item | Average Cost (DIY) |
|---|---|
| Primer (1 gallon) | $20 – $40 |
| Wall Paint (per gallon) | $30 – $60 |
| Ceiling Paint | $25 – $50 |
| Concrete Floor Paint (1 gal) | $50 – $80 |
| Tools (rollers, brushes, tape) | $50 – $100 (one-time) |
| Total DIY Painting Cost | $150 – $400+ |
Professional painters may charge $2–$6 per sq ft depending on labor and prep.
Read More: Need Advice for How to Finish Basement Ceiling? Here’s What You Should Know
Color Ideas for Basement Painting
| Style | Color Ideas |
|---|---|
| Modern/Minimalist | White, Cool Gray, Charcoal |
| Warm & Inviting | Beige, Taupe, Soft Yellow |
| Industrial | Black ceilings, Concrete Gray walls |
| Family-Friendly | Soft Blue, Sage Green, Cream |
| Energetic/Gym Space | Bright Orange, Red, Navy Blue accents |
Read More: DIY Basement Ceiling Ideas and Renovation Tips
Final Thoughts
Painting your basement is a rewarding project that doesn’t require a huge budget or professional help—just some time, effort, and a bit of planning. Whether you’re updating a finished space or sealing and decorating bare concrete, this DIY task can completely transform your basement’s appearance and functionality.
By following these DIY painting tips and tricks, you’ll achieve a fresh, durable, and beautiful finish that lasts for years. Be sure to choose the right paints, prep thoroughly, and don’t rush the process—your basement (and your future self) will thank you!
