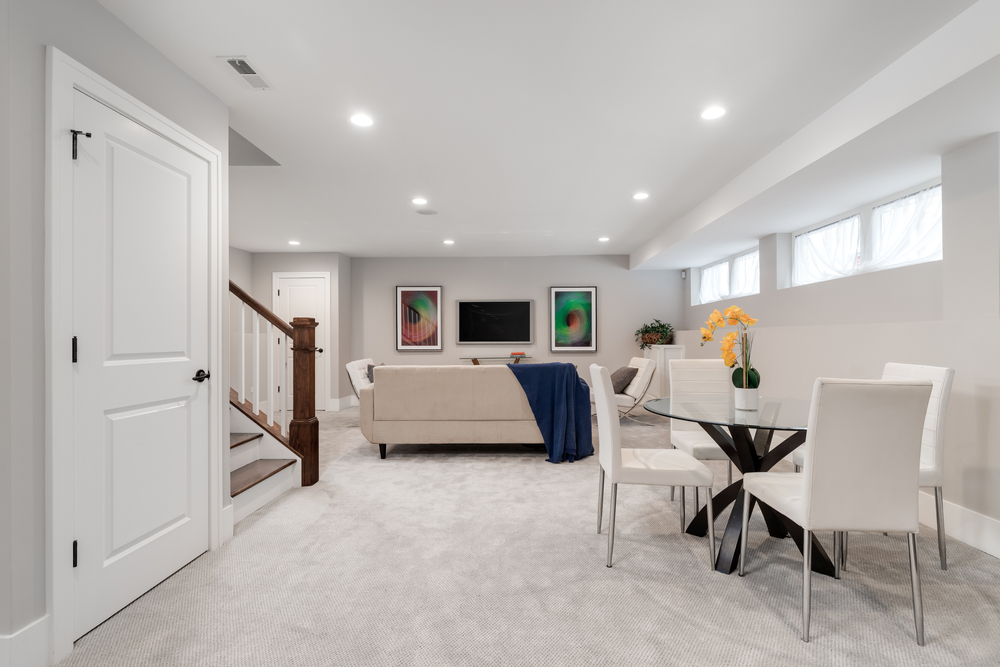
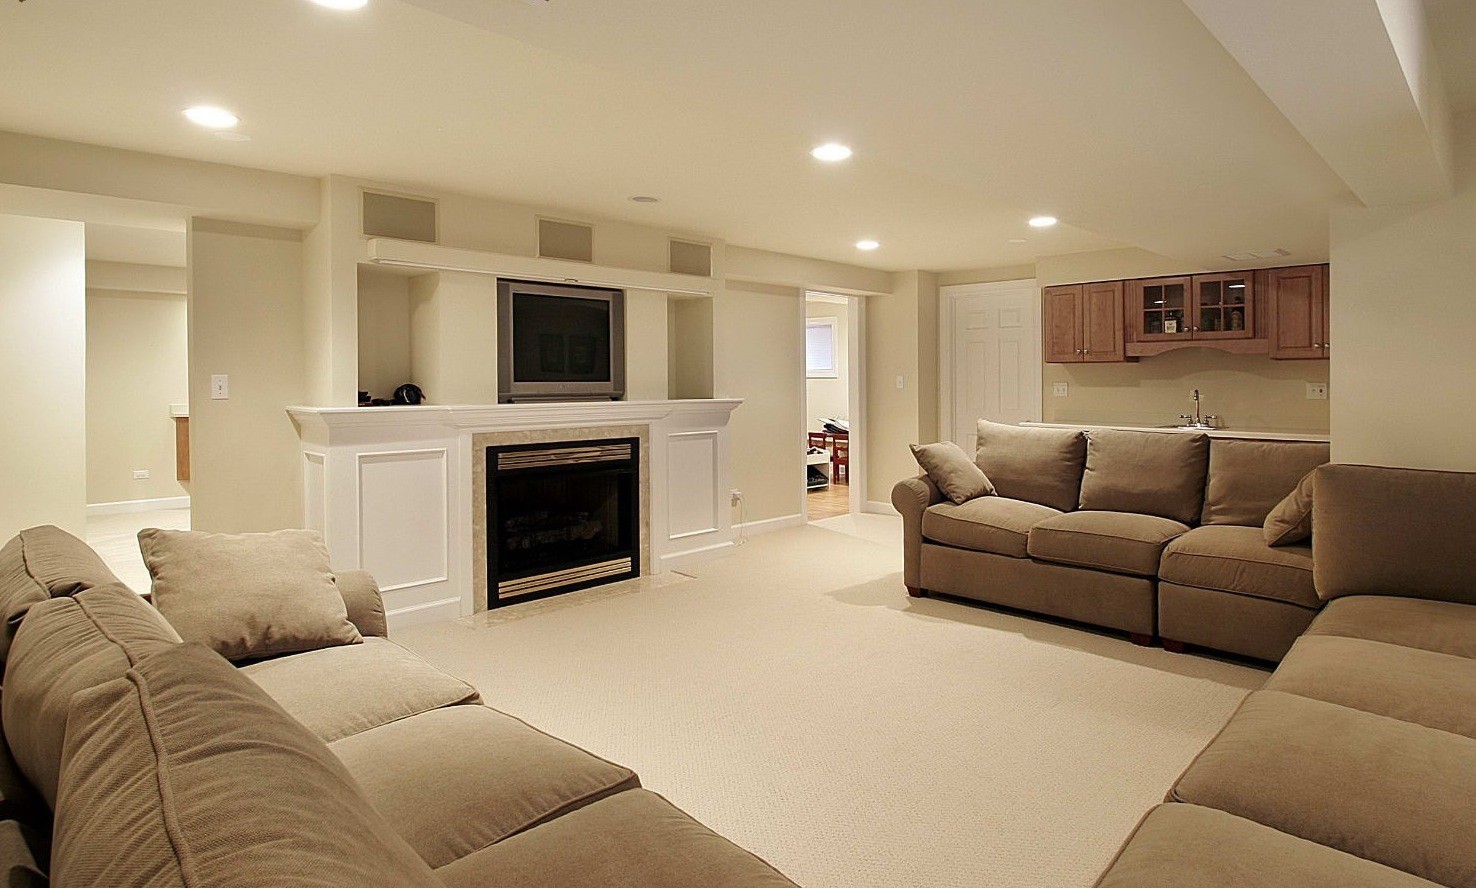
Painting a basement from top to bottom can dramatically transform a cold, dark, and unfinished space into a cozy and functional area of your home. Whether you’re refreshing an existing finished basement or starting from bare concrete and beams, knowing how to tackle the ceiling, walls, and floor in the correct order with the right materials is essential for a long-lasting and professional-looking finish.
In this comprehensive DIY guide, we’ll walk you through everything you need to know to paint your basement from ceiling to floor—step by step. This article is optimized for SEO and designed to help homeowners with practical tips, safety guidance, and product recommendations.
Why Painting Your Basement Matters
Your basement is often the most overlooked part of your home. But with a fresh coat of paint, it can become a home office, gym, guest suite, playroom, or entertainment area.

Benefits of Painting the Basement:
- Improves lighting and brightness
- Protects against moisture and mildew
- Increases resale value
- Enhances aesthetics
- Personalizes the space
Read More: Finishing Out Basement Walls: A Step-by-Step DIY Guide to a Warm, Dry, and Beautiful Space
What You’ll Need
Tools:
- Paint rollers & brushes
- Paint trays
- Extension poles
- Painter’s tape
- Drop cloths or plastic sheeting
- Caulking gun
- Ladder
- Safety goggles & gloves
Read More: Cozy Cinder Block Basement Walls Renovation Ideas: Turn Cold Into Comfort
Materials:
- Mold-resistant primer
- Latex paint for drywall
- Masonry paint or waterproofing paint for concrete
- Ceiling paint (flat or semi-gloss)
- Epoxy or concrete floor paint
Read More: Basement Block Wall Ideas: Stylish & Functional Finishing Options for Concrete Walls
Step 1: Clean and Prep the Basement
Before any painting begins, preparation is key. Painting over dust, grime, or moisture will lead to peeling, mold growth, or poor adhesion.
- Remove dust and debris from walls, ceiling joists, and floors using a shop vac or broom.
- Scrub surfaces with a mild detergent solution to remove mildew or stains.
- Patch any cracks in concrete with hydraulic cement or filler.
- Caulk gaps around pipes, vents, and windows.
- Test for moisture using a moisture meter or tape a plastic sheet to the wall for 24 hours. If condensation appears underneath, resolve the moisture issue before painting.
Pro Tip: Always address water leaks and install a dehumidifier if your basement tends to be damp.
Read More: DIY Basement Remodeling with Concrete Block Walls: A Complete Homeowner’s Guide
Order Matters: Top to Bottom
When painting your basement, always work from ceiling → walls → floor. This prevents drips from spoiling newly painted surfaces.
Step 2: Painting the Basement Ceiling
Types of Basement Ceilings:
- Exposed joists (common in unfinished basements)
- Drywall or drop ceilings
Read More: How to Finish a Basement Wall: DIY Guide for Homeowners
For Exposed Ceilings:
- Use a sprayer or brush/roller to apply flat black or white paint.
- Black hides imperfections and wires for an industrial look.
- White reflects more light and brightens the space.
Steps:
- Remove or cover light fixtures and vents.
- Apply painter’s tape and plastic sheeting to protect walls and floors.
- Use an airless sprayer for even coverage (especially for pipes and ductwork).
- Apply two coats if needed.
Tip: Use a mask and goggles when spraying overhead to avoid inhaling particles.
Read More: How to Finish a Basement Wall (DIY): A Complete Step-by-Step Guide
For Drywall Ceilings:
- Use flat white ceiling paint.
- Roll using an extension pole.
- Cut in edges with an angled brush.
Read More: How to Build Finished Walls in a Basement: A Step-by-Step DIY Guide
Step 3: Painting the Basement Walls

What Type of Paint to Use:
- Concrete Walls: Use masonry or elastomeric waterproofing paint.
- Drywall Walls: Use latex paint (satin or eggshell finish).
Steps:
- Prime with mold- and mildew-resistant primer.
- Use a brush for corners and roller for large sections.
- Apply two coats of paint, allowing full drying time between coats.
- Choose light colors to make the space feel open and airy.
Color Ideas:
- Off-white or light gray for modern appeal
- Soft blue or sage green for calming vibes
- Charcoal accents for contrast
SEO Tip: Popular keywords include “painting basement concrete walls,” “best paint for basement walls,” and “mildew-resistant basement paint.”
Read More: How to Make an Unfinished Basement Usable: Budget-Friendly Ideas for Every Home
Step 4: Painting the Basement Floor
Painting your basement floor requires special products and preparation to ensure durability and safety.
Options:
- Epoxy Paint: Durable, glossy, and stain-resistant
- Concrete Stain: Soaks into the surface for a natural finish
- Concrete Paint: Easiest to apply but less durable
Steps:
- Clean thoroughly using a degreaser and scrub brush.
- Etch the surface with a concrete etching solution.
- Apply a primer designed for concrete floors.
- Use a long-handled roller for large areas.
- Add anti-slip additives for safety.
Wait 48–72 hours before walking on epoxy-painted floors and up to 7 days for full curing.
Read More: 130 Best Unfinished Basement Ideas to Transform Your Space
Additional DIY Tips
- Ventilation: Always ventilate the space when painting—use fans or open windows.
- Lighting: Work during daylight or set up strong work lights.
- Dry Time: Follow product-specific drying and re-coat times.
- Storage: Store leftover paint in a temperature-stable area.
- Touch-Ups: Keep a labeled sample of each paint for future touch-ups.
Read More: How to Add Support to Basement Ceiling Joists: A Complete DIY Guide
Cost Breakdown
| Item | Estimated Cost |
|---|---|
| Ceiling paint | $25 – $50/gallon |
| Wall primer | $20 – $40/gallon |
| Wall paint | $30 – $60/gallon |
| Floor epoxy or paint | $50 – $100/gallon |
| Brushes, rollers, tape | $50 – $100 (one-time buy) |
| Protective equipment | $20 – $40 |
| Estimated Total (DIY) | $250 – $500+ |
Read More: 68 Best Exposed Basement Ceiling Ideas for a Stylish and Functional Space
Final Thoughts
Painting your basement from top to bottom is more than just a weekend project—it’s a home transformation. With the right materials, methodical planning, and step-by-step execution, you can revitalize your basement space without breaking the bank.
From exposed ceilings to concrete floors, each surface has its own needs—but the results are well worth the effort. Whether you’re prepping for a home gym, entertainment room, or simply making the space more livable, a well-painted basement is a smart and satisfying upgrade.
