
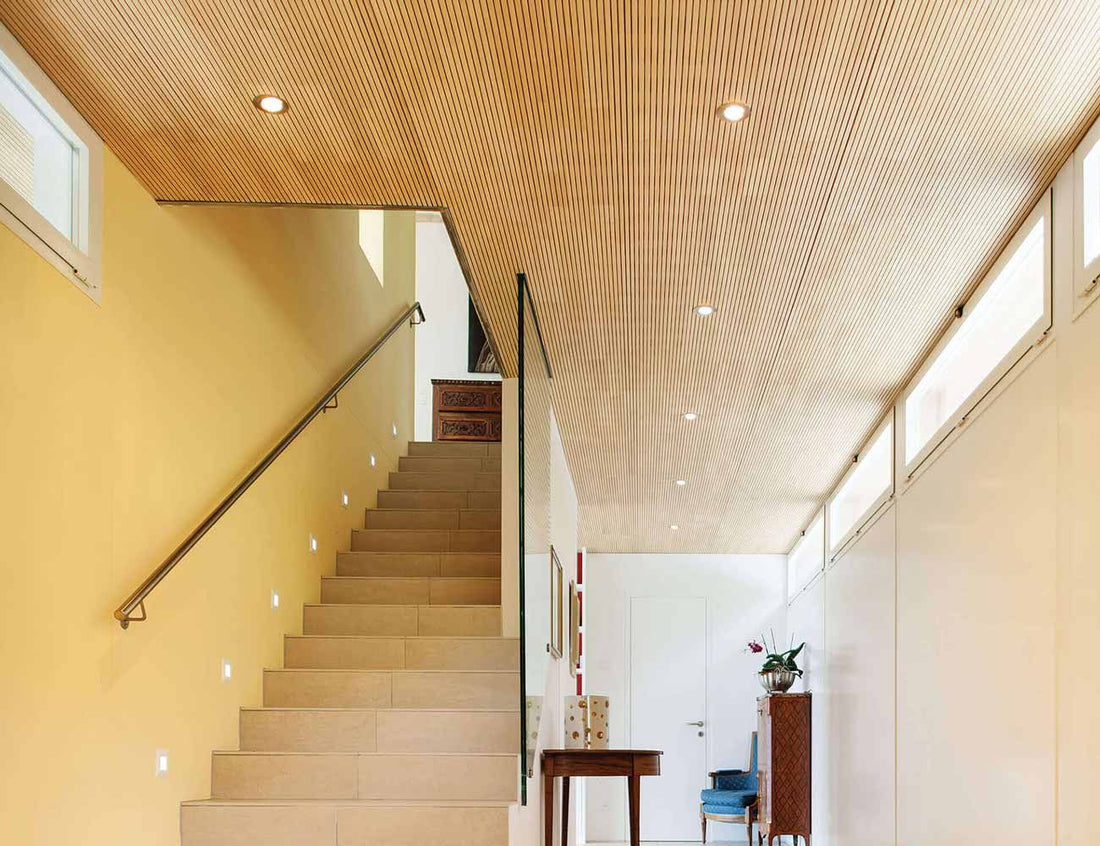
Basements are often underutilized, dark, and poorly lit spaces in many homes. However, with the right lighting, your basement can be transformed into a cozy family room, a productive office, a home gym, or even a media center. One of the best lighting solutions for basements is recessed lighting—also known as can lights or pot lights.
Installing recessed lighting in a basement improves illumination without sacrificing ceiling height, which is often limited in lower levels. This comprehensive guide will walk you through how to install recessed lighting in a basement, from planning and layout to wiring and installation, ensuring your project is safe, efficient, and up to code.
Why Choose Recessed Lighting for Your Basement?
Before diving into installation, let’s look at the benefits:
- Space-saving: Flush with the ceiling, ideal for low-clearance areas.
- Modern look: Sleek, unobtrusive design that suits any decor.
- Zoned lighting: Allows targeted lighting for specific areas (TV, laundry, workout space).
- Energy-efficient: LED recessed lights consume less power and last longer.
Read More: Transporting Drywall Down the Basement Stairs: A Complete DIY Guide
Tools & Materials Needed
| Tools | Materials |
|---|---|
| Voltage tester | LED recessed lighting kits |
| Wire strippers | Electrical wire (Romex 14/2 or 12/2) |
| Stud finder | Wire nuts and connectors |
| Drywall saw or hole saw | Junction boxes |
| Screwdriver or power drill | LED-compatible dimmer or switch |
| Measuring tape | Electrical tape |
| Ladder or step stool | Pencil and paper (for layout) |
Read More: DRICORE SMARTWALL Panels | Finishing Basement Walls Made Easy
Step-by-Step Guide: Installing Recessed Lighting in a Basement
Step 1: Plan Your Layout
A good lighting layout ensures even brightness throughout the basement. Start by identifying zones and calculating the number of lights needed.
Layout Tips:
- Measure the ceiling height: Recessed lights should be spaced roughly half the ceiling height apart (e.g., 4 ft spacing for 8 ft ceiling).
- Use lighting calculators or online tools to plan for optimal lumens per square foot (aim for 20–30 lumens per sq. ft for basements).
- Mark the center of each fixture using a pencil.
Pro Tip: Sketch a blueprint with zones like laundry, entertainment, or workspace to organize circuits and switch placement.
Read More: 7ft Basement Ceiling Lighting Fixture Ideas: Smart Solutions for Low Ceilings
Step 2: Turn Off the Power
Before working with any electrical components:
- Shut off the breaker that controls the basement.
- Use a voltage tester to confirm that the wires are not live.
Read More: Basement Lighting: Our Top 5 Fixes for Poor Lighting
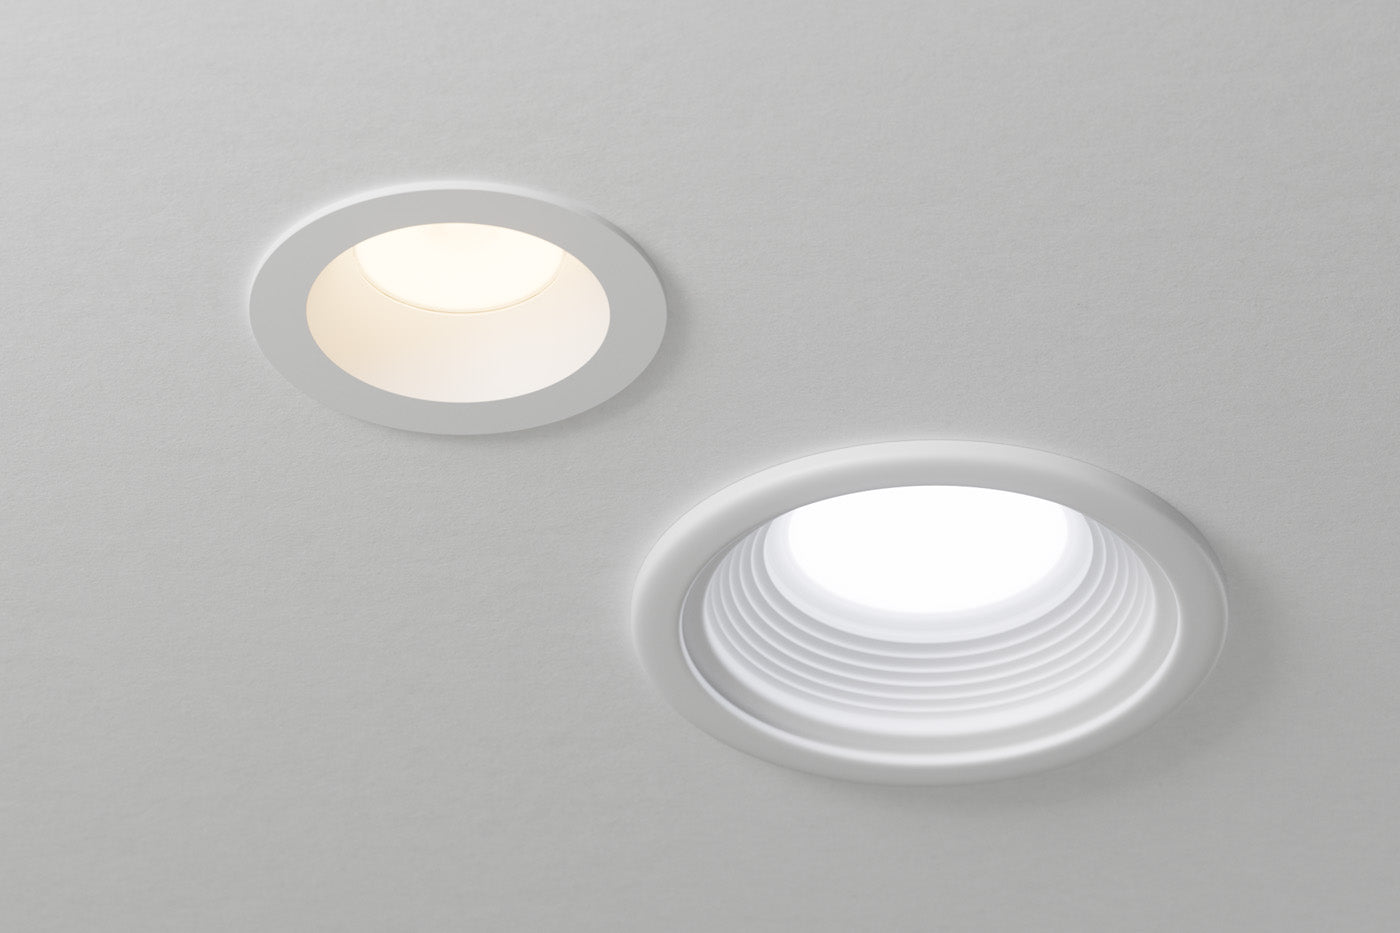
Step 3: Choose the Right Recessed Fixtures
There are different types of recessed lights. Choose according to your ceiling and insulation setup:
- Wafer lights (ultra-thin LED): Ideal for tight joist spaces or drop ceilings.
- IC-rated housing: Required if your ceiling is insulated.
- Damp-rated fixtures: Essential for basements with humidity or moisture.
- CCT-selectable LEDs: Allow you to change the light temperature (from warm to cool) depending on your mood or task.
Read More: Roughing In Lights in a Basement (and Integrating Existing Lights): A Complete DIY Guide
Step 4: Cut the Ceiling Holes
- Use a drywall saw or hole saw (matching your light fixture’s size).
- Check for joists, plumbing, or HVAC obstructions using a stud finder.
- Cut holes carefully and collect the dust to avoid mess.
Read More: Adding Lights to an Existing Circuit While Finishing the Basement: A Complete DIY Guide
Step 5: Run the Wiring
- Begin from the main electrical panel or existing power line.
- Run the Romex cable (14/2 for 15-amp or 12/2 for 20-amp) from the switch to each light in series (daisy chain).
- Staple cables to joists according to NEC (National Electrical Code) spacing rules.
- Leave 6–8 inches of wire at each opening for connections.
Read More: The Ultimate Basement Finishing DIY Guide
Step 6: Install Electrical Boxes and Light Housings
- Mount a switch box at the room’s entrance.
- For traditional can lights, install housings per the manufacturer’s instructions.
- For wafer lights, attach the junction box to the ceiling joist or drywall and connect it using spring clips.
Read More: Avoiding DIY Basement Remodeling Nightmares
Step 7: Make Electrical Connections
Open the junction box or can housing, and make these connections:
- Black to black (hot)
- White to white (neutral)
- Bare copper or green to ground
Secure each wire using wire nuts and wrap with electrical tape for added safety. Close the junction box or housing securely.
Read More: 6 Basement Renovation Ideas to Transform Your Space
Step 8: Mount the Light Fixture
- Push wafer lights up into the hole using spring-loaded arms.
- For can lights, secure the fixture and install the trim ring.
- Confirm all lights sit flush with the ceiling.
Read More: 10 Essential Tools for DIY Basement Finishing
Step 9: Wire the Switch
At the wall switch:
- Connect the incoming hot wire (black) to the bottom terminal.
- Connect the outgoing hot wire (to the lights) to the top terminal.
- Neutral wires are joined with a wire nut inside the box.
- Ground wire connects to the switch and the metal box (if applicable).
Optional: Install a dimmable LED switch to control brightness levels.
Read More: Everything You Need to Know About a Finished Basement
Step 10: Test the System
- Flip the breaker back on.
- Turn on the switch and test each light.
- Check for proper operation and brightness.
- If using a dimmer, test for flickering or buzzing and upgrade the switch if needed.
Read More: DIY Home Gym: Basement Transformation Part 1
Safety Tips and Best Practices
- Always turn off power before working.
- Use IC-rated lights in ceilings with insulation.
- Follow local codes for wire gauge, spacing, and support.
- Don’t overload the circuit—calculate total wattage and amps.
- When in doubt, consult a licensed electrician.
Read More: Creating a Home Gym by Renovating a Basement: The Complete Guide
FAQs About Installing Recessed Lighting in a Basement
Do I need a permit?
Yes. Most local jurisdictions require permits for new electrical installations. Contact your local building department.
Read More: Adding a Basement Gym to Your Home: The Ultimate Guide
How many recessed lights do I need?
It depends on the room size. For an average basement room (15’x20’), 6–8 fixtures spaced evenly typically provide adequate lighting.
Read More: Creating a Home Gym in an Unfinished Basement Space
Can I install recessed lighting in a drop ceiling?
Yes. Use T-bar compatible fixtures or install plywood panels for mounting.
Read More: How to Make an Unfinished Basement Gym in Your Home
Should I use 4-inch or 6-inch lights?
- 4-inch: Great for low ceilings, task lighting.
- 6-inch: Better for general illumination, higher ceilings.
Read More: Basement Home Gym Ideas for the Ultimate Workout Space
Conclusion: Brighten Your Basement the Smart Way
Installing recessed lighting in a basement is a fantastic way to upgrade the space without sacrificing headroom. By following this step-by-step guide, you can achieve professional-looking results, enhance functionality, and even increase your home’s resale value.
Whether you’re transforming your basement into a home theater, gym, or simply need better illumination, recessed lights are the perfect solution.