
Refinishing your basement is one of the most cost-effective and rewarding home improvement projects. Whether you’re looking to add living space, create a rental unit, or simply boost your property value, a refinished basement offers enormous potential. But it’s not as simple as slapping on some drywall and carpet. It takes planning, know-how, and attention to detail to transform a raw, sometimes damp area into a warm and functional part of your home.
In this all-in-one guide, we’ll walk you through everything you need to know about refinishing your basement, from initial prep work to the final design touches.
Why Refinish Your Basement?
Before diving into the process, let’s look at why basement refinishing is a great investment:
- Maximizes livable square footage
- Increases home resale value (average ROI is 70–75%)
- Provides space flexibility (home office, gym, guest suite, rental unit)
- Improves energy efficiency
- Enhances home comfort and functionality
Read More: How to Install Recessed Lighting in a Basement: A Complete Step-by-Step Guide
Step 1: Planning & Design
Assess Your Basement’s Condition
Start with a thorough inspection. Look for:
- Water leaks or damp spots
- Foundation cracks
- Mold or mildew
- Insufficient insulation
- Low ceiling height or obstructions
Pro Tip: Address any moisture issues first. Moisture is the #1 cause of basement remodeling problems.
Read More: Recommended Basement Recessed Lights: The Ultimate Guide for Homeowners
Define Your Purpose
Ask yourself:
- Will it be a guest bedroom? A home theater? A gym?
- Will plumbing or electrical need upgrading?
- Is there a bathroom or kitchenette planned?
Sketch a rough layout and identify zones for different purposes.
Read More: Recessed Lighting in Finished Basement: A Complete Homeowner’s Guide
Step 2: Permits and Building Codes
Before starting any work, check your local building codes and permit requirements. Most jurisdictions require permits for:
- Structural changes
- Electrical work
- Plumbing
- Egress windows for bedrooms
Getting proper permits ensures safety and protects your investment when selling.
Read More: Need Paint Color Ideas for Basement? Here’s Your Ultimate Guide
Step 3: Waterproofing & Insulation
Waterproofing
A dry basement is a successful basement. Essential steps:
- Seal foundation cracks with hydraulic cement
- Install a sump pump and drainage system if needed
- Apply a waterproof coating (e.g., Drylok) to concrete walls
- Ensure gutters and downspouts direct water away from the foundation
Read More: Basement Updates – Choosing a Paint Color That Transforms Your Space
Insulation
Basement insulation improves comfort and energy efficiency.
- Rigid foam board directly on foundation walls is ideal
- Spray foam around rim joists
- Avoid fiberglass batts directly against concrete (traps moisture)
Read More: 20 Basement Paint Color Ideas to Brighten and Transform Your Space
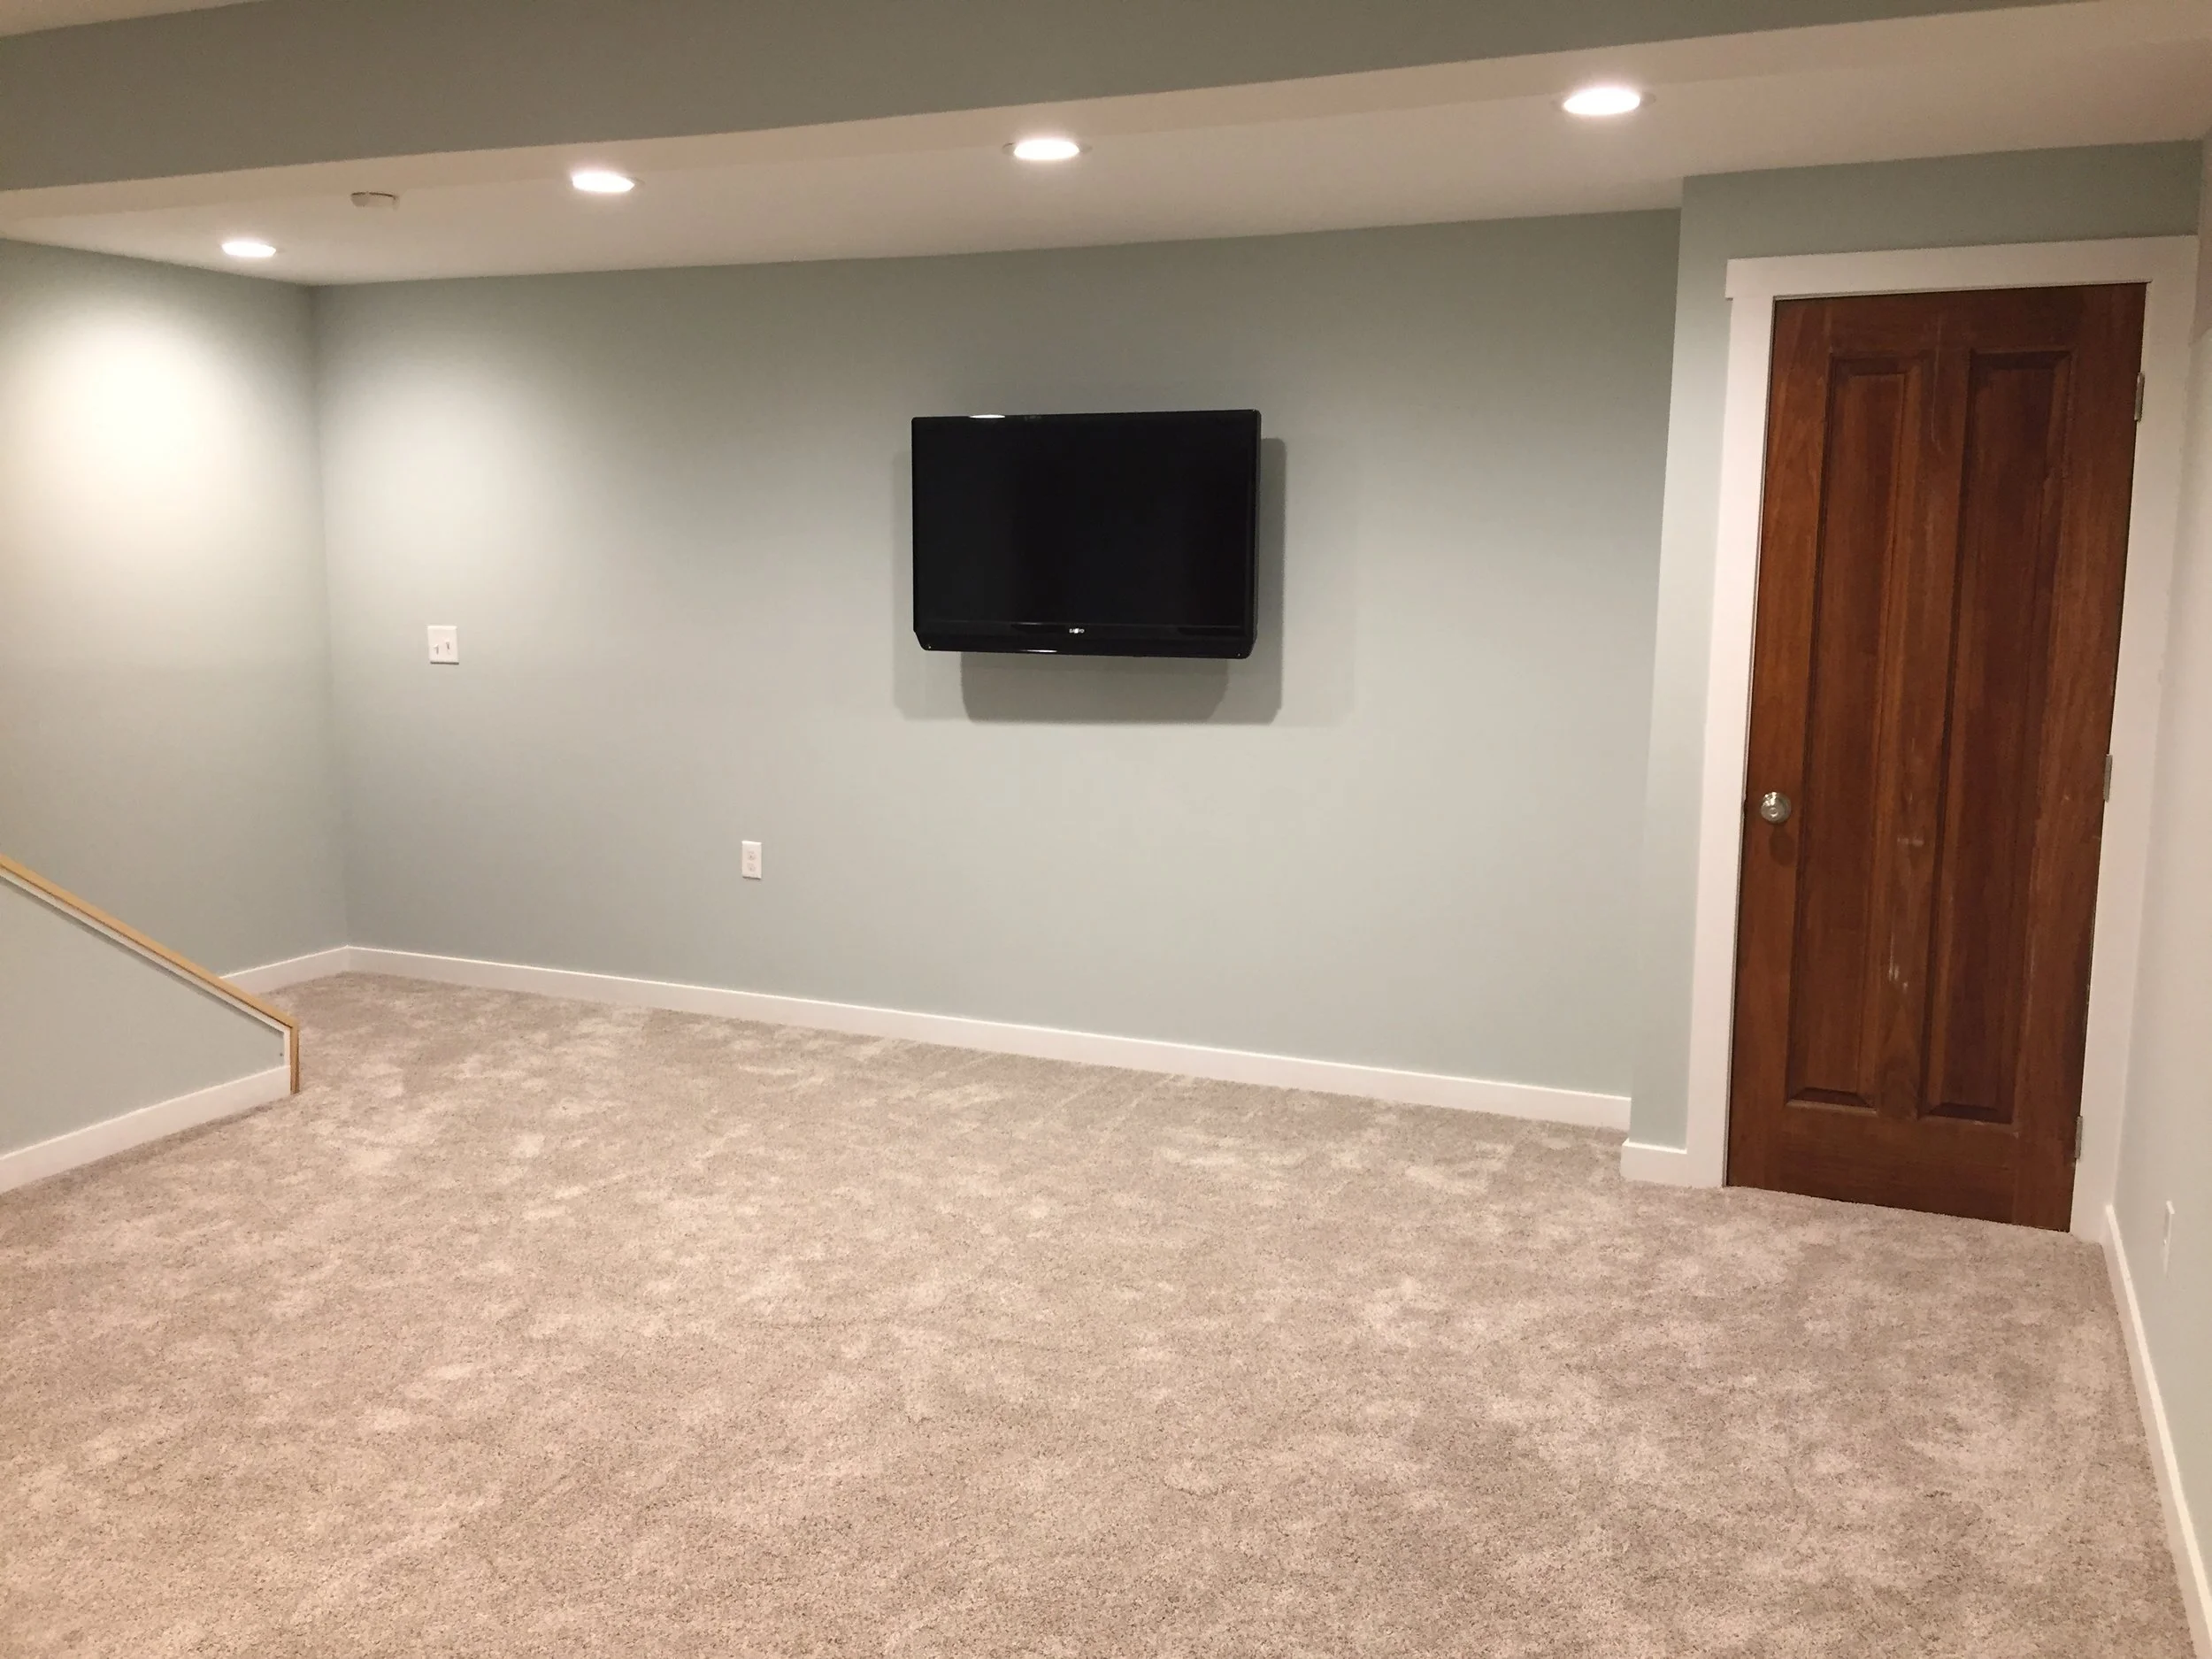
Step 4: Framing and Drywall
Framing allows for electrical runs, insulation, and wall finishes.
- Use pressure-treated lumber for bottom plates (to resist moisture)
- Frame walls about an inch off concrete to allow airflow
- Install mold-resistant drywall (green board) for longevity
For ceilings, consider:
- Drywall ceiling for a clean, finished look
- Drop ceiling for easier access to pipes/wires
- Painted exposed ceiling for a trendy industrial vibe
Read More: Concrete Basement Makeover: Transforming Cold Floors into Warm Living Spaces
Step 5: Electrical and Plumbing
Now is the time to rough in any:
- Lighting and outlets
- Ethernet cables
- Speaker systems
- Plumbing for bathrooms or wet bars
Hire licensed professionals unless you’re experienced. Install ample outlets and use LED recessed lighting to save ceiling space.
Read More: Stained Concrete Basement Floor Ideas for a Stylish & Durable Upgrade
Step 6: Flooring Options
Choose flooring that withstands basement conditions (moisture, cold):
Best Basement Flooring:
- Luxury Vinyl Plank (LVP) – Water-resistant and stylish
- Epoxy-coated concrete – Durable and modern
- Tile – Great for bathrooms or laundry areas
- Carpet tiles – Soft and replaceable
Avoid solid hardwood or laminate without waterproof backing.
Read More: Transporting Drywall Down the Basement Stairs: A Complete DIY Guide
Step 7: Paint & Wall Finishes
Stick with light, neutral paint tones to make the space feel larger. Use mold-resistant primers and low-VOC paints for healthier air quality.
For accent walls or added texture:
- Shiplap
- Faux brick
- Wainscoting
Paint ceilings and ductwork dark gray or black to hide imperfections if exposed.
Read More: DRICORE SMARTWALL Panels | Finishing Basement Walls Made Easy
Step 8: Design, Furniture & Décor
Now it’s time to turn the space from functional to fabulous.
Tips for a Finished Look:
- Use area rugs to define spaces
- Add storage cabinets or built-ins
- Hang mirrors to reflect light
- Use modular furniture for flexibility
- Decorate with plants, art, and throw pillows for personality
Consider soundproofing if your basement includes a home theater, bedroom, or music area. Acoustic panels, rugs, and insulated walls help minimize noise.
Read More: 7ft Basement Ceiling Lighting Fixture Ideas: Smart Solutions for Low Ceilings
Bonus: Smart Tech for a Modern Basement
Modern basements benefit from integrated technology. Popular features include:
- Smart thermostats for independent temperature control
- Wi-Fi mesh systems for better connectivity
- Voice-activated lights and sound systems
- Home security system access
Make sure your tech setup is integrated during the electrical planning phase.
Read More: Basement Lighting: Our Top 5 Fixes for Poor Lighting
Basement Refinishing Cost Breakdown
While costs vary by location and materials, here’s a rough estimate:
| Item | Average Cost per Sq. Ft. |
|---|---|
| Waterproofing | $3 – $8 |
| Insulation | $1 – $3 |
| Framing & Drywall | $2 – $4 |
| Electrical/Plumbing | $3 – $7 |
| Flooring | $2 – $6 |
| Paint & Finishes | $1 – $2 |
| Furniture & Décor | Varies widely |
Total Average: $30–$80 per sq. ft.
Example (800 sq. ft.): $24,000 – $64,000
Read More: Roughing In Lights in a Basement (and Integrating Existing Lights): A Complete DIY Guide
Final Inspection & Tips Before Moving In
Before you start using your newly refinished space:
- Complete final walk-through and touch-ups
- Inspect electrical, plumbing, HVAC, and insulation
- Ensure egress compliance for any bedrooms
- Install carbon monoxide and smoke detectors
Enjoying Your Finished Basement
Your basement is now an extension of your home’s personality and function. Whether it’s movie night in your new theater, a weekend workout in your home gym, or a cozy reading session by the fireplace, your refinished basement will quickly become a favorite spot.