
Installing a basement egress window is an essential upgrade for safety, code compliance, and livability. But the project doesn’t end when the window is in—proper framing and finishing around the egress window is critical to creating a polished, energy-efficient, and aesthetically pleasing basement space.
This comprehensive guide covers how to frame and finish around an egress window, tips for best results, and mistakes to avoid.
Why Framing and Finishing Matter
Once your egress window is installed into the concrete or block wall, it’s not just a structural opening—it’s part of your livable space. Proper framing and finishing serve several important purposes:
- Structural support for interior walls
- Insulation and energy efficiency
- Moisture prevention
- Aesthetic appeal
- Boosting property value
Read More: Basement Patio Door Ideas: Brighten and Open Up Your Lower Level
Step-by-Step: Framing Around an Egress Window
Tools & Materials Needed:
- Pressure-treated lumber (typically 2x4s or 2x6s)
- Insulation (rigid foam or batt)
- Vapor barrier (if required by local code)
- Galvanized nails or deck screws
- Construction adhesive
- Level, square, and measuring tape
- Framing nailer or drill
- Caulking and sealant
Read More: Benefits of Recessed Lights in the Basement
Step 1: Inspect the Rough Opening
After cutting through the basement wall and installing the egress window:
- Ensure the rough opening is square and level.
- Check that the window is properly flashed, caulked, and sealed on the outside.
- Confirm the sill height is within code (max 44” from finished floor).
Read More: Adding Lights to an Existing Circuit While Finishing the Basement: A Complete DIY Guide
Step 2: Build the Framing Box (Rough Frame)
Create a box-like frame using pressure-treated lumber to support the window from the inside.
Key Measurements:
- Top header: Fits snugly above the window.
- Side supports (jambs): Attach to the concrete opening sides.
- Sill support: Sits below the window and supports the bottom edge.
Tip: Use a construction adhesive between wood and concrete for extra strength, then secure with masonry screws or anchors.
Read More: How to Do Basement Lighting the Right Way
Step 3: Insulate Around the Window
Basements are naturally colder and more humid, so insulation is a must:
- Use rigid foam board insulation or spray foam around the framing box.
- Seal gaps between the frame and concrete with low-expansion spray foam to reduce air leaks.
Avoid fiberglass insulation directly against the concrete—it can trap moisture and lead to mold growth.
Read More: Basement Lighting for Low Ceilings: Tips and Ideas to Brighten Your Space
Step 4: Frame the Surrounding Wall
Now frame the interior basement wall that meets the window frame:
- Frame a standard stud wall using 2x4s spaced 16 inches on center.
- Align your window frame within this structure.
- Use a double header above the window for structural support.
Read More: Top 9 Basement Lighting Ideas to Brighten Your Space
How to Finish Around an Egress Window (Interior)
Once the framing is in place, you can begin the finishing process to make the window look clean and attractive.
Step 5: Add Drywall or Paneling
- Install drywall or paneling up to the window opening.
- Cut the drywall so it fits neatly around the framed box.
- Use corner beads and joint compound to create clean, smooth edges.
Read More: Top Basement Lighting Ideas to Brighten Up Your Space
Step 6: Install a Window Jamb Extension
Most egress windows are thicker than a standard framed wall, so you’ll need to extend the window jamb:
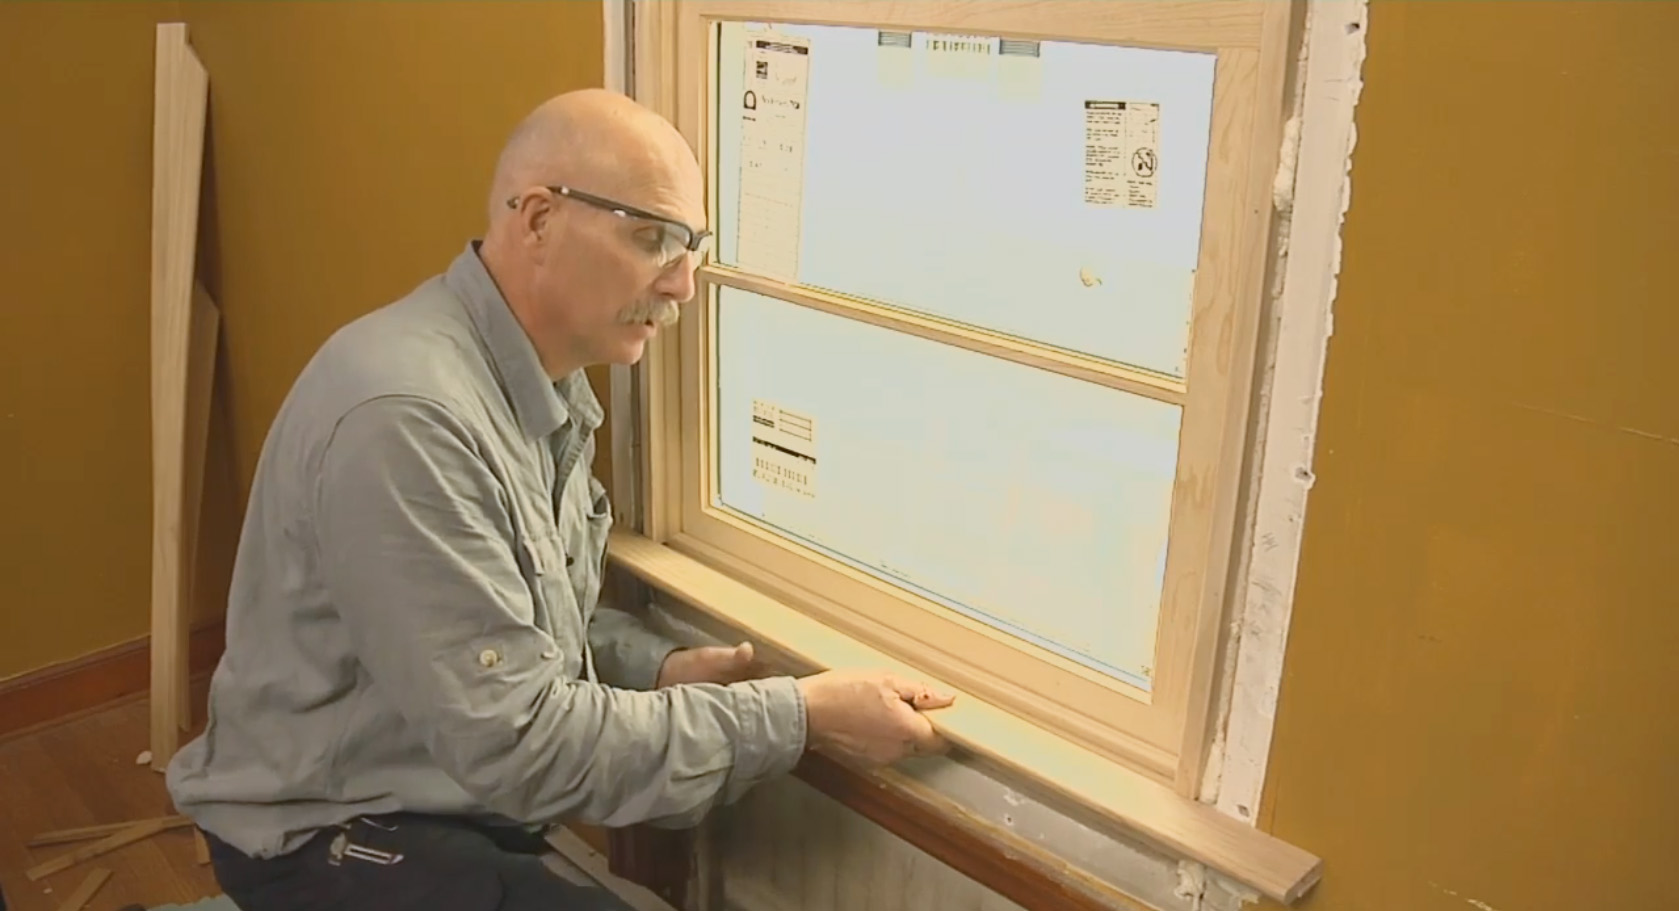
- Use pine or MDF boards to build the jamb extension from the window to the drywall edge.
- Attach using finishing nails and wood glue.
- Caulk the seams where the jamb meets the wall and the window frame.
Tip: Paint or stain the jamb before installation for an easier finish.
Read More: Lighting Help for Our Low Ceiling Basement: Bright Ideas That Work
Step 7: Trim and Casing
- Choose interior window trim to match your home’s style—craftsman, colonial, or modern.
- Install side casings, a window sill (apron), and top casing using a miter saw for clean corners.
- Secure with finishing nails and caulk the seams.
Read More: Create a Light & Bright Basement With These Remodeling Tips
Step 8: Paint or Stain
- Prime and paint or stain the trim, jamb, and drywall.
- Use mold-resistant paint in basements with higher humidity.
Read More: The Ultimate Guide to Basement Remodeling Lighting
Exterior Finishing (If Not Already Done)
To complete the look and improve waterproofing outside:
- Install a window well if not already in place.
- Add a well cover to keep debris, snow, and rain out.
- Finish exterior trim with flashing tape and sealant to prevent leaks.
- Landscape around the well to direct water away from the foundation.
Read More: What Are the Best Overhead Lights for an Unfinished Basement?
Tips for Best Results
- Use pressure-treated wood for anything in contact with concrete to prevent rot.
- Seal all gaps and joints to protect against drafts and water infiltration.
- Use low-VOC or mold-resistant materials in humid environments.
- Consider adding a window treatment like shades, curtains, or blinds for privacy.
- Choose energy-efficient egress windows (double-pane, low-E glass) to lower heating/cooling costs.
Read More: Basement Lighting Ideas for a Brighter Space: Transforming Dark into Dazzling
Estimated Cost for Framing and Finishing
| Item | Average Cost (DIY) | Average Cost (Pro Install) |
|---|---|---|
| Lumber and insulation | $150–$300 | Included in labor |
| Drywall, trim & paint | $100–$250 | $300–$600 |
| Jamb extensions & casing | $100–$200 | $200–$500 |
| Labor (if hired) | — | $500–$1,200 |
Overall, expect to spend $300–$800 DIY or $800–$2,000 professionally, depending on finish quality and material choices.
Read More: Considerations When Finishing Your Basement: The Ultimate Homeowner’s Guide
Final Thoughts
Adding an egress window is only half the job—framing and finishing around it is what transforms your basement into a livable, beautiful space. Whether you’re doing a DIY remodel or working with contractors, understanding each step ensures your project meets code, looks great, and stands the test of time.
Need help with other parts of your basement remodel? I can help create SEO-friendly articles for lighting, HVAC, flooring, soundproofing, or moisture control—just let me know!