
Wall shelves are one of the best ways to maximize your home’s vertical space while adding both style and storage. Whether you need extra room for books, want to display decorative pieces, or organize household items, wall-mounted shelves are a functional and affordable solution.
In this comprehensive DIY guide, we’ll walk you through how to build wall shelves for books and storage—step-by-step. This project is beginner-friendly and can be customized to fit any space or style, from modern minimalist to rustic farmhouse.
Benefits of Wall Shelves for Books and Storage
Before we dive into the building process, here are a few reasons to consider wall shelves:
:max_bytes(150000):strip_icc()/2718102_PU_Gidiere2CG-EVL-LR-Full-1-2000-1b8ddf020a934b89b5be98c4dd5b957e.jpg)
- Save floor space in small rooms
- Increase storage in bedrooms, offices, kitchens, or living rooms
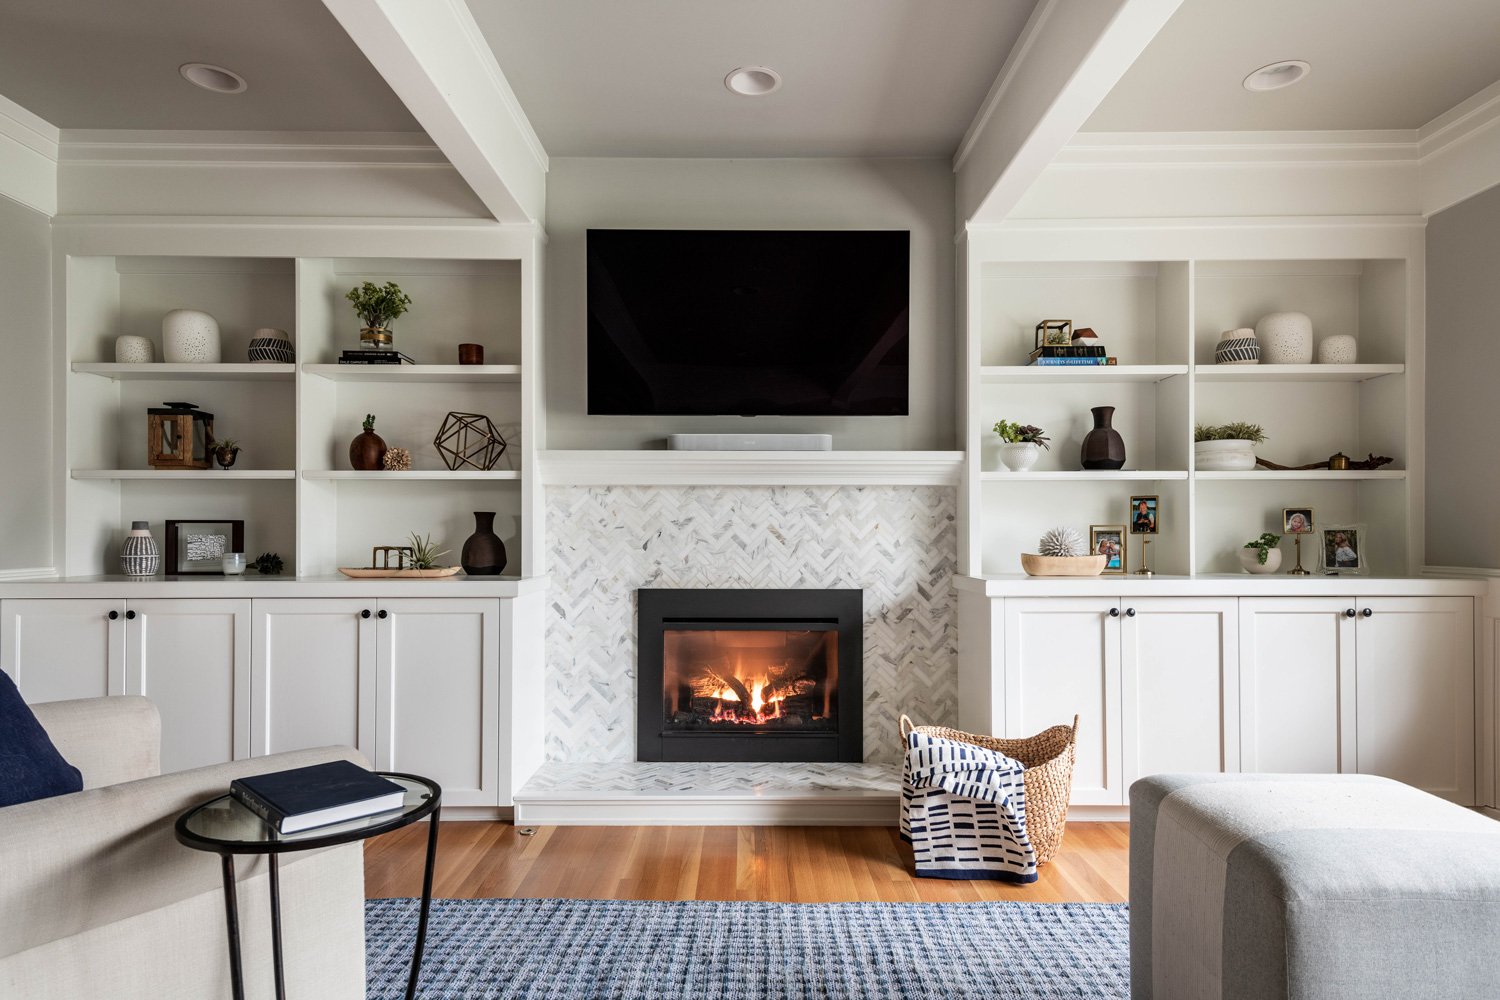
- A stylish way to display books, baskets, plants, and decor
- Easy to customize size, material, and finish to fit your space
- Budget-friendly compared to buying furniture or built-ins
Read More: Where Can I Buy Cheap Kitchen Cabinets? | 2025 Budget-Friendly Guide
Tools and Materials You’ll Need
Tools:
- Tape measure
- Level
- Stud finder
- Drill/driver with bits
- Circular saw or miter saw
- Screwdriver
- Pencil
- Sandpaper or power sander
Read More: How Much Does Remodeling a Kitchen Cost? | Complete Cost Breakdown (2025 Guide)
Materials:
- Wood boards (for shelves) – typically 1″x10″ or 1″x12″
- L-brackets, floating brackets, or cleats (for mounting)
- Wood screws
- Wall anchors (if not drilling into studs)
- Wood stain or paint (optional)
- Polyurethane or clear coat (optional)
Read More: How to make old kitchen cabinets look new?
Planning Your Wall Shelves
Before cutting or drilling, take time to plan out your shelves.
1. Determine Shelf Size
- Length: Most shelves range from 24” to 48” depending on wall size
- Depth: 10”–12” is ideal for books
- Thickness: ¾”–1½” depending on wood strength and load
Read More: What are the options for replacing kitchen cabinets?
2. Choose a Mounting Method
There are 3 common ways to mount wall shelves:
- L-brackets: Visible, easy to install, great for heavy loads
- Floating brackets: Hidden for a sleek, modern look
- French cleats or wooden supports: Strong, ideal for rustic or heavy-duty designs
Read More: How do you calculate the costs for a kitchen remodel?
3. Locate Studs
Use a stud finder to identify where the studs are in the wall. Drilling into studs ensures the shelves can support the weight of books and storage items.
Read More: How to redo kitchen cabinets?
Step-by-Step Guide: How to Build Wall Shelves for Books and Storage
Step 1: Measure and Mark the Wall
- Decide how many shelves you want and how far apart they’ll be
- Use a level and pencil to draw light lines for shelf placement
- Mark where brackets will be installed (either on studs or with anchors)
Tip: Leave 12–15 inches of vertical space between shelves to accommodate tall books or baskets.
Read More: What is the most affordable cabinet material for my kitchen?
Step 2: Cut the Shelves to Size
- Use a circular or miter saw to cut your wood boards to the desired length
- For example: 3 shelves at 36” long x 10” deep
Optional: Round or bevel the front edges for a smoother finish.
Read More: How difficult is it to build your kitchen cabinets?
Step 3: Sand and Finish the Wood
- Sand all surfaces and edges using 120- and 220-grit sandpaper
- Apply wood stain, paint, or a clear polyurethane coat depending on your style
Popular Finishes:
- Dark walnut or espresso for a rustic or industrial look
- White or black paint for modern, minimal design
- Natural wood tones for Scandinavian or boho styles
Read More: What is the most affordable cabinet material for my kitchen?
Step 4: Install the Brackets or Cleats
A. Using L-Brackets
- Attach brackets to the wall first using 2″ screws into wall studs
- Use a level to make sure each set is even
- Place the shelf on top of brackets, then screw upwards from the bracket into the shelf
Read More: What can I do to plan for a kitchen remodel?
B. Using Floating Shelf Brackets
- Install floating brackets according to manufacturer instructions
- Drill holes in the back of the shelf to slide over the bracket arms
- Secure the shelf to the brackets with screws or glue if needed
Read More: What are the best ways to build kitchen cabinets?
C. Using Cleats or Wood Supports
- Screw a cleat (2×2 or 1×2 wood) horizontally into the studs
- Place shelf board on top and screw down into cleat
- Optionally, use side supports for a framed, built-in look
Read More: How to plan a successful kitchen remodeling project?
Step 5: Add Reinforcements for Heavy Loads
If you plan to store a lot of books or storage bins, consider:
- Using 2 or more brackets per shelf
- Adding metal corner braces underneath for stability
- Using thicker wood (1½” boards or plywood with support framing)
Read More: How to choose kitchen cabinets when remodeling?
Step 6: Style and Organize Your Shelves
Once your wall shelves are installed, it’s time to add the finishing touch—what you put on them!
For Books:
- Stack vertically with some laid horizontally for contrast
- Use bookends or small bins for extra organization
For Storage:
- Add labeled baskets or bins
- Place commonly used items at eye level
- Use decorative boxes to hide clutter
For Style:
- Mix in plants, candles, frames, or artwork
- Leave some space for a clean look
- Keep colors cohesive for visual harmony
Read More: How do you buy kitchen cabinets on a budget?
Wall Shelf Build Summary
StepActionTools Needed
1 Plan & measure wall Tape measure, level, pencil
2 Cut shelves Saw
3 Sand & finish Sander, brush, or cloth
4 Install brackets or cleats Drill, screws
5 Mount shelves Level, screwdriver
6 Organize & style Baskets, books, décor
Read More: How to do DIY kitchen cabinetry and countertops cheaply?
Pro Tips for DIY Wall Shelves
- Always anchor brackets into studs or use high-quality drywall anchors
- Use painter’s tape when cutting wood to avoid splinters on the edges
- Double-check your level before drilling—crooked shelves are hard to fix later
- For floating shelves, make sure holes in the shelf match bracket spacing perfectly
Read More: How does interior remodeling enhance a home?
FAQs
What kind of wood is best for wall shelves?
- Pine: Affordable and lightweight
- Poplar: Smooth and easy to paint
- Oak or maple: Stronger for heavy-duty shelves
- Plywood: Budget-friendly with added edge banding
Read More: What’s a Great Way to Improve a Room for Less Than $100?
How deep should wall shelves be for books?
- 10–12 inches is ideal to accommodate most book sizes
Read More: How to Make My Living Room More Cozy: The Ultimate Guide to a Warm and Inviting Space
Can wall shelves hold heavy books?
Yes, if mounted into studs or with heavy-duty anchors and brackets. Use strong brackets rated for 40–75 lbs or more.
Read More: How Can Home Interior Design Transform Your Living Space?
How much space should be between wall shelves?
12–15 inches between shelves is common. Adjust based on what you plan to store.
Read More: How to Remodel My Garage Into a Living Space: A Complete Homeowner’s Guide
Final Thoughts
Building your wall shelves for books and storage is one of the most rewarding and practical DIY projects you can tackle. With just a few materials and basic tools, you can turn any empty wall into a functional and beautiful space.
Whether you’re organizing your office, creating a cozy reading nook, or just need more storage, these shelves can be built and installed in a single weekend—customized to fit your style, budget, and needs.