
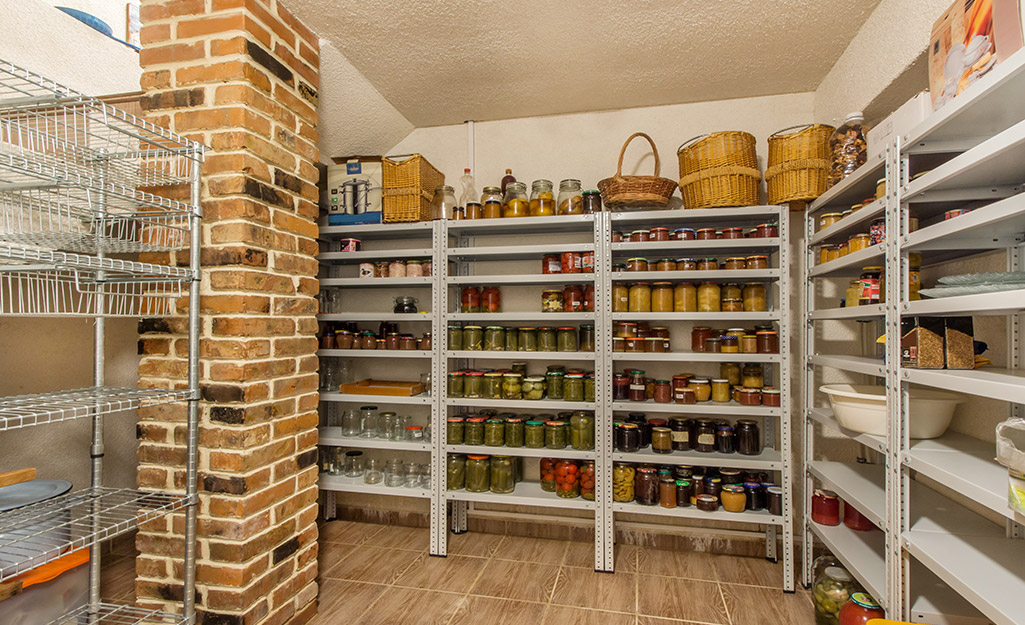
Basements often become cluttered catchalls—holiday decorations, tools, seasonal items, old clothes, and more. Building your own basement shelves is a smart and budget-friendly way to turn that clutter into organized storage.
Whether your basement is unfinished and rugged or fully finished and stylish, custom-built shelving offers flexibility, durability, and a satisfying weekend project for DIY enthusiasts. This guide walks you through every step of how to build basement shelves, from materials to measurements to installation tips.
Benefits of DIY Basement Shelves
Before we dig into the steps, here are a few reasons why DIY shelving beats store-bought units:
- Customized sizing: Perfectly fit your space and storage needs.
- Stronger and more durable than flimsy commercial options.
- Cheaper in the long run—wood and screws cost less than factory-made shelves.
- Expandable: Build more shelves later to match your growing storage needs.
- Satisfying DIY project that adds home value and functionality.
Read More: 100 Best Basement Storage Ideas to Maximize Space and Organization
Planning Your Basement Shelving Project
1. Evaluate Your Basement
Start by assessing:
- Finished or unfinished basement
- Wall material: concrete, drywall, or framed studs?
- Ceiling height and floor conditions
- Humidity levels (you may need treated wood or a vapor barrier)
Read More: DIY Basement Shelving: Maximize Storage with These Smart Ideas
2. Determine the Purpose
What will the shelves hold?
- Heavy items like tools or paint? Use reinforced wood and tight spacing.
- Storage bins or décor? Opt for deeper, wider shelves.
- Books, supplies, seasonal gear? Plan for adjustable or tiered shelves.
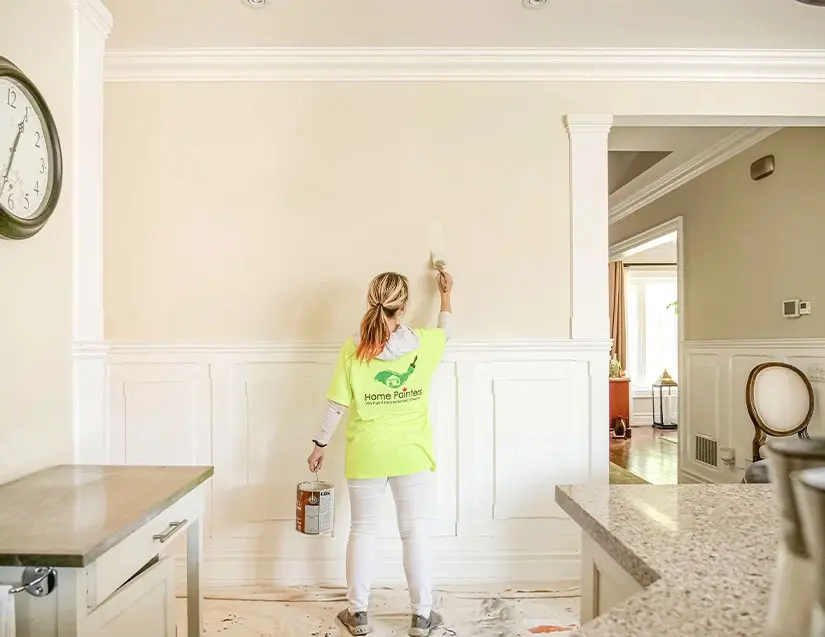
Read More: Painting Your Finished Basement Right: A Complete DIY Guide
Tools and Materials Needed
Tools:
- Circular saw or miter saw
- Power drill/driver
- Tape measure
- Level
- Carpenter’s square
- Stud finder
- Pencil
- Safety goggles and gloves
Read More: Easy Steps To Paint Basement Walls Like A Pro
Materials:
- 2×4 lumber for vertical posts and shelf frames
- Plywood or OSB boards (½” or ¾”) for the shelves
- Wood screws (2½” for framing, 1¼” for shelving)
- Optional: metal brackets, deck screws, or anchors (for masonry walls)
Read More: Paint Prep for a Basement Remodel: Trick to a Great Paint Job
Step-by-Step: How to Build Basement Shelves
Step 1: Measure and Mark
- Choose the wall or corner where shelves will go.
- Measure the desired width, height, and depth.
- Recommended shelf depth: 16″–24″ depending on use
- Recommended spacing between shelves: 16″–18″
- Mark your wall for vertical supports and each shelf level using a level and pencil.
Read More: Painting the Basement from Top to Bottom: A Complete DIY Guide
Step 2: Cut Your Lumber
- Cut 2x4s for vertical supports (legs). For an 8-ft high shelf, you’ll need 4 upright posts.
- Cut horizontal pieces for the shelf frames.
- For example, for a 48” wide shelf, cut front and back frame pieces to 48”.
- Cut cross supports to match the shelf depth (e.g., 20”).
Read More: Painting the Basement: DIY Tips and Tricks for a Flawless Finish
Step 3: Build Shelf Frames
- Lay two long 2x4s parallel to each other.
- Connect them with three or more crosspieces (front to back).
- Screw the frame together using 2½” wood screws and a square to keep it aligned.
Build as many shelf frames as needed based on your spacing plan.
Read More: Finishing Out Basement Walls: A Step-by-Step DIY Guide to a Warm, Dry, and Beautiful Space
Step 4: Assemble the Structure
- Lay the vertical posts on the ground.
- Attach the first shelf frame to the posts using screws.
- Measure carefully to ensure shelf height is consistent.
- Attach remaining frames upward at intervals (e.g., every 18″).
- Use a level to check each frame is perfectly horizontal.
Once assembled, stand the unit upright.
Read More: Cozy Cinder Block Basement Walls Renovation Ideas: Turn Cold Into Comfort
Step 5: Attach to the Wall (Recommended)
For added safety and stability:
- Use L-brackets or metal straps to secure the shelf frame to wall studs.
- If attaching to concrete or masonry, use masonry screws or anchors.
- This step is especially important if your shelves will hold heavy items or if children will be around.
Read More: Basement Block Wall Ideas: Stylish & Functional Finishing Options for Concrete Walls
Step 6: Add Shelf Boards
- Cut plywood or OSB to size for each shelf.
- Place on top of each frame and screw down using 1¼” screws.
- Sand rough edges if needed.
Read More: DIY Basement Remodeling with Concrete Block Walls: A Complete Homeowner’s Guide
Optional: Finishing Touches
- Paint or stain the shelves to match finished basements.
- Seal the wood to protect against moisture and mold.
- Use anti-slip liners or rubber mats for grip and easy cleaning.
Read More: How to Finish a Basement Wall: DIY Guide for Homeowners
Pro Tips for Strong, Long-Lasting Shelves
- Always pre-drill holes to prevent wood from splitting.
- Use pressure-treated lumber in unfinished or damp basements.
- Build corner shelves for stability and space efficiency.
- Use angled brackets for extra strength if storing heavy items.
- Consider adjustable shelf designs using tracks or pins for flexibility.
Read More: How to Finish a Basement Wall (DIY): A Complete Step-by-Step Guide
Example Layout: 4-Shelf Unit
| Element | Dimension Example |
|---|---|
| Overall Height | 72″ |
| Width | 48″ |
| Depth | 20″ |
| Shelf Spacing | 16″ |
| Material | 2x4s + ¾” plywood |
This layout holds large bins, heavy gear, or tools comfortably.
Read More: How to Build Finished Walls in a Basement: A Step-by-Step DIY Guide
Maintenance and Safety
- Keep shelves dry and clean.
- Avoid overloading—check sagging or bending periodically.
- Replace warped boards or rusted screws as needed.
- Use bins with lids to keep out dust, insects, and moisture.
Read More: How to Make an Unfinished Basement Usable: Budget-Friendly Ideas for Every Home
Final Thoughts
Creating your own basement shelves is not only practical—it’s also empowering. You’ll gain storage, eliminate clutter, and improve the value of your home all in one go. Whether you’re working with a damp, concrete basement or a finished space with drywall, this project can be tailored to suit your space and needs.
Ready to get started? Begin with a simple 3-shelf unit, then expand as you get comfortable. Before long, your basement will be the most organized place in your home.