
Want to give your kitchen a fresh new look without replacing the entire cabinetry? Changing the colour of your kitchen cabinets is one of the most cost-effective and visually transformative updates you can make to your kitchen. Whether you’re going from oak to white, espresso to sage green, or just updating to a trendy matte finish — repainting or refinishing your cabinets can make your kitchen feel brand new.
In this in-depth guide, we’ll walk you through how to change your kitchen cabinets colour step by step, what tools you’ll need, the best paints and primers, and key tips to ensure your finish lasts for years.
Why Change Your Kitchen Cabinet Colour Instead of Replacing It?
Changing cabinet colour is:

- Budget-friendly (costs 10-25% of a complete cabinet replacement)
- Faster than a complete remodel
- Customizable with hundreds of colour options
- A great way to modernize outdated wood tones
- Environmentally friendly — no need to send wood to the landfill
Read More: What Do You Do First in a Bathroom Remodel? | Step-by-Step Guide to Starting Right
What You’ll Need (Tools + Materials)
Before starting your cabinet colour transformation, gather these essential tools and supplies:
Tools:
- Screwdriver or drill
- Sandpaper (120 & 220 grit)
- Sanding block or electric sander (optional)
- Painter’s tape
- Drop cloths or plastic sheeting
- Paintbrushes (angled for edges)
- Foam roller for a smooth finish
- Paint tray
- Tack cloth or microfiber cloth
Read More: How Many People Does It Take to Do a Bathroom Renovation? | A Full Breakdown by Role and Scope
Materials:
- Degreaser (like TSP – Trisodium Phosphate)
- Wood filler (for any nicks or holes)
- Primer (bonding primer or stain-blocking primer)
- Cabinet paint (latex, alkyd, or acrylic enamel)
- Optional: Topcoat/sealer for added durability
Read More: Why Do Bathroom Remodels Take So Long? | A Deep Dive Into Delays and Timelines
Step-by-Step: How to Change the Color of Kitchen Cabinets
Step 1: Remove Doors, Drawers, and Hardware
- Take off all cabinet doors and drawers using a screwdriver or drill.
- Remove hinges, handles, and knobs.
- Label each door and drawer to ensure proper reinstallation.
Read More: What Do You Need for a Bathroom Renovation? | A Complete Guide for Homeowners
Step 2: Clean and Degrease
- Use a degreaser, such as TSP, to thoroughly clean every surface.
- Kitchens often accumulate a significant amount of grease buildup that can interfere with paint adhesion.
- Let dry completely before moving on.
Read More: Best Tips to Follow for Bathroom Renovation: A Homeowner’s Complete Guide
Step 3: Sand the Surfaces
- Lightly sand all surfaces using 120-grit sandpaper to remove gloss and rough up the surface.
- Follow with 220-grit for a smoother finish.
- Wipe off dust with a tack cloth or damp microfiber cloth.
Note: If your cabinets are laminated or have a high-gloss finish, sanding is even more critical for proper paint adhesion.
Read More: What Is Involved in a Small Bathroom Remodel? | Complete DIY and Budget-Friendly Guide
Step 4: Fill in Any Holes or Dents
- Use wood filler to patch up any imperfections.
- Let it dry, then sand smooth.
Read More: How to Remodel a Bathroom DIY: A Complete Step-by-Step Homeowner’s Guide
Step 5: Tape Off and Protect Surroundings
- Use painter’s tape to protect walls, backsplashes, and countertops.
- Lay drop cloths to cover the floor.
Read More: How to Hang a Floating Shelf on Drywall: A Complete DIY Guide
Step 6: Apply Primer
- Use a high-quality bonding primer for laminate or glossy surfaces.
- Use a stain-blocking primer for wood cabinets that may bleed through.
- Apply with a brush for corners and a foam roller for large areas.
- Allow it to dry according to the product instructions (typically 4–6 hours).
Tip: A second coat of primer may be needed if covering dark wood tones or stains.
Read More: Tips to Add Additional Kitchen Cabinets: Smart Storage Solutions for Every Home
Step 7: Paint the Cabinets
-
- Choose a durable cabinet-specific paint: Acrylic latex: Water-based, easy to clean, suitable for light-use kitchens
- Alkyd (hybrid): Offers oil-based durability with water cleanup
- Oil-based paint (not as common now): Tough but longer drying time and more laborious cleanup
- Apply 2–3 thin coats of paint using a brush and foam roller.
- Sand lightly between coats with 220-grit for a buttery-smooth finish.
- Let dry completely between coats (follow the manufacturer’s drying time).
Read More: How Can We Get the Best Kitchen Pull-Out Shelves? A Complete Guide
Step 8: Optional – Apply a Topcoat
- A polyurethane or polyacrylic topcoat adds durability to high-traffic areas, such as kitchens.
- Use a water-based topcoat to prevent yellowing (especially on white cabinets).
- Apply 1–2 thin coats with a foam brush or sprayer.
Read More: How to DIY a Room: Transform Your Space Without Breaking the Bank
Step 9: Reinstall Doors and Hardware
- Once everything is dehydrated (waiting a minimum of 24–48 hours), reinstall the doors, drawers, and hardware.
- Consider replacing old handles or knobs for a fresh final touch.
Read More: What Is the Cheapest Way I Can Build a Bookshelf? A Budget-Friendly DIY Guide
Pro Tips for Long-Lasting Results
- Always clean and sand — skipping this step is the #1 reason paint fails.
- Use a foam roller for a smooth, professional look.
- Let cabinets cure fully before heavy use (7–14 days).
- Store removed hardware in labelled plastic bags.
- Work in a well-ventilated space and wear a mask when sanding or painting indoors to minimize exposure to dust and fumes.
Read More: Decorative Open Shelving Kitchen Ideas: Transform Your Space with Style and Function
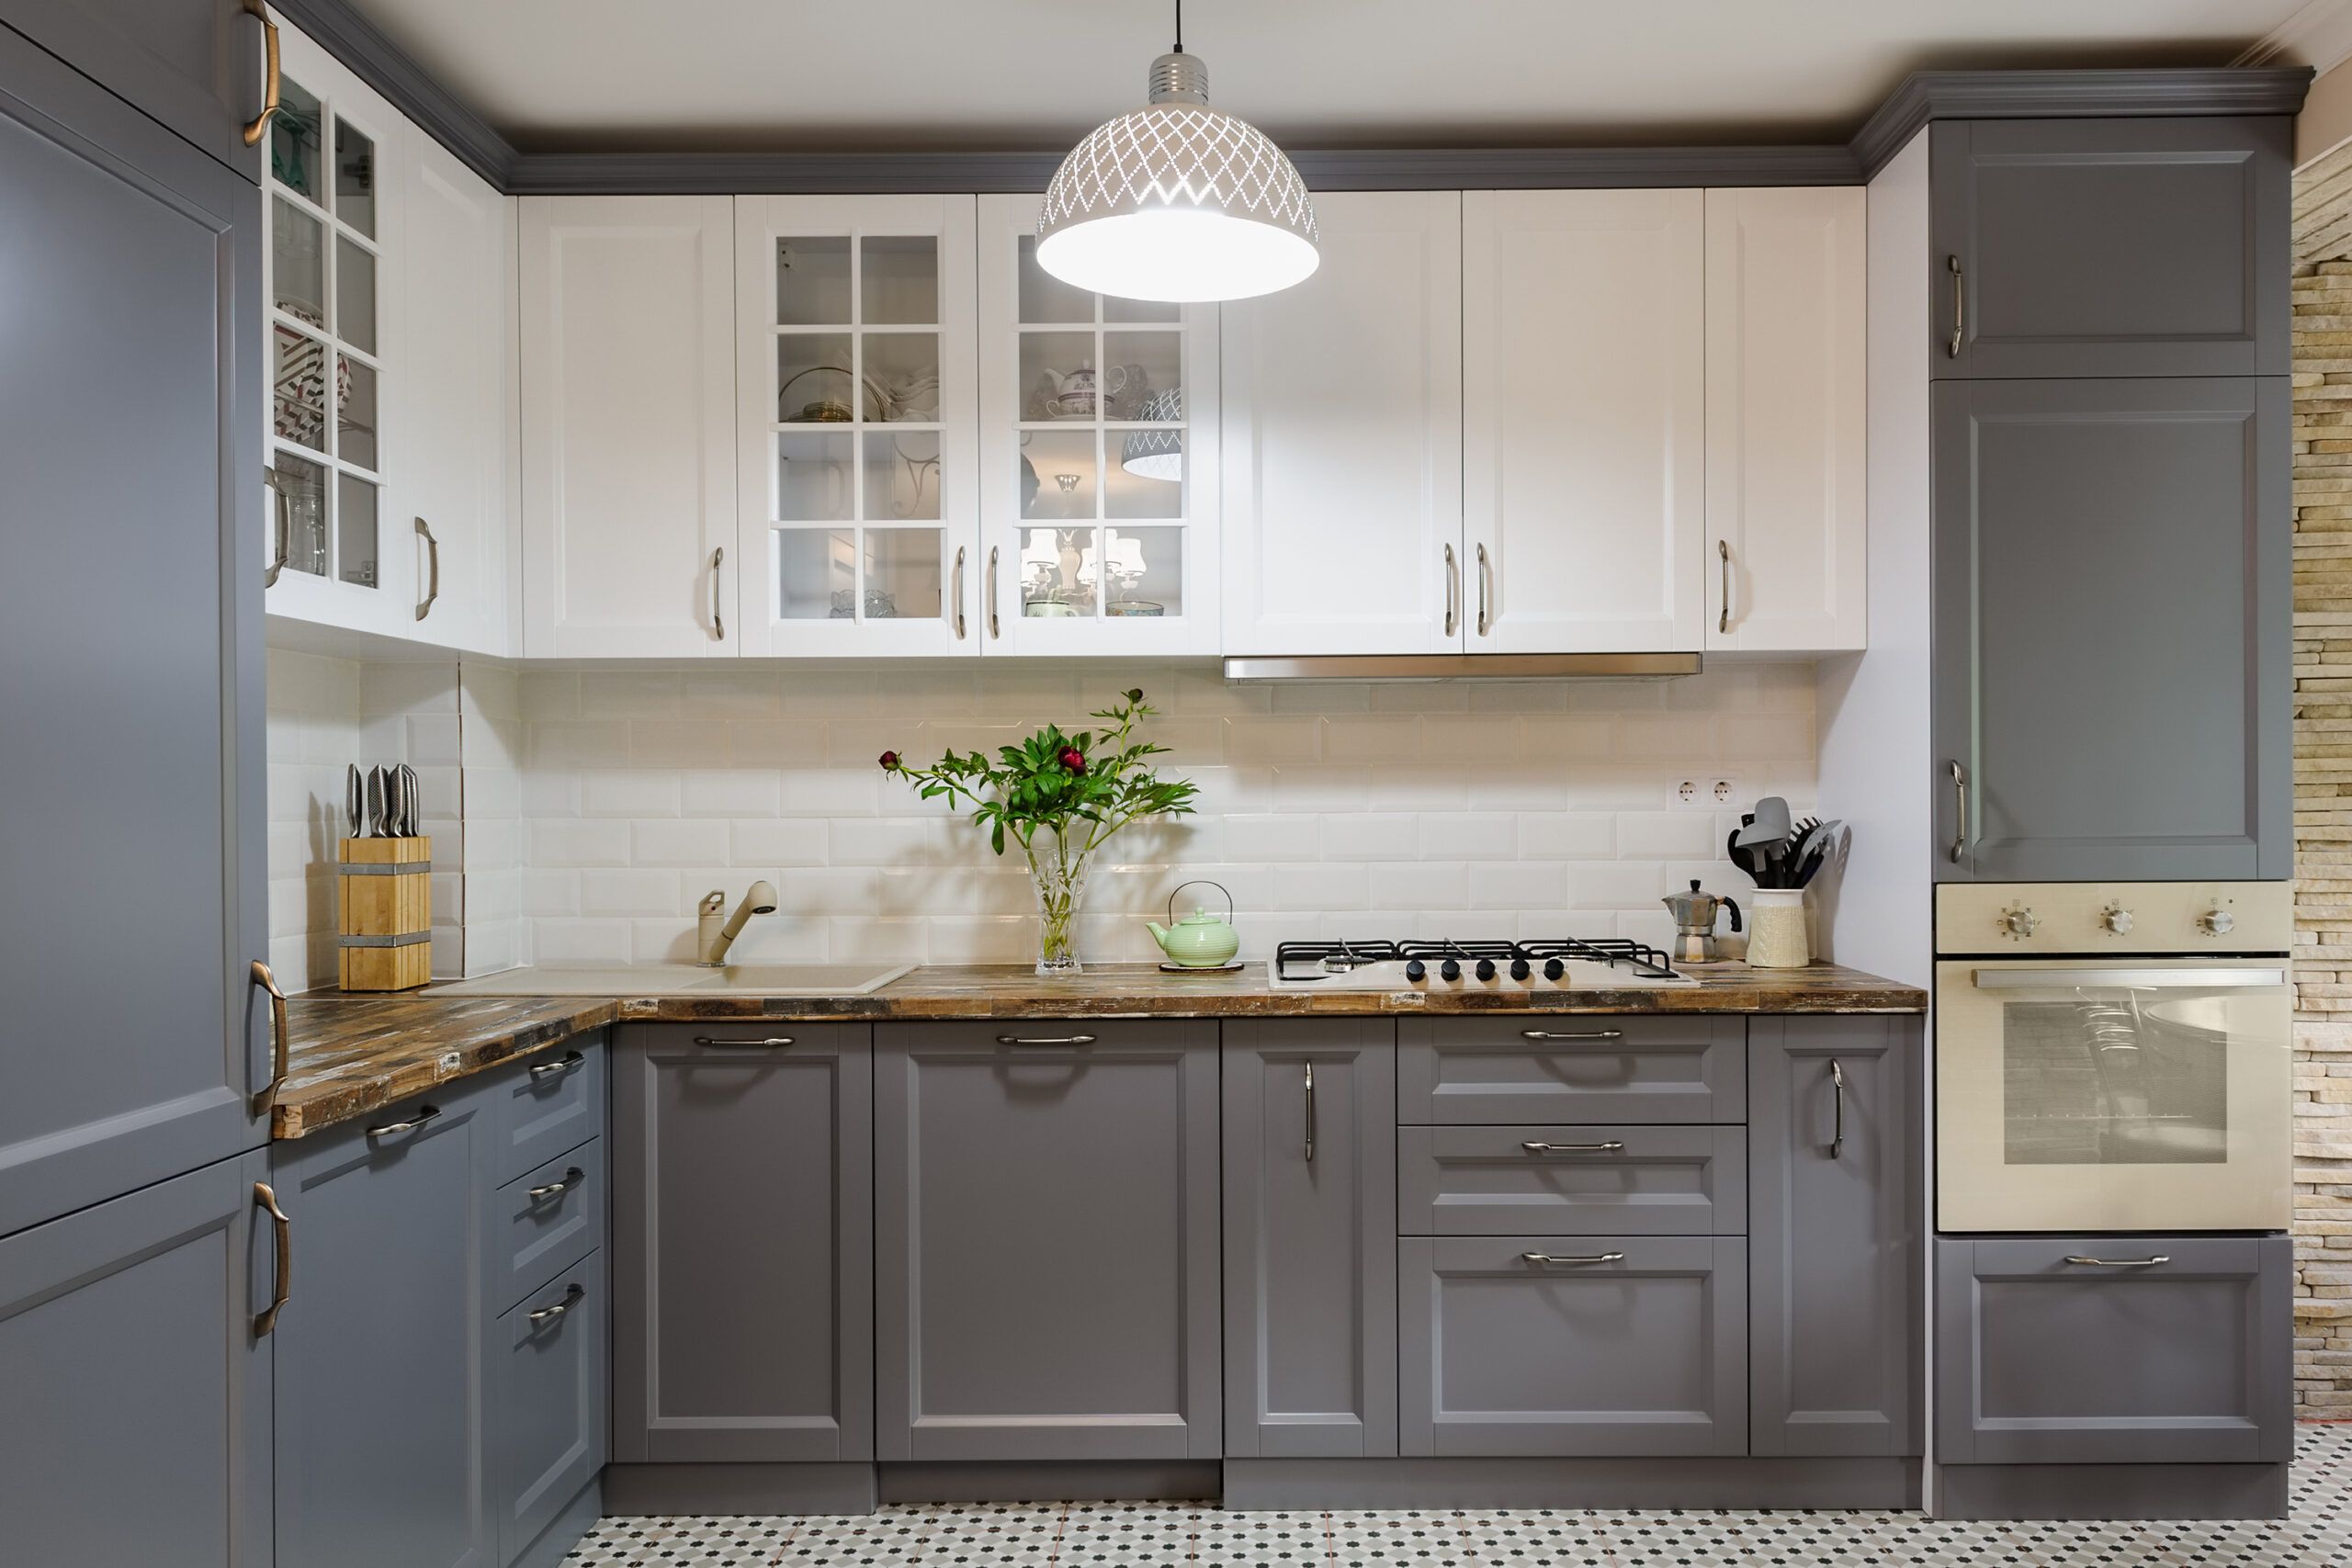
Popular Cabinet Color Ideas for 2025
- Classic white – Bright, clean, timeless
- Navy blue or charcoal grey – Bold and sophisticated
- Two-tone cabinets – Light uppers, dark lowers
- Greige or warm beige – Earthy and neutral
- Forest green or sage – Natural and trendy
- Black matte – Modern and dramatic
Want your kitchen to look modern and high-end? Pair painted cabinets with brass or matte black hardware and quartz countertops.
Read More: What Are the Best Tools for Installing Shelves? A Complete Guide for DIY Success
How Much Does It Cost to Repaint Cabinets?
ItemDIY Price Range
Primer $20 – $40
Paint $30 – $70
Tools & brushes $30 – $60
Degreaser & filler $15 – $30
Topcoat (optional) $20 – $40
Total (DIY) $100 – $200 for a small kitchen
Professional cabinet refinishing costs $1,000 to $3,000, depending on the kitchen size.
Read More: Is It Cheaper to Build or Buy Shelves? A Cost Comparison for Homeowners and DIYers
Final Thoughts: Are Repainting Cabinets Worth It?
Absolutely. If your cabinets are structurally sound but look outdated, painting them is a low-cost, high-impact solution. You can dramatically modernize your kitchen without tearing everything out—and if you follow the steps in this guide, your finish will be smooth, durable, and beautiful for years to come.