
Want to add a touch of elegance and functionality to your home? Creating a floating shelf from solid wood is one of the best DIY projects to enhance any room’s design. Floating shelves are stylish, space-saving, and surprisingly easy to build—especially when using solid wood for a premium, durable finish.
In this comprehensive review, we’ll lead you through the procedure of creating a robust lumber drift shelf consisting of products, devices, installation suggestions, and innovative style ideas. Whether you’re an amateur or a seasoned DIY enthusiast, this tutorial will help you create a stunning rack that lasts for years to come.
Why Make The Most Of Strong Timber for Drifting Racks?
Using strong timber for your drifting rack brings both visual appeal and stamina. Contrasted to MDF or plywood, solid wood:

Deals superior durability
Provides a more authentic and natural look
It can hold even more weight
Can be sanded, discoloured, or refinished easily
Popular kinds of strong timber for shelves include:
Pine– budget-friendly and simple to collaborate with
Oak– strong with a standard grain
- Walnut – rich and dark, perfect for luxury styles
- Maple – light and smooth, ideal for modern interiors
Read More: How Much Does Remodeling a Kitchen Cost? | Complete Cost Breakdown (2025 Guide)
Tools and Materials Needed
Materials:
- Solid wood board (1.5” thick is ideal)
- Floating shelf brackets or hidden metal supports
- Screws and wall anchors (toggle bolts for drywall)
- Wood stain or paint
- Polyurethane or wood sealer (optional)
- Wood filler (for screw holes, if needed)
Read More: How to make old kitchen cabinets look new?
Tools:
- Stud finder
- Power drill
- Screwdriver
- Level
- Measuring tape
- Sandpaper or power sander
- Saw (miter, circular, or table saw)
- Paintbrush or cloth (for finishing)
Read More: What are the options for replacing kitchen cabinets?
Choosing the Right Dimensions
A standard floating shelf made from solid wood can be:
- Width: 24″–48″
- Depth: 8″–12″
- Thickness: 1.5″–2″ (for solid wood strength)
Tip: A thicker shelf looks more substantial and can hold more weight. However, thicker wood can be heavier and may require better wall anchoring.
Read More: How do you calculate the costs for a kitchen remodel?
How to Make a Solid Wood Floating Shelf (Step-by-Step)
Step 1: Choose and Cut the Solid Wood
- Select your wood board based on size and style.
- Cut the wood to your desired shelf length using a mitre or circular saw.
- Sand all sides and edges with 120–220 grit sandpaper for a smooth finish.
Tip: For a rustic look, leave some knots and natural grain; for a modern finish, opt for a smoother appearance.
Read More: How to redo kitchen cabinets?
Step 2: Stain or Paint the Shelf
- Apply wood stain with a cloth and wipe off the excess to reveal the natural wood grain.
- Let it dry for at least 8–12 hours.
- Optionally, apply a coat of polyurethane for protection and a satin or matte finish.
Alternative: Use paint for a solid colour finish if you’re matching other pieces of furniture.
Read More: What is the most affordable cabinet material for my kitchen?
Step 3: Install the Floating Shelf Brackets
You’ll need heavy-duty floating shelf brackets, which are designed to be invisible once installed.
A. Locate Wall Studs
- Use a stud finder to locate studs in the wall where you plan to mount the shelf.
- Mark the stud positions with a pencil.
Read More: How difficult is it to build your kitchen cabinets?
B. Mount the Brackets
- Hold the bracket against the wall and align it with the studs.
- Use a level to ensure it’s straight.
- Drill screws into studs to anchor the brackets securely.
Note: If you cannot mount into studs, use toggle bolts or heavy-duty drywall anchors—but the shelf will hold less weight.
Read More: What is the most affordable cabinet material for my kitchen?
Step 4: Drill Holes Into the Solid Wood Shelf
- Measure and mark the locations where the bracket rods will be inserted into the back of the shelf.
- Use a drill with a bit of the same diameter as the bracket rods.
- Drill straight, deep holes (at least 4″ into the shelf).
Tip: Use masking tape on the drill bit to guide depth.
Read More: What can I do to plan for a kitchen remodel?
Step 5: Mount the Shelf
- Slide the solid wood shelf onto the bracket rods.
- Press firmly to ensure a snug fit.
- Optionally, use wood glue inside the holes for a more permanent attachment.
- Use a level to make sure the shelf is straight.
If there’s any looseness, drive small screws from the top or bottom of the shelf into the bracket rod to secure it in place.
Read More: What are the best ways to build kitchen cabinets?
Styling Tips for Solid Wood Floating Shelves
- Rustic style: Use distressed pine or reclaimed wood with a dark stain.
- Modern look: Use maple or walnut with a smooth satin finish.
- Industrial edge: Pair with metal accents or black brackets for a modern look.
- Minimalist vibe: Paint in white or light grey and keep the decor simple.
Read More: How to plan a successful kitchen remodelling project?
FAQs About Solid Wood Floating Shelves
Can I use reclaimed wood?
Yes! Reclaimed wood is sustainable and adds character. Be sure to clean and sand the area thoroughly.
Read More: How to choose kitchen cabinets when remodelling?
How much weight can a solid wood shelf hold?
If installed into wall studs with heavy-duty brackets, a solid wood shelf can support 40–100+ lbs, depending on the thickness and bracket type.
Read More: How do you buy kitchen cabinets on a budget?
What type of finish is best?
For durability, use a polyurethane finish—especially if the shelf will be in a kitchen or bathroom. For a natural look, use beeswax or Danish oil.
Read More: How to do DIY kitchen cabinetry and countertops cheaply?
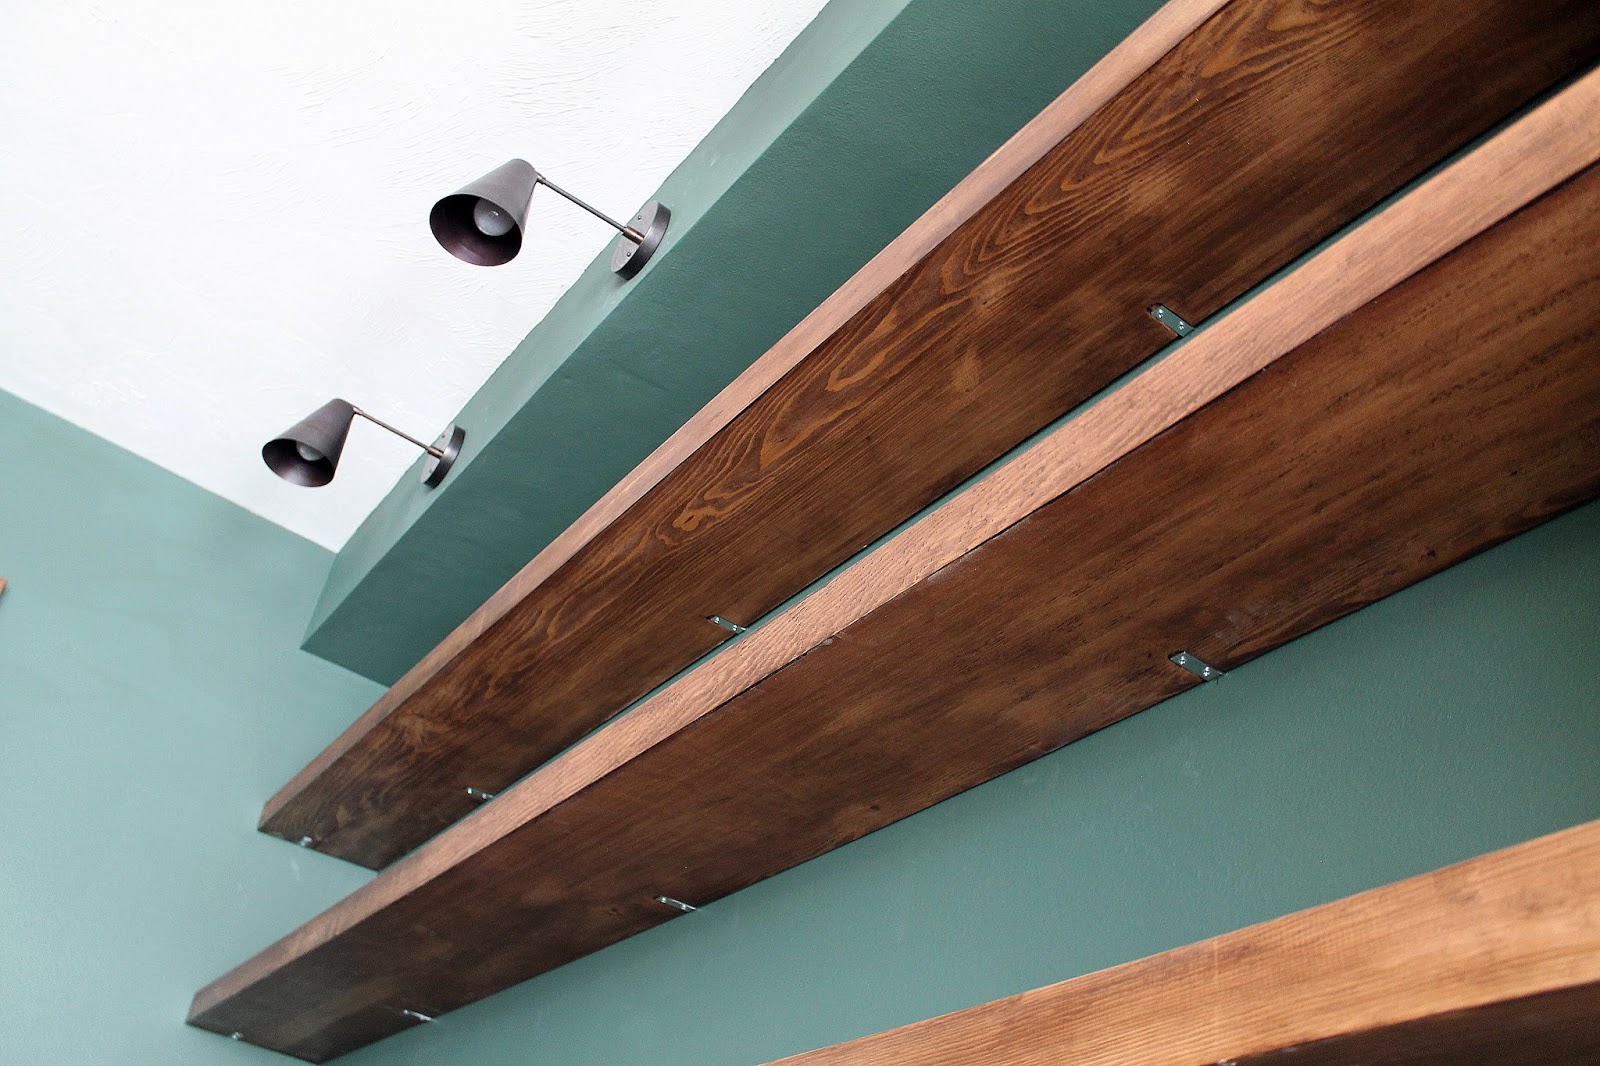
Can I build multiple shelves?
Absolutely. You can stack shelves vertically with equal spacing (usually 10–14 inches apart) for a built-in look.
Read More: How does interior remodelling enhance a home?
Quick Summary: Solid Wood Floating Shelf Build
StepAction
Select wood Choose durable, high-quality, solid wood
Cut and sand Trim to size, smooth edges and surface
Stain or paint Apply finish and let it cure
Install brackets Secure into wall studs or use anchors
Drill into wood Match holes to bracket rod size and spacing
Mount the shelf Slide it on, and check for level, glue or screw if needed
Read More: What’s a Great Way to Improve a Room for Less Than $100?
Final Thoughts
Creating a floating shelf from solid wood is not just a simple DIY task—it’s a stylish upgrade for any room in your home. With a bit of woodworking, staining, and drilling, you can create a high-end, custom shelf that adds warmth, functionality, and value to your space.
Whether you’re placing it in the living room, kitchen, or bedroom, a solid wood floating shelf is a timeless choice. Just follow the steps above, and you’ll have a shelf that looks great and holds strong.