
Finishing a basement is one of the most rewarding home improvement projects you can undertake. It not only maximizes the usable square footage in your home but also increases its market value. However, a successful basement finishing project requires thoughtful planning, the right materials, and professional insights to avoid costly mistakes.
In this guide, we’ll walk you through expert-backed pro tips for basement finishing, ensuring your project is efficient, stylish, moisture-resistant, and code-compliant.
Why Finish Your Basement?
Before diving into the pro tips, let’s quickly look at why finishing your basement is a great idea:
- Increases Living Space – Turn unused space into a home office, gym, bedroom, or entertainment area.
- Boosts Property Value – Finished basements can offer an ROI of 65–75%.
- Multifunctional Use – Serve as a guest suite, rental unit, or playroom.
- Energy Efficiency – A well-finished basement can help regulate temperatures in the home.
Read More: Transporting Drywall Down the Basement Stairs: A Complete DIY Guide
Pro Tips for Finishing Your Basement
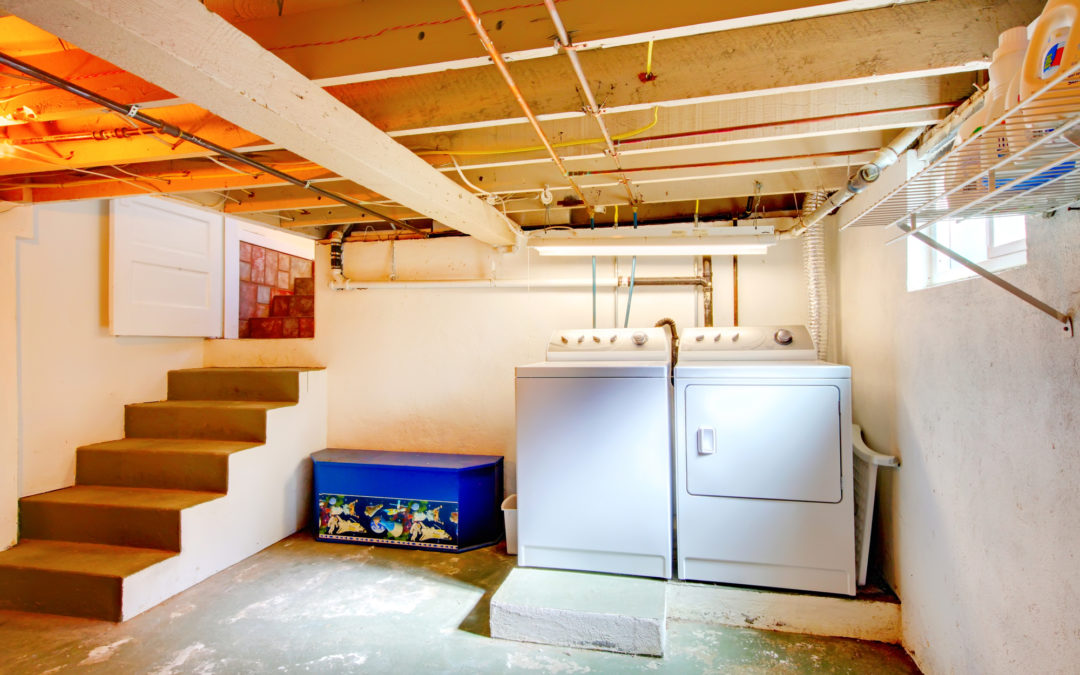
1. Start with a Moisture Inspection
Why it matters: Basements are notorious for moisture problems. Before any finishing begins, you must ensure the space is dry and waterproofed.
Pro Tip:
- Conduct a moisture test by taping clear plastic sheets on the walls and floor. If condensation forms underneath, waterproofing is necessary.
- Seal cracks with hydraulic cement and apply a basement waterproofing paint like Drylok.
- Install a sump pump and French drain system if the basement floods periodically.
Read More: DRICORE SMARTWALL Panels | Finishing Basement Walls Made Easy
2. Understand Local Building Codes and Permits
Why it matters: Code compliance ensures safety and legality, especially if you plan to sell your home or rent out the basement.
Pro Tip:
- Check if your city requires permits for electrical, plumbing, and structural changes.
- Follow egress window regulations if adding a bedroom.
- Hire a licensed inspector or contractor to guide you through the process.
Read More: 7ft Basement Ceiling Lighting Fixture Ideas: Smart Solutions for Low Ceilings
3. Plan Your Layout Thoughtfully
Why it matters: The basement’s structural layout often includes support columns, low ceilings, and HVAC units that limit where walls or rooms can go.
Pro Tip:
- Design around immovable components instead of trying to hide them completely.
- Use open-concept designs to make the space feel larger.
- Designate utility areas like laundry or furnace access with clearances and removable panels.
Read More: Basement Lighting: Our Top 5 Fixes for Poor Lighting
4. Address Ceiling Height Limitations
Why it matters: Basements often have lower ceilings, which can feel cramped or claustrophobic.
Pro Tip:
- Keep ductwork close to walls and opt for recessed lighting to save headroom.
- Choose a drywall ceiling for a cleaner look or a painted exposed ceiling for industrial style.
- Avoid traditional drop ceilings unless you need frequent access to plumbing or wiring.
Read More: Roughing In Lights in a Basement (and Integrating Existing Lights): A Complete DIY Guide
5. Choose the Right Insulation
Why it matters: Proper insulation is crucial to prevent mold, regulate temperature, and improve energy efficiency.
Pro Tip:
- Use rigid foam insulation directly on concrete walls to prevent condensation.
- Don’t use fiberglass batt insulation directly against foundation walls—it can trap moisture.
- Insulate around rim joists with spray foam to reduce air leaks.
Read More: Adding Lights to an Existing Circuit While Finishing the Basement: A Complete DIY Guide
6. Select Basement-Friendly Flooring Materials
Why it matters: Moisture and temperature fluctuations in basements can damage certain flooring types.
Pro Tip:
- Luxury Vinyl Plank (LVP): Water-resistant, easy to install, and stylish.
- Ceramic or Porcelain Tile: Ideal for moisture-prone areas.
- Epoxy-coated Concrete: Durable and low-maintenance.
- Avoid solid hardwood and standard laminate unless using special underlayment.
Read More: The Ultimate Basement Finishing DIY Guide
7. Use Mold-Resistant Drywall and Paint
Why it matters: Basements are humid environments. Standard drywall can become a breeding ground for mold and mildew.
Pro Tip:
- Use mold-resistant drywall like Greenboard or DensArmor Plus.
- Paint with mold-inhibiting primers and low-VOC finishes.
- Consider finishing walls with Dricore SmartWall Panels for integrated moisture protection and insulation.
Read More: Avoiding DIY Basement Remodeling Nightmares
8. Install Proper Lighting
Why it matters: Basements often lack natural light, making them feel dark and uninviting.
Pro Tip:
- Use LED recessed lighting for efficient, low-profile illumination.
- Include dimmer switches for adjustable ambiance.
- Strategically place floor and wall lighting to add warmth and depth.
Read More: 6 Basement Renovation Ideas to Transform Your Space
9. Don’t Ignore Ventilation and HVAC
Why it matters: Poor airflow leads to stuffy, uncomfortable environments.
Pro Tip:
- Extend your existing HVAC system into the basement with return vents to keep air circulating.
- Use a dehumidifier year-round to manage moisture.
- Consider a ductless mini-split system for independent temperature control.
Read More: 10 Essential Tools for DIY Basement Finishing
10. Think About Future Access and Maintenance
Why it matters: Utility lines, sump pumps, and HVAC units may need servicing in the future.
Pro Tip:
- Build access panels or closets for water meters, shut-off valves, and junction boxes.
- Label all wiring and plumbing routes for easy identification.
- Avoid fully enclosing structural beams and ductwork unless you can access them easily.
Read More: Everything You Need to Know About a Finished Basement
11. Add Soundproofing
Why it matters: Basements are ideal for entertainment rooms, but noise can travel easily between floors.
Pro Tip:
- Install acoustic insulation in ceilings and interior walls.
- Use sound-dampening drywall or add a second layer of drywall with green glue.
- Add rugs and heavy curtains to reduce echo and sound reflection.
Read More: DIY Home Gym: Basement Transformation Part 1
12. Incorporate Built-In Storage Solutions
Why it matters: Maximize function and reduce clutter in a finished basement.
Pro Tip:
- Use recessed shelving between studs for space-saving storage.
- Install custom closets and under-the-stairs storage.
- Create dual-purpose furniture like benches with hidden compartments.
Read More: Creating a Home Gym by Renovating a Basement: The Complete Guide
13. Style the Space Like the Rest of Your Home
Why it matters: A finished basement shouldn’t feel like an afterthought.
Pro Tip:
- Use the same design elements (trim, color palette, lighting fixtures) from the rest of your house.
- Create zones (TV area, gym, bar) using rugs and furniture placement.
- Consider themes for basement bars, game rooms, or home theaters.
Read More: Adding a Basement Gym to Your Home: The Ultimate Guide
Bonus Tip: Finish in Phases
If you’re on a tight budget or time constraint, tackle your basement in phases:
- Start with waterproofing and insulation.
- Finish main living areas.
- Add bathrooms or kitchens later.
Read More: Creating a Home Gym in an Unfinished Basement Space
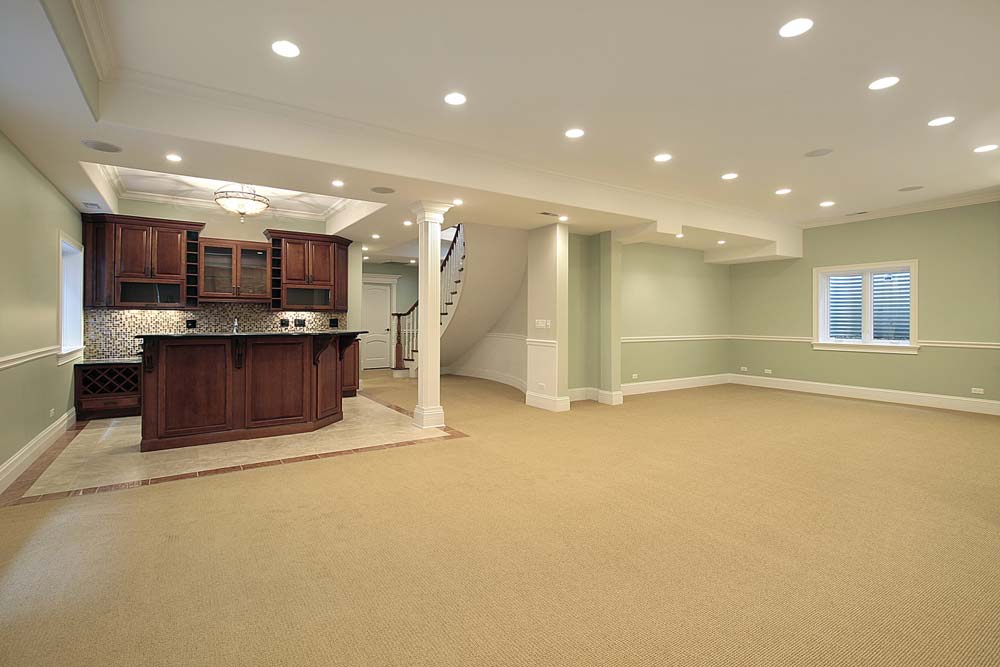
Final Thoughts
Finishing your basement is more than just throwing up some drywall and laying carpet. By following these pro tips, you’ll ensure your finished basement is dry, comfortable, functional, and compliant with building codes. With thoughtful planning and smart material choices, your basement can become a favorite space in your home—whether it’s a family room, guest suite, home gym, or entertainment hub.